
How to Disassemble a Worx Leaf Blower
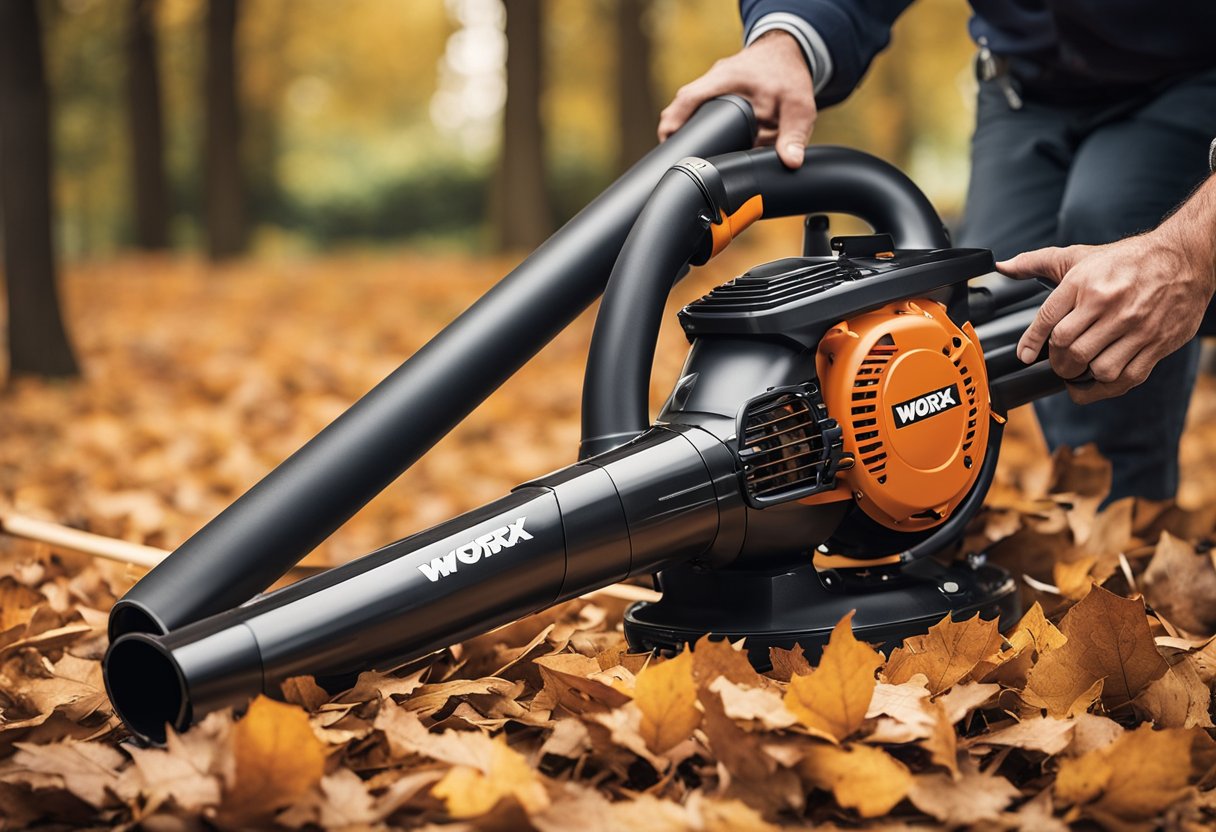
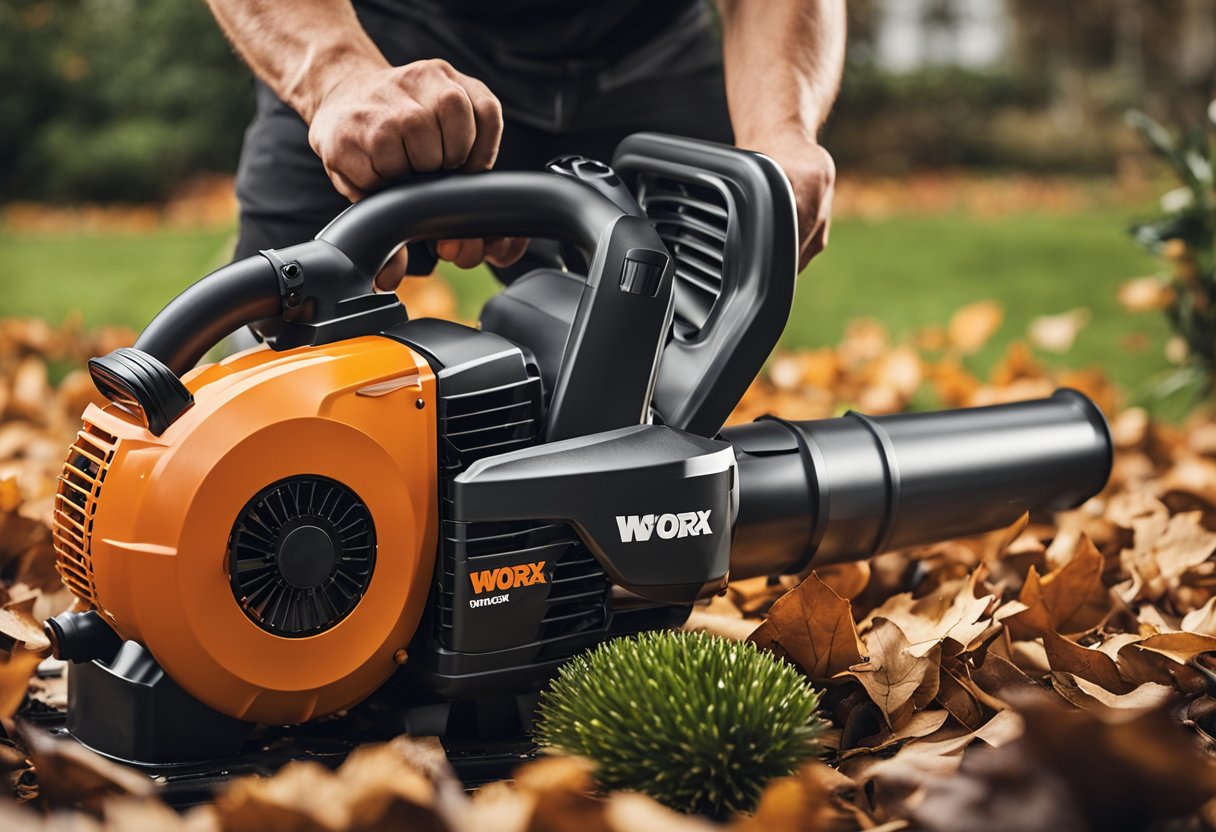
If you own a Worx leaf blower, you might need to disassemble it at some point for cleaning, maintenance, or repair purposes. Disassembling your leaf blower can be a daunting task, especially if you’ve never done it before. Fortunately, with the right tools and some guidance, you can easily take apart your Worx leaf blower and put it back together again.
Before you start disassembling your Worx leaf blower, it’s essential to take some safety precautions. Always make sure the blower is unplugged or the battery removed before starting the disassembly process. Wear protective gear such as gloves, safety goggles, and a dust mask to prevent injury or inhaling debris. Keep the blower away from children and pets.
Key Takeaways
- Safety precautions are crucial before disassembling a Worx leaf blower.
- Understanding the components and tools required for disassembly is essential.
- Proper cleaning, inspection, and reassembly are crucial for post-assembly care and maintenance.
Safety Precautions
Before starting to disassemble the Worx leaf blower, I always take safety precautions to ensure that I don’t injure myself or cause any damage to the equipment.
Handling the Blower
The first thing I do is to make sure that the leaf blower is completely disconnected from any power source. This is to avoid any accidents or electrical shocks. I also make sure that I am wearing appropriate personal protective equipment (PPE), including safety glasses and protective gear.
Once I have disconnected the power supply and put on my PPE, I find a well-lit, clean, and spacious area to work on the disassembly. I place the leaf blower on a flat surface, making sure that it is stable and won’t tip over.
Dealing with Small Parts
As I disassemble the Worx leaf blower, I always make sure to keep track of the small parts. I put them in a container or a plastic bag, making sure that I label them properly. This helps me to avoid losing any of the parts and makes it easier to reassemble the leaf blower later.
When handling small parts, I make sure to use the appropriate tools. For example, I use needle nose pliers to remove screws and a small flathead screwdriver to pry open the case. I also make sure to work slowly and carefully, so that I don’t damage any of the parts or the equipment.
By taking these safety precautions, I can ensure that I disassemble the Worx leaf blower safely and without causing any damage to myself or the equipment.
Understanding the Leaf Blower Components
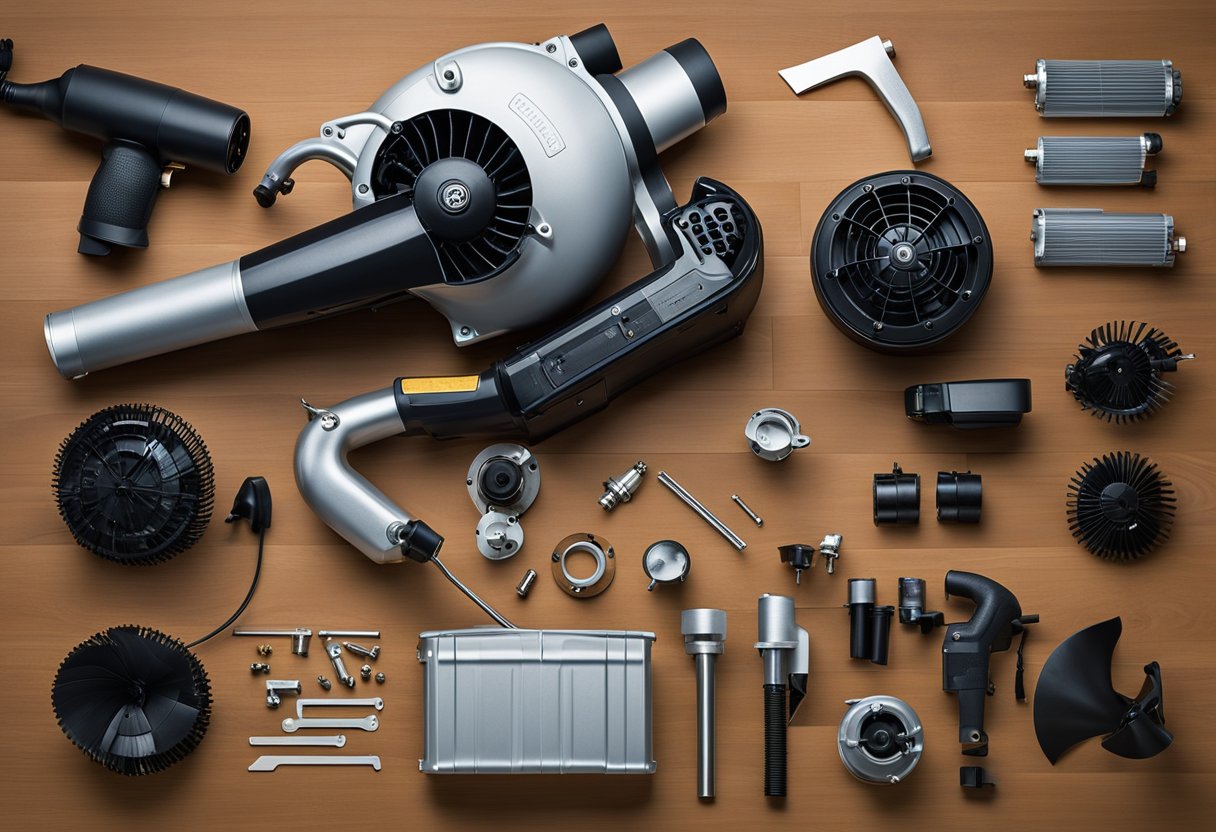
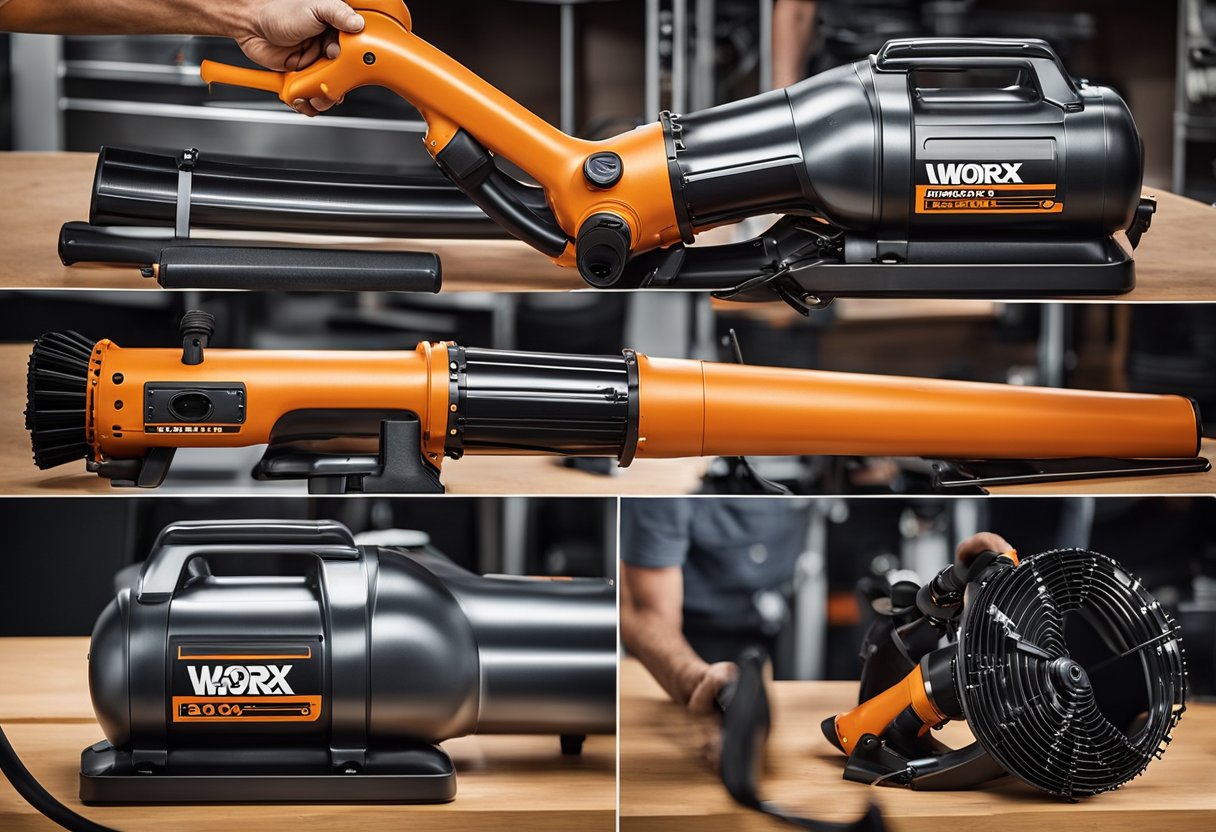
As someone who has disassembled a Worx leaf blower before, I can tell you that it’s important to understand the different components of the machine before you start taking it apart. Here are some of the key components you should be aware of:
Motor and Fan
The motor and fan are the powerhouses of the leaf blower. The motor is responsible for generating the power that drives the fan, which in turn creates the air flow that blows the leaves and debris. The motor and fan are usually housed together in a motor housing, which is typically located at the back of the machine.
Impeller and Fan Blades
The impeller and fan blades are responsible for creating the air flow that moves the leaves and debris. The impeller is a rotating disk with curved blades that creates a low-pressure area, which draws air into the machine. The fan blades, on the other hand, are attached to the motor and spin rapidly to create the high-speed air flow that blows the leaves and debris.
Housing and Casing
The housing and casing are the outer shells of the leaf blower that protect the internal components. The housing is typically made of hard plastic and is designed to be durable and impact-resistant. The casing, on the other hand, is usually made of metal and is designed to be heat-resistant.
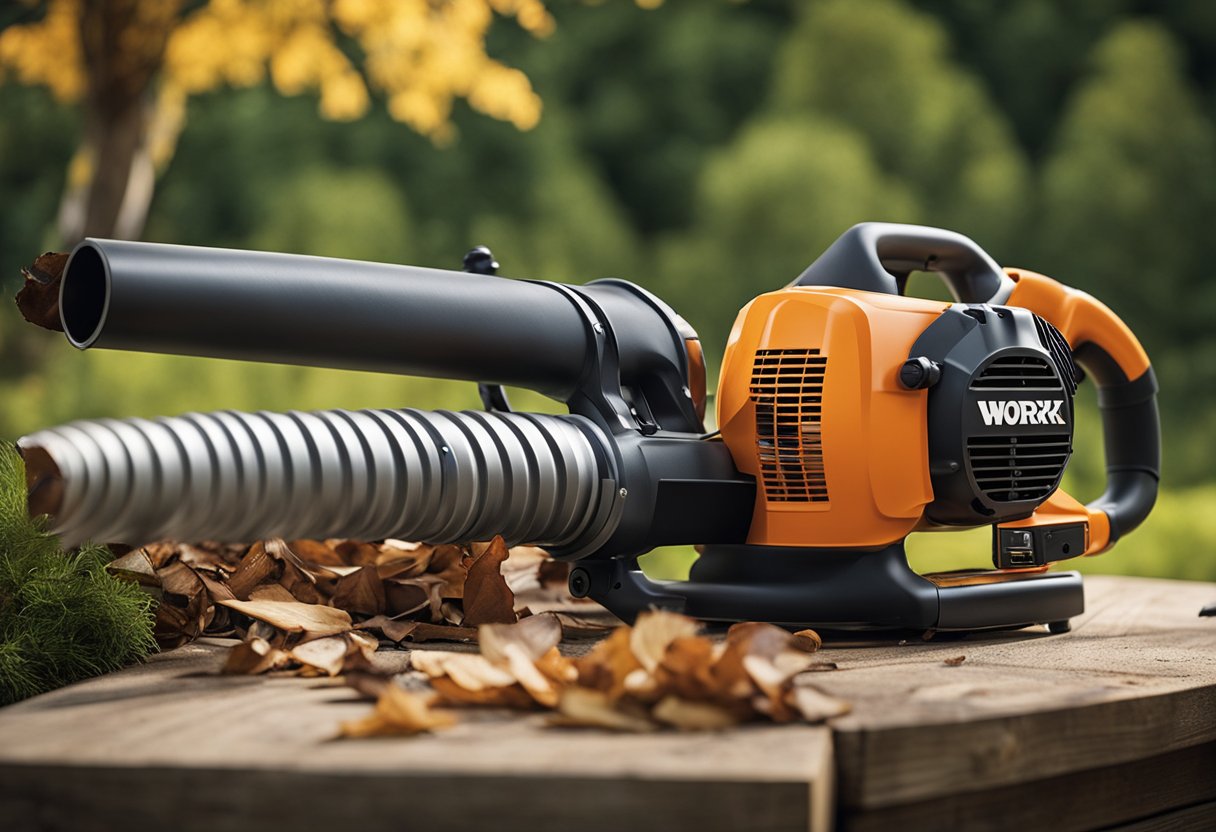
Tube and Nozzle
The tube and nozzle are the parts of the leaf blower that direct the air flow. The tube is a long, narrow pipe that connects the motor housing to the nozzle, which is the opening through which the air flow exits the machine. The nozzle is usually shaped like a funnel and can be adjusted to control the direction and intensity of the air flow.
Controls and Wires
The controls and wires are the parts of the leaf blower that allow you to operate the machine. The controls are typically located on the handle of the machine and include an on/off switch, a speed control, and a trigger that activates the air flow. The wires connect the controls to the internal components of the machine and are usually color-coded to make them easier to identify.
Components
Finally, there are a number of smaller components inside the leaf blower that work together to make it function properly. These include things like screws, nuts, bolts, washers, and gaskets. It’s important to keep track of these components when you’re disassembling the machine so that you can put it back together correctly.
Overall, understanding the different components of a Worx leaf blower is an important first step in disassembling the machine. By familiarizing yourself with these parts, you’ll be better equipped to take apart the machine and put it back together again.
Tools Required for Disassembly
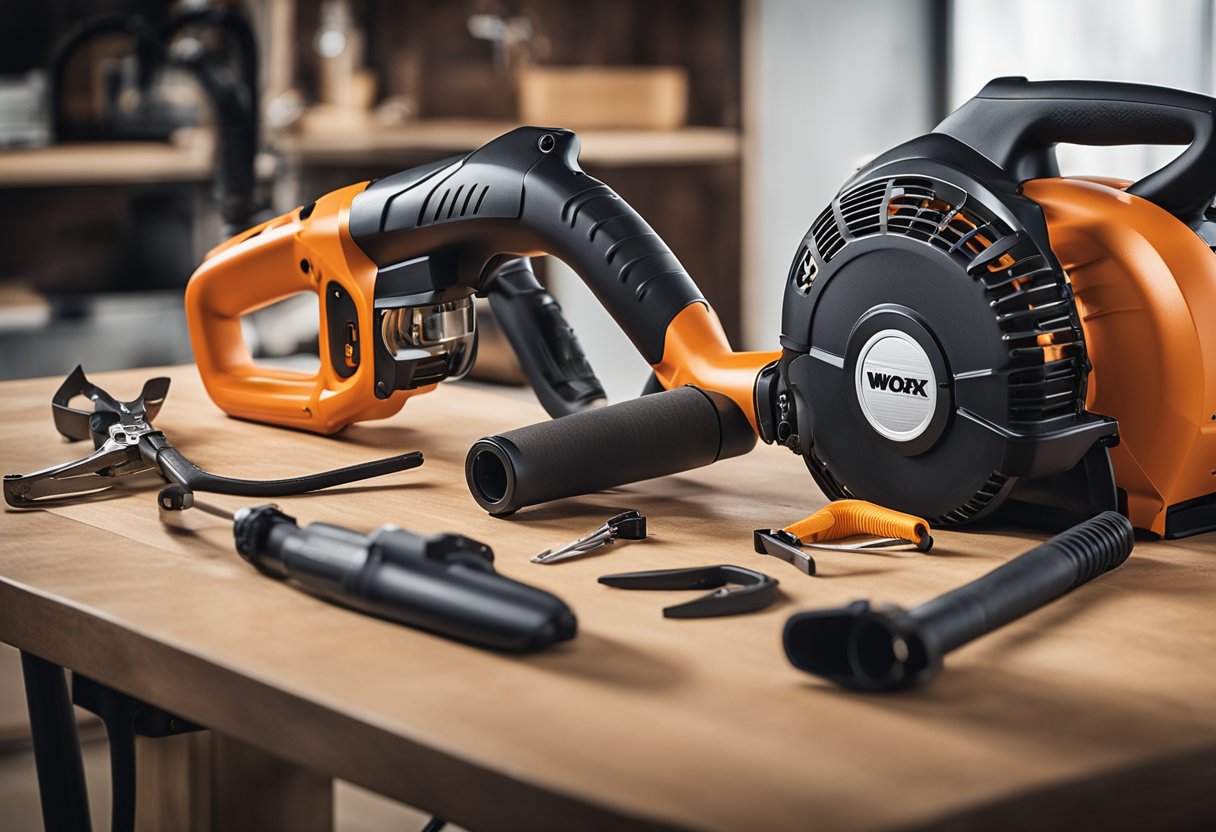
As an experienced technician, I know that having the right tools is essential for any successful disassembly project. Here are the tools you’ll need to disassemble your Worx Leaf Blower:
- Safety glasses: It’s always a good idea to protect your eyes from debris and dust while working on your leaf blower.
- Phillips head screwdriver: You’ll need this tool to remove the screws that hold the leaf blower together.
- Needle nose pliers: These pliers will come in handy when you need to grip small parts or wires.
- Putty knife: This tool is useful for prying apart stubborn parts that are stuck together.
- Hammer (optional): If you’re having trouble removing a part, a gentle tap with a hammer can sometimes help loosen it.
Make sure to have all of these tools ready before you begin disassembling your Worx Leaf Blower. Having the right tools will make the process much smoother and safer.
When it comes to screws, it’s important to keep track of where each screw goes. I recommend labeling each screw with a piece of tape and writing down where it came from. This will make reassembly much easier and prevent any mishaps.
Overall, with the right tools and a little patience, you’ll be able to disassemble your Worx Leaf Blower in no time.
Pre-Disassembly Cleaning
Before disassembling your Worx leaf blower, it is essential to clean it properly. Dirt and debris can accumulate in the blower, which can hinder its performance and make disassembly more challenging. Cleaning the blower beforehand ensures that you can work more efficiently and effectively.
To clean the Worx leaf blower, you will need a few items, including a brush, compressed air, and a cleaning solution. The cleaning solution can be a mild detergent or a specialized cleaner designed for leaf blowers. Make sure to read the instructions on the cleaner before use.
Start by removing any visible debris from the blower using a brush. Pay special attention to the air intake vents and the impeller. The impeller is the part that moves the air in the blower. Clearing any debris from the impeller ensures that it can move air effectively.
Next, use compressed air to blow out any remaining debris from the blower. Remember to wear protective gear, such as safety glasses and earplugs, when using compressed air. Direct the compressed air towards the air intake vents, the impeller, and the motor.
Finally, wipe down the exterior of the blower using a damp cloth. Make sure to dry it thoroughly before disassembling it.
By cleaning your Worx leaf blower before disassembly, you ensure that it is free from debris and dirt that could hinder its performance. This process also makes disassembly easier and more efficient.
Steps to Disassemble the Leaf Blower
https://www.youtube.com/watch?v=cKodVjMs3p0&embed=true
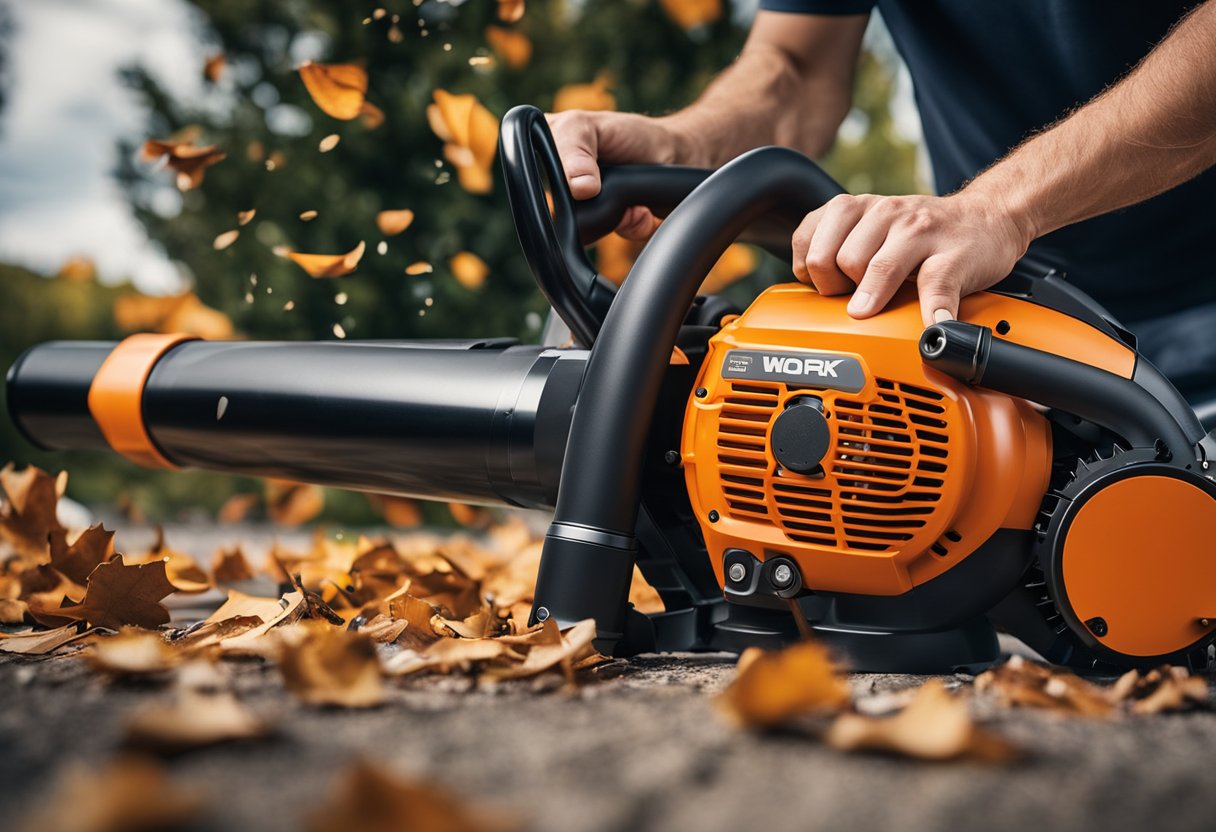
As an experienced user of the Worx Leaf Blower, I know that disassembling it can be a bit tricky. However, with the right tools and knowledge, it can be done easily. In this section, I will guide you through the steps to disassemble the leaf blower.
Step 1: Turn off and unplug the leaf blower
Before you start disassembling the leaf blower, make sure it is turned off and unplugged from the power source. This will ensure your safety while working on the device.
Step 2: Remove the screws
The first step to disassembling the Worx Leaf Blower is to remove the screws that hold the blower together. You will need a Phillips head screwdriver to unscrew them. Set the screws aside in a safe place so you don’t lose them. If you’re having trouble reaching them, use a pair of needle nose pliers to help.
Step 3: Take apart the case
Once you have removed all the screws, gently lift off the top case of the leaf blower. You should be able to see the internal parts of the device. Be careful not to damage any of the parts as you remove the case.
Step 4: Disconnect the wires
Inside the leaf blower, you will see wires connecting the different parts. Before you can take the device apart, you will need to disconnect these wires. Be sure to note which wire connects to which part so you can reconnect them correctly later.
Step 5: Remove the release button
The release button is an important part of the Worx Leaf Blower. To remove it, you will need to carefully pull it out of its slot. Be sure to keep track of the button and any other small parts you remove.
Step 6: Disassemble the parts
Now that you have removed the case and disconnected the wires, you can start disassembling the different parts of the leaf blower. Refer to the manual for specific instructions on how to remove each part.
Step 7: Assembly
Once you have finished cleaning or repairing the parts, you can start assembling the leaf blower. Follow the instructions in the manual to reattach the parts and reconnect the wires.
In conclusion, disassembling the Worx Leaf Blower is not as difficult as it may seem. By following these simple steps, you can easily take apart and repair your device.
Inspecting and Cleaning Internal Parts

To ensure the optimal performance of your Worx leaf blower, it is essential to inspect and clean its internal parts regularly. Over time, rust, dirt, and debris can accumulate inside the blower, leading to clogged or jammed components. This can cause the blower to work less effectively or even stop working altogether.
To inspect the internal parts of your Worx leaf blower, first, make sure it is unplugged and all the screws have been removed. Next, separate the two halves of the blower carefully. You should be able to see the internal components, such as the fan and motor.
Check for any signs of rust or corrosion on the internal parts. Rust can cause damage to the components, leading to a decrease in performance. If you notice any rust, use a wire brush to remove it gently. Be careful not to damage any of the components while doing so.
Next, inspect the components for any signs of clogging. Dirt and debris can accumulate inside the blower, leading to clogged components. Use a soft-bristled brush to remove any dirt or debris gently. Be sure to clean all the small parts, such as the fan blades and motor.
After cleaning, inspect the components to ensure they are not jammed. If any components are jammed, use a pair of pliers to gently remove them. Be careful not to damage any of the components while doing so.
Once you have inspected and cleaned all the components, reassemble the blower and test it to ensure it is working correctly. By inspecting and cleaning the internal parts regularly, you can ensure the optimal performance of your Worx leaf blower.
Reassembling the Leaf Blower
https://www.youtube.com/watch?v=L8t0qx7_bXk&embed=true
Now that we have disassembled the Worx leaf blower, it’s time to put it back together. Reassembling the leaf blower is just as important as disassembling it. It is essential to make sure that all the parts are in the right place and secured properly.
First, I recommend laying out all the parts in an organized manner. This will help you keep track of all the parts and make sure that you don’t miss anything. Once you have all the parts laid out, it’s time to start reassembling.
Start by reversing the steps you took to disassemble the leaf blower. Begin with the motor housing and work your way back to the nozzle. Make sure to secure all the screws and bolts tightly.
If you have any trouble remembering the order of the parts, refer to the pictures you took during the disassembly process. If you didn’t take pictures, you can refer back to the user manual or the Worx website for reference.
Once you have reassembled the leaf blower, it’s important to test it before using it. Turn it on and make sure that all the parts are working correctly. If you notice any issues or problems, disassemble the leaf blower again and check the parts to see if they are installed correctly.
In conclusion, reassembling the Worx leaf blower is just as important as disassembling it. Make sure to lay out all the parts in an organized manner, reverse the steps you took to disassemble it, secure all the screws and bolts tightly, and test it before using it. With these steps, you can be confident that your leaf blower is properly reassembled and ready to use.
Post-Assembly Care and Maintenance
Once you have successfully disassembled and repaired your Worx leaf blower, it is important to take proper care of it to ensure it continues to function optimally. Here are some tips for post-assembly care and maintenance:
Cleaning
After each use, it is important to clean your leaf blower thoroughly. Use a vacuum or a leaf blower to remove any debris or dirt that may have accumulated on the body or the fan. Make sure the blower is unplugged before cleaning.
Maintenance
Regular maintenance is essential to keep your leaf blower in good working condition. Check the air filter and clean or replace it as necessary. Inspect the spark plug and replace it if it is worn or damaged. Check the fuel filter and replace it if it is clogged or dirty.
Storage
When storing your leaf blower, make sure it is clean and dry. Store it in a cool, dry place away from direct sunlight and moisture. It is also important to store it with the fuel tank empty to prevent fuel from leaking and causing damage.
Repairs
If your leaf blower requires further repairs, it is important to consult the user manual or seek professional help. Attempting to repair it yourself may cause further damage or injury.
By following these tips, you can ensure that your Worx leaf blower continues to function optimally and lasts for many years to come.
Troubleshooting and Additional Tips
https://www.youtube.com/watch?v=SKw73OALmXk&embed=true
If you encounter any problems while disassembling your Worx leaf blower, don’t hesitate to seek help. You can refer to the Worx leaf blower troubleshooting guide available at Repair Clinic. This guide provides a comprehensive list of possible causes and solutions to common problems, such as the leaf blower not starting.
It is important to note that disassembling a Worx leaf blower requires some time and effort. You should avoid using excessive force when removing the screws and parts, as this can damage the blower and make it difficult to reassemble. If you encounter any resistance, double-check to ensure that you have removed all the screws and bolts.
When disassembling the blower, it’s a good idea to keep track of the parts and their respective locations. You can use a table or a list to organize the parts and ensure that you don’t misplace any of them.
If you have any questions or doubts about the disassembling process, you can refer to the step-by-step guide available at ToolSli. This guide provides clear and concise instructions on how to disassemble a Worx leaf blower in 10 easy steps.
In summary, disassembling a Worx leaf blower requires time, effort, and attention to detail. You should avoid using excessive force, keep track of the parts, and refer to the troubleshooting guide and step-by-step guide if you encounter any problems or have any questions. With these tips and resources, you can disassemble your Worx leaf blower with confidence and ease.
Frequently Asked Questions
How do I take apart a Worx leaf blower?
To take apart a Worx leaf blower, you need to locate and remove the screws that hold the blower together. Use a Phillips head screwdriver to unscrew them and set them aside in a safe place. Once you have removed all the screws, separate the two halves of the blower, and gently disconnect any attached components. You can find a detailed guide on how to disassemble a Worx leaf blower here.
What are the steps to disassemble a cordless Worx leaf blower?
The steps to disassemble a cordless Worx leaf blower are the same as those for a corded Worx leaf blower. Locate and remove the screws that hold the blower together, separate the two halves of the blower, and gently disconnect any attached components. However, when disassembling a cordless Worx leaf blower, make sure to remove the battery before starting the process. You can find a detailed guide on how to disassemble a Worx leaf blower here.
How can I disassemble the parts of my Worx leaf blower?
To disassemble the parts of your Worx leaf blower, you need to follow the steps mentioned in the manufacturer’s manual. The manual will guide you on how to disassemble each part of the blower safely and efficiently. If you don’t have the manual, you can find it on the manufacturer’s website or contact their customer service for assistance.
What is the process to disassemble a Worx leaf blower vacuum?
To disassemble a Worx leaf blower vacuum, you need to follow the same steps as those for a Worx leaf blower. Locate and remove the screws that hold the blower together, separate the two halves of the blower, and gently disconnect any attached components. Once you have disassembled the blower, you can access the vacuum parts and disassemble them as per the manufacturer’s instructions.
Where can I find a manual for disassembling my Worx leaf blower?
You can find a manual for disassembling your Worx leaf blower on the manufacturer’s website or by contacting their customer service. The manual will provide you with step-by-step instructions on how to disassemble your leaf blower safely and efficiently.
How do I disassemble a Worx leaf blower without damaging it?
To disassemble a Worx leaf blower without damaging it, you need to follow the manufacturer’s instructions carefully. Make sure to use the right tools and techniques to avoid damaging the blower’s delicate parts. If you are unsure about any step, refer to the manufacturer’s manual or contact their customer service for assistance.

Hi, I’m Sal Muller of Tooltrip.com. My DIY experience led me to understand essential power tools for home projects. Tooltrip.com guides enthusiasts and professionals in choosing right tools for any job. I provide concise top tool reviews for easier, efficient DIY.
