
As homeowners, we want our living spaces to look neat and tidy. One of the ways to achieve this is by installing tiles on walls and floors. However, even with the best tiles, a poor grout job can ruin the overall look of the room. Grout is the material used to fill the spaces between tiles, and it plays a significant role in the aesthetics and functionality of a tiled surface.

A good grout job should enhance the overall appearance of the tile while also functioning well. On the other hand, a bad grout job can detract from the entire room’s aesthetic appeal. In this article, I will go over the differences between a good and bad grout job, how to identify each, and the impact of grout types on the final outcome. I will also cover maintenance practices that will help prolong the life of a grout job and whether it is better to hire a professional or do it yourself.
Key Takeaways
- A good grout job enhances the appearance of tiles while functioning well, while a bad grout job detracts from the room’s overall aesthetic appeal.
- Identifying a good grout job involves looking at the quality of the grout lines, uniformity, and color consistency.
- Recognizing a bad grout job involves looking for signs such as uneven grout lines, discoloration, and crumbling.
Identifying a Good Grout Job
When it comes to tile installation, a good grout job can make all the difference. Here are a few things to look for when identifying a well-done grout job.
Color Consistency and Straight Lines
One of the most important aspects of a good grout job is color consistency and straight lines. The color of the grout should be consistent throughout the installation. If you notice any areas where the color is uneven or inconsistent, it could be a sign of a poor grout job. Additionally, the lines between the tiles should be straight and even. If the lines are wavy or uneven, it could be a sign that the installer did not take the time to properly measure and lay out the tiles.
Proper Application and Technique
Another key factor in a good grout job is proper application and technique. The grout should be applied evenly and consistently throughout the installation. This means that there should be no gaps or spaces between the tiles where the grout was not applied. Additionally, the grout should be applied at the correct depth and thickness. If the grout is too thin or too thick, it can affect the overall look and durability of the installation.
Proper technique is also important when it comes to a good grout job. The installer should take care to remove any excess grout from the tiles as they work. This can help to prevent the grout from drying on the surface of the tiles, which can be difficult to remove later on. Additionally, the installer should be careful not to overwork the grout, as this can cause it to become too thin and lose its strength.
In summary, a good grout job is essential for a successful tile installation. Look for color consistency and straight lines, as well as proper application and technique, when identifying a well-done grout job.
Recognizing a Bad Grout Job
As someone who has seen many tile installations, I can confidently say that a bad grout job can ruin the overall look of a tiled surface. Here are some signs that you may have a bad grout job:
Cracks and Missing Grout
One of the most obvious signs of a bad grout job is the presence of cracks or missing grout. Cracks can occur due to a variety of reasons such as improper mixing of the grout, insufficient curing time, or even movement of the substrate. Missing grout can occur when the grout was not applied properly or when it was not applied in sufficient quantity. In both cases, cracks and missing grout can lead to water seepage and damage to the substrate.
Stains and Discoloration
Another sign of a bad grout job is the presence of stains or discoloration. Stains can occur due to a variety of reasons such as the use of improper cleaning agents, the presence of hard water, or even the use of colored grout. Discoloration can occur due to a variety of reasons such as the use of improper mixing ratios, insufficient curing time, or even the use of low-quality grout. In both cases, stains and discoloration can ruin the overall look of the tiled surface.
In conclusion, a bad grout job can lead to a variety of problems such as water seepage, damage to the substrate, and an overall unattractive appearance. By recognizing the signs of a bad grout job such as cracks, missing grout, stains, and discoloration, you can take the necessary steps to fix the problem and ensure that your tiled surface looks its best.
Grout Types and Their Impact
When it comes to choosing the right grout for your tile installation, there are a few factors to consider. Two of the most common types of grout are sanded and unsanded grout. Each has its own unique properties that make it ideal for specific applications.
Sanded vs Unsanded Grout
Sanded grout is a cement-based grout that contains small particles of sand. This type of grout is best used for wider grout lines, typically 1/8 inch or larger. The sand particles help to fill the space between the tiles and provide added strength to the grout. Sanded grout is also more durable and resistant to cracking than unsanded grout.
On the other hand, unsanded grout is a cement-based grout that does not contain sand particles. This type of grout is best used for narrow grout lines, typically 1/8 inch or smaller. Unsanded grout is more porous than sanded grout, which makes it ideal for areas that are high in moisture and humidity, like the bathroom or kitchen. The grout composition is resistant to moisture and mold growth, making it ideal for shower walls, bathroom floors, kitchen floors, or kitchen backsplash.
Epoxy Grout vs Cement Grout
Another important consideration when choosing grout is whether to use epoxy or cement-based grout. Epoxy grout is a two-part system that consists of resin and hardener. This type of grout is more durable and resistant to stains than cement-based grout. Epoxy grout is also more expensive and difficult to work with than cement-based grout.
Cement grout, on the other hand, is a mixture of cement, water, and sometimes sand. This type of grout is more affordable and easier to work with than epoxy grout. However, cement grout is more prone to cracking and staining than epoxy grout.
In conclusion, choosing the right type of grout for your tile installation depends on the width of the grout lines, the level of durability and resistance required, and the overall look you are trying to achieve. By understanding the differences between sanded and unsanded grout, as well as epoxy and cement-based grout, you can make an informed decision that will ensure a long-lasting and beautiful tile installation.
Maintenance for Longevity

As someone who has installed and repaired grout, I know that proper maintenance is key to ensuring the longevity of your grout job. In this section, I will share some tips on how to maintain your grout to ensure it lasts for years to come.
Sealing and Regular Maintenance
One of the most important things you can do to maintain your grout is to seal it properly. Sealing your grout will help prevent water, dirt, and other debris from penetrating the grout and causing damage. You should seal your grout every 6-12 months, depending on the type of grout and the amount of traffic in the area.
In addition to sealing, regular maintenance is also important. You should clean your grout regularly to prevent dirt and mold from building up. Use a mild detergent and warm water to clean your grout, and avoid using harsh chemicals that can damage the grout.
Dealing with Mold and Mildew
Mold and mildew can be a problem in areas with high humidity, such as bathrooms and kitchens. If you notice mold or mildew growing on your grout, it is important to address the issue as soon as possible. Mold and mildew can cause health problems and can also damage your grout.
To remove mold and mildew from your grout, mix equal parts water and vinegar and apply the solution to the affected area. Let the solution sit for 10-15 minutes, then scrub the area with a soft-bristled brush. Rinse the area with warm water and dry with a clean towel.
In conclusion, proper maintenance is key to ensuring the longevity of your grout job. By sealing your grout and cleaning it regularly, you can prevent damage and keep your grout looking great for years to come. If you do notice mold or mildew, be sure to address the issue as soon as possible to prevent further damage.
Professional Grouting vs DIY
When it comes to grouting, you have two options: hiring a professional or doing it yourself. Both options have their pros and cons, so it’s important to weigh them carefully before making a decision.
When to Hire a Professional
If you’re not confident in your DIY skills or if the job is particularly complex, it’s best to hire a professional. A reputable tile setter will have the knowledge and experience to ensure that your grout job is done correctly. They will also have the right tools and materials to get the job done efficiently.
Hiring a professional can also save you time and money in the long run. If you make a mistake during a DIY grout job, you may end up having to redo the entire thing, which can be costly. A professional will do the job right the first time, saving you time and money.
DIY Grouting Tips
If you decide to tackle the grouting job yourself, there are a few things to keep in mind. First, make sure you have all the necessary tools and materials before you start. This includes grout, a grout float, a bucket, a sponge, and a putty knife.
Before you start grouting, make sure the tile is clean and free of debris. This will ensure that the grout adheres properly. Also, make sure to mix the grout according to the manufacturer’s instructions.
When applying the grout, work in small sections and use a diagonal motion with the grout float. This will help ensure that the grout gets into all the cracks and crevices. Once you’ve applied the grout, use a damp sponge to wipe away any excess.
Finally, make sure to take pride in your work. A well-done DIY grout job can be just as good as a professional one if you take the time to do it right.
Frequently Asked Questions
How can one identify a poorly executed grout job?
A poorly executed grout job can be identified by several signs. Uneven, cracked, or missing grout lines, discolored or stained grout, and grout that has begun to crumble or fall out are some of the most common signs. Additionally, if the grout lines are not level or straight, this is also an indication of a poorly executed grout job.
What are the tell-tale signs of a professional grout job?
A professional grout job is characterized by a uniform and consistent appearance of the grout lines. The grout lines should be straight and level, and the color should be consistent throughout the entire surface. The grout should also be smooth and evenly applied, without any gaps or bubbles.
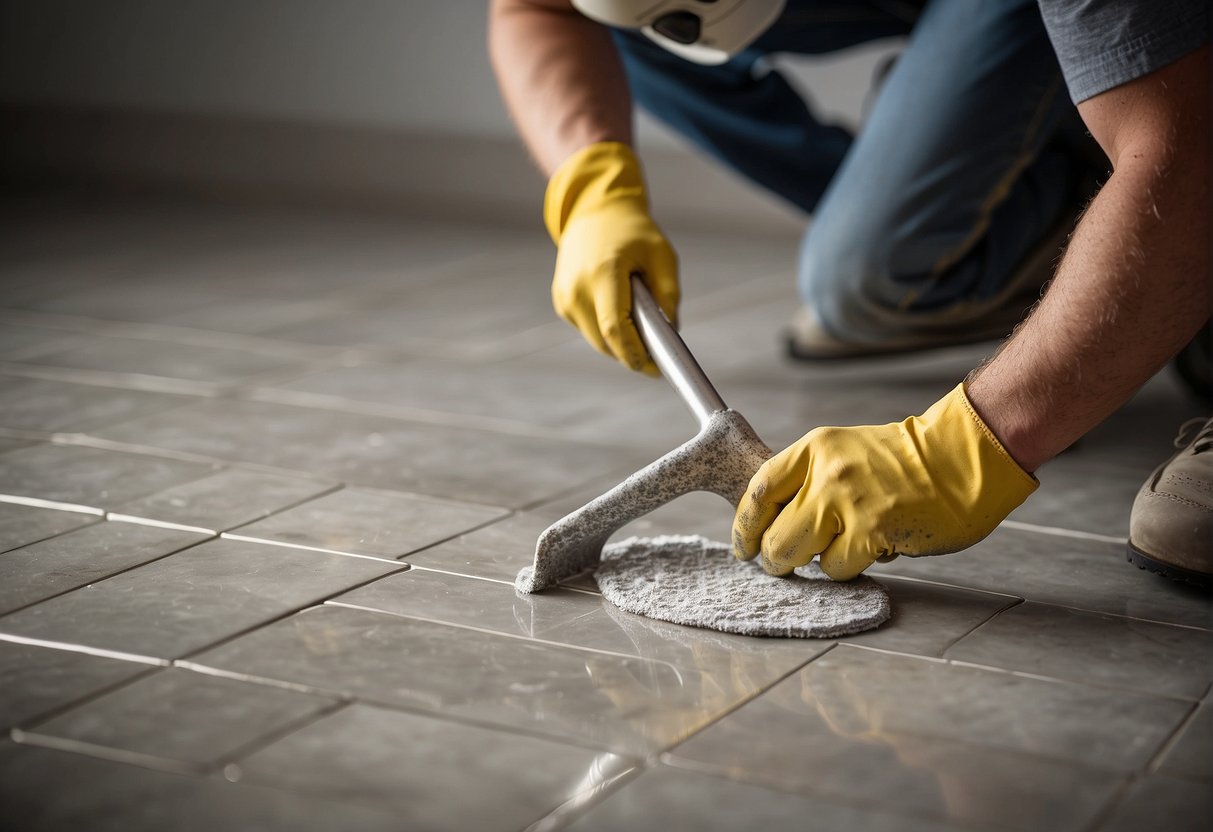
What methods are available for correcting a grout job gone wrong?
If a grout job has gone wrong, there are several methods available for correcting it. One option is to remove the grout and start over, which can be time-consuming and costly. Another option is to use a grout saw to remove the top layer of grout and then reapply new grout. This method is less expensive than removing all the grout but can still be time-consuming. Another option is to use a grout pen or touch-up paint to cover up small imperfections.
Can uneven tiles be rectified without complete removal?
Yes, uneven tiles can be rectified without complete removal. One option is to use a leveling system to adjust the height of the tiles. Another option is to use a self-leveling compound to fill in the gaps between the tiles and create a level surface.
What are common grouting mistakes to avoid during tile installation?
Common grouting mistakes to avoid during tile installation include using too much water when mixing the grout, not mixing the grout thoroughly, and not allowing the grout to cure properly before sealing it. Other mistakes include not using the correct type of grout for the tile material and not applying enough grout to fill in the gaps between the tiles.
How to properly assess the quality of a recently completed tiling and grouting project?
To properly assess the quality of a recently completed tiling and grouting project, one should check for consistency in the grout lines, levelness of the tiles, and color consistency of the grout. Additionally, one should check for any cracks or gaps in the grout and ensure that the grout has been properly sealed. Finally, one should check for any signs of unevenness or imperfections in the surface of the tiles.

Hi, I’m Sal Muller of Tooltrip.com. My DIY experience led me to understand essential power tools for home projects. Tooltrip.com guides enthusiasts and professionals in choosing right tools for any job. I provide concise top tool reviews for easier, efficient DIY.
