I have been using the DeWalt orbital sander for years and it has always been a reliable tool for me. However, even the most reliable tools can have issues over time. That’s why it’s important to know how to troubleshoot your DeWalt orbital sander when it starts to act up. In this article, I will provide you with some tips and tricks for troubleshooting your DeWalt orbital sander.
Understanding your DeWalt orbital sander is the first step in troubleshooting any issues that may arise. It’s important to know the different parts of your sander and how they work together. You should also be familiar with the different types of sandpaper that can be used with your sander. By understanding your sander, you will be better equipped to diagnose any problems that may arise.
Common problems with DeWalt orbital sanders include issues with the power switch, dust collection system, and sanding pad. These problems can be caused by a variety of issues, including wear and tear, improper use, or faulty parts. In the following sections, I will provide you with some common problems and solutions for your DeWalt orbital sander.
Key Takeaways
- Understanding your DeWalt orbital sander is important for troubleshooting.
- Common problems with DeWalt orbital sanders include issues with the power switch, dust collection system, and sanding pad.
- Proper maintenance and replacement of parts can help prevent issues with your DeWalt orbital sander.
Understanding Your Dewalt Orbital Sander
https://www.youtube.com/watch?v=v2uR3Qefmcg&embed=true
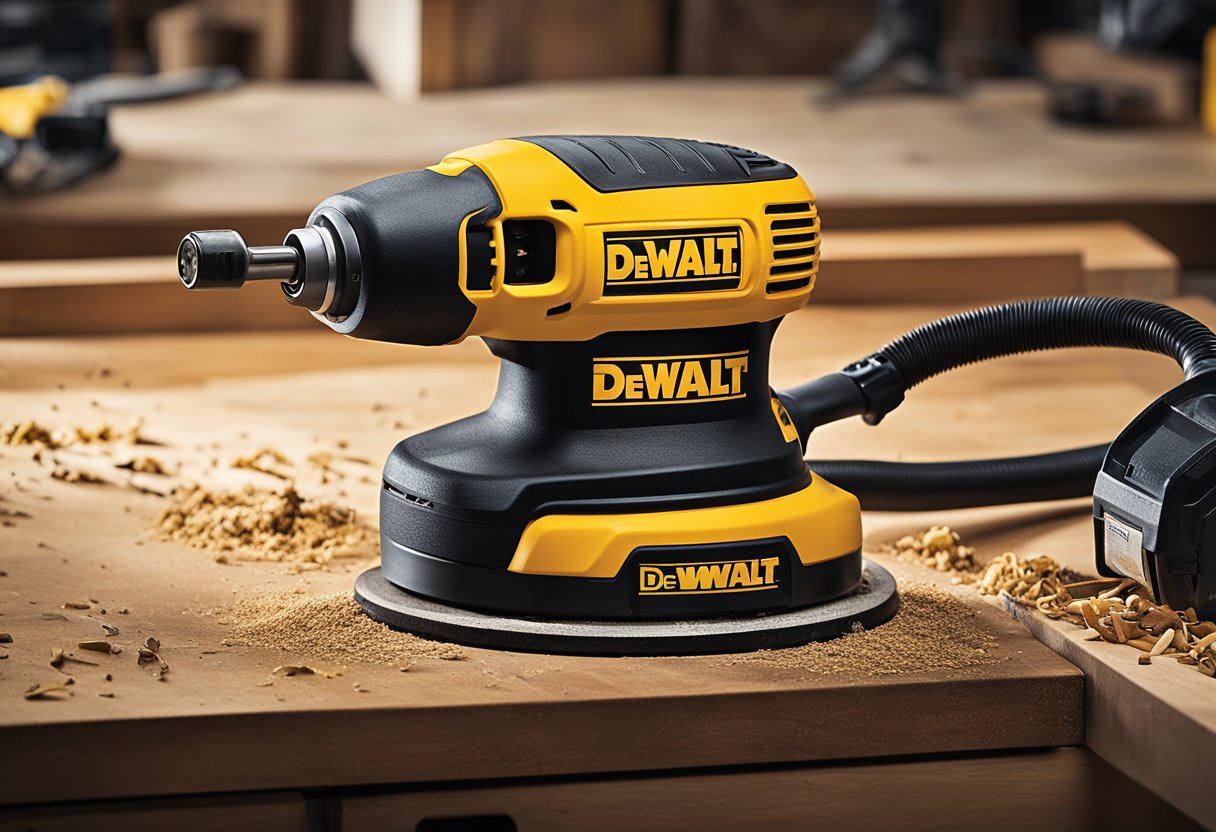
As a proud owner of a Dewalt orbital sander, I understand the importance of knowing how to use and troubleshoot it. The Dewalt D26451 is a 5-inch sander with a 3 Amp, 12,000 RPM motor, making it a powerful tool for sanding projects. It is a random orbit sander, which means it moves in a circular motion while simultaneously spinning around its axis. This motion ensures an even finish on the surface being sanded.
One of the key features of the Dewalt D26451 is its variable speed control. This allows you to adjust the speed of the sander based on the type of material you are sanding. For example, a higher speed may be needed for tougher materials, while a lower speed may be more appropriate for delicate surfaces. The variable speed control is located on the top of the sander and can be easily adjusted with your thumb.
Another important feature of the Dewalt D26451 is its dust collection system. The sander is equipped with a dust bag that collects the dust and debris generated during sanding. It is important to empty the dust bag regularly to prevent it from becoming too full and hindering the performance of the sander.
When using the Dewalt D26451, it is important to keep in mind that it is a power tool and should be used with caution. Always wear appropriate safety gear, including eye protection and a dust mask. Additionally, make sure the material being sanded is securely clamped down to prevent it from moving or shifting during sanding.
In the next section, I will cover some common troubleshooting tips for the Dewalt D26451 orbital sander.
Common Problems and Solutions
https://www.youtube.com/watch?v=VZ4Vv7kruyQ&embed=true
As a professional woodworker, I have come across several common problems that can occur with DeWalt orbital sanders. In this section, I will discuss these problems and provide practical solutions to fix them.
Problem: The Sander is Not Spinning
If your DeWalt orbital sander is not spinning, there could be several reasons for this problem. First, ensure that the power cord is connected correctly and not damaged. If the power supply is stable, the problem might be with the motor. In this case, you may need to replace the motor.
Another common cause of this problem is a worn-out sanding pad. Over time, the sanding pad can become worn out and lose its grip on the sandpaper. In this case, you will need to replace the sanding pad.
Problem: The Sander is Not Collecting Dust
If your DeWalt orbital sander is not collecting dust, this could be due to a clogged dust collection system. To fix this problem, you need to clean the dust collection system thoroughly. Start by removing the dust bag or canister and emptying it. Then, use compressed air to blow out any dust or debris that may be clogging the system.
Problem: The Sander is Vibrating Too Much
If your DeWalt orbital sander is vibrating too much, this could be due to several reasons. First, check the alignment of the sanding pad. If it is not aligned correctly, it can cause the sander to vibrate excessively. You can fix this problem by adjusting the alignment of the sanding pad.
Another common cause of excessive vibration is a worn-out sanding pad. If the sanding pad is worn out, it can cause the sander to vibrate excessively. In this case, you will need to replace the sanding pad.
Problem: The Sander is Not Sanding Smoothly
If your DeWalt orbital sander is not sanding smoothly, this could be due to several reasons. First, check the alignment of the sanding pad. If it is not aligned correctly, it can cause the sander to sand unevenly. Adjust the alignment of the sanding pad to fix this problem.
Another common cause of this problem is a worn-out sanding pad. If the sanding pad is worn out, it can cause the sander to sand unevenly. In this case, you will need to replace the sanding pad.
In summary, DeWalt orbital sanders can experience several common problems. By troubleshooting these problems and following the practical solutions provided in this section, you can keep your sander in good working condition.
Maintaining Your Sander
https://www.youtube.com/watch?v=EecVrmeltzc&embed=true
As a proud owner of a DeWalt orbital sander, I know how important it is to maintain it properly to ensure its longevity and optimal performance. Here are a few tips to help you maintain your sander:
Cleaning
Regular cleaning of your sander is essential to keep it in good condition. Dust and debris can clog the sander’s motor and reduce its efficiency. I recommend cleaning the sander thoroughly after every use. Use a soft brush to remove dust and debris from the sander’s body and a compressed air canister to blow out any debris that may have accumulated inside the sander.
Replacement Parts
If you notice that your sander is not working as it should, it may be time to replace some parts. DeWalt discontinued the D26451 model, but replacement parts can still be found online. Make sure to purchase genuine DeWalt replacement parts to ensure the best performance.
Dust Collection
Dust collection is an important feature of the DeWalt orbital sander. The dust bag or dust shroud collects the dust and debris generated during sanding. Make sure to empty the dust bag or clean the dust shroud after every use. A clogged dust bag or shroud can reduce the efficiency of the sander and cause the motor to overheat.
Sanding Disks
The sanding disk is the part of the sander that comes into contact with the surface being sanded. Over time, the sanding disk can become clogged with dust and debris, reducing its effectiveness. I recommend using hook and loop sanding disks, which are easy to replace and can be reused several times. Make sure to use the correct grit for the job at hand.
Screws
Check the screws on your sander regularly to ensure that they are tight. Loose screws can cause the sander to vibrate excessively, reducing its efficiency and causing damage to the sander’s body.
By following these simple tips, you can keep your DeWalt orbital sander in top condition and ensure that it performs at its best every time you use it.
Replacing Parts
https://www.youtube.com/watch?v=BumxnM8Jhi4&embed=true
When troubleshooting a DeWalt orbital sander, it’s important to know how to replace the necessary parts to keep it running smoothly. Here are some common parts that may need to be replaced and how to do it:
Sanding Pad
The sanding pad is the part of the sander that comes in contact with the surface being sanded. Over time, the pad may become worn out or damaged and need to be replaced. To replace the pad, simply remove the old pad and replace it with a new one. Make sure to choose the correct size and type of pad for your sander.
Replacement Parts
DeWalt discontinued the D26451 model, but replacement parts for the sander can still be found online. When replacing parts, make sure to use genuine DeWalt parts to ensure proper fit and function.
Motor
If the sander’s motor is not working properly, it may need to be replaced. This is a more advanced repair and should only be attempted by someone with experience in motor replacement. Make sure to choose the correct replacement motor for your sander.
Brushes
The brushes are part of the motor and may need to be replaced if they become worn out or damaged. To replace the brushes, remove the old ones and insert the new ones. Make sure to choose the correct size and type of brushes for your sander.
Cap
The cap covers the motor and may need to be replaced if it becomes damaged. To replace the cap, simply remove the old one and replace it with a new one. Make sure to choose the correct size and type of cap for your sander.
Velcro
The velcro on the sanding pad may become worn out over time and need to be replaced. To replace the velcro, remove the old velcro and replace it with a new one. Make sure to choose the correct size and type of velcro for your sander.
Bearings
The bearings are part of the motor and may need to be replaced if they become worn out or damaged. This is a more advanced repair and should only be attempted by someone with experience in bearing replacement. Make sure to choose the correct size and type of bearings for your sander.
Replacing parts on a DeWalt orbital sander can be a simple and cost-effective way to keep it running smoothly. By following these steps and using genuine DeWalt replacement parts, you can ensure that your sander is working at its best.
Electrical Issues
https://www.youtube.com/watch?v=U4lsklCPS_4&embed=true
When it comes to electrical issues with your DeWalt orbital sander, there are a few things to keep in mind. First and foremost, make sure that your sander is properly plugged in and that the power source is working correctly. If you’re using an extension cord, make sure that it’s the appropriate length and gauge for your sander’s power requirements.
If your sander won’t turn on, the first thing to check is the switch. Make sure that it’s in the “on” position and that it’s functioning properly. If the switch is fine, check the power supply. If there’s a tripped breaker or blown fuse, that could be the culprit.
Another potential electrical issue is stripped wires. Over time, the wires in your sander’s cord can become damaged or stripped, which can cause the sander to stop working. Make sure to inspect your sander’s cord regularly for any signs of damage. If you notice any stripped wires, it’s important to replace the cord as soon as possible.
Finally, make sure that all of your sander’s connectors and terminals are properly connected. Loose connections can cause your sander to stop working or to work improperly. Check all of your connectors and terminals regularly to make sure that they’re tight and secure.
In summary, when troubleshooting electrical issues with your DeWalt orbital sander, make sure to check the power source, switch, circuit, power supply, tripped breaker, stripped wire, cord length, connectors, and terminals. By keeping these things in mind, you can quickly and easily diagnose and fix any electrical issues that may arise with your sander.
Where to Buy Replacement Parts
As a professional woodworker, I understand how important it is to have a well-functioning tool. If you own a Dewalt orbital sander, there may come a time when you need to replace some of its parts. In this section, I will share some tips on where to buy replacement parts for your Dewalt orbital sander.
Online
One of the easiest and most convenient ways to buy replacement parts for your Dewalt orbital sander is online. Websites like Amazon and M&M Tool Parts offer a wide range of replacement parts for Dewalt orbital sanders. These websites also provide detailed information about the parts, such as their compatibility with specific models of Dewalt orbital sanders, so you can be sure you’re buying the right part.
Home Depot
If you prefer to buy replacement parts for your Dewalt orbital sander in person, you can visit your local Home Depot. Home Depot carries a variety of Dewalt products, including replacement parts for Dewalt orbital sanders. The staff at Home Depot can also help you find the right replacement part for your Dewalt orbital sander.
Accessories
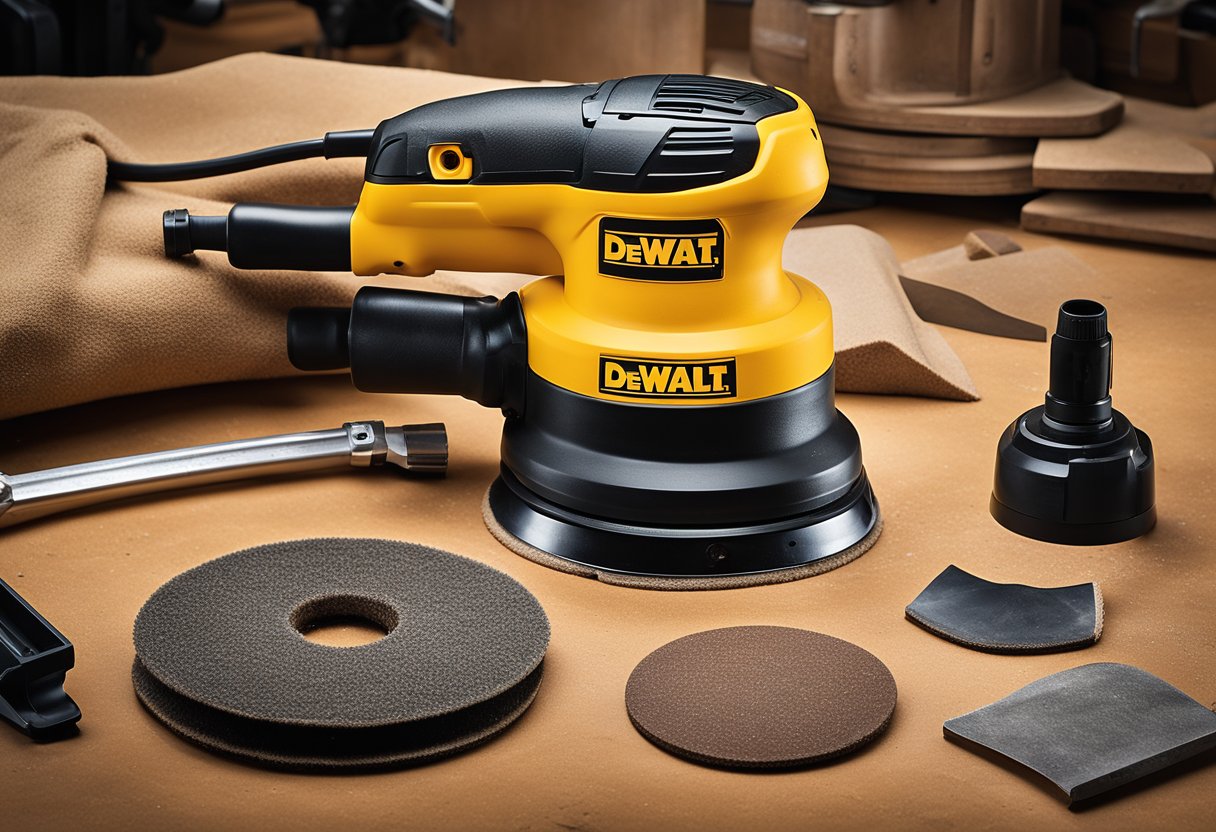
In addition to replacement parts, Dewalt also offers a range of accessories for their orbital sanders. These accessories can help you get the most out of your Dewalt orbital sander and make your woodworking projects easier and more efficient. Some of the accessories available for Dewalt orbital sanders include sanding pads, dust bags, and sanding discs.
In conclusion, whether you prefer to buy replacement parts online or in person, there are many options available to you. By following the tips in this section, you can be confident in your ability to find the right replacement parts for your Dewalt orbital sander and keep it running smoothly for years to come.
Conclusion
In conclusion, troubleshooting your DeWalt orbital sander can be a simple process if you follow the right guide. By identifying the problem, checking the parts, and replacing or repairing them as necessary, you can get your sander back up and running in no time.
Remember to always use caution when working with power tools, and to unplug the sander before attempting any repairs. If you are unsure about any part of the troubleshooting process, seek professional assistance to avoid any accidents or further damage to your sander.
Overall, the DeWalt D26451 Random Orbit Sander is a reliable and efficient tool for sanding wood, plastics, and metals. With proper care and maintenance, it can provide years of service. However, if you do encounter any issues, this guide can help you troubleshoot and resolve them quickly and easily.
Frequently Asked Questions
How do I troubleshoot my Dewalt cordless sander that keeps turning off?
If your Dewalt cordless sander keeps turning off, the first thing to check is the battery. Make sure it is fully charged and properly inserted into the sander. If the battery is not the problem, check the switch. It may be dirty or damaged and need to be replaced.
What are the common reasons for a Dewalt sander not turning on?
If your Dewalt sander is not turning on, the most common reasons are a dead battery, a faulty switch, or a damaged power cord. Check the battery to make sure it is charged and properly inserted. If the battery is not the problem, check the switch and the power cord for damage.
How do I disassemble my Dewalt orbital sander?
To disassemble your Dewalt orbital sander, first, unplug it from the power source. Then, remove the sanding disc and the dust bag. Next, remove the screws that hold the sander together. Once the screws are removed, you should be able to separate the two halves of the sander.
What are the most common mistakes people make with a random orbital sander?
The most common mistakes people make with a random orbital sander are using too much pressure, not using the right grit sandpaper, and not keeping the sander level. Using too much pressure can cause the sander to leave swirl marks on the surface. Using the wrong grit sandpaper can damage the surface or take too long to sand. Not keeping the sander level can also cause swirl marks.
Why is my random orbital sander not spinning?
If your random orbital sander is not spinning, the most common reason is a worn-out pad. The pad is the part of the sander that contacts the sandpaper. Over time, the pad can wear out and lose its grip on the sandpaper. To fix this problem, replace the pad.
Why does my orbital sander slow down?
If your orbital sander is slowing down, the most common reason is a clogged dust port or a dirty filter. The dust port is the opening where the dust bag or vacuum hose attaches. If it is clogged, the sander will not be able to breathe and will slow down. The filter is the part of the sander that traps dust. If it is dirty, it can restrict airflow and cause the sander to slow down. Clean the dust port and filter to fix this problem.

Hi, I’m Sal Muller of Tooltrip.com. My DIY experience led me to understand essential power tools for home projects. Tooltrip.com guides enthusiasts and professionals in choosing right tools for any job. I provide concise top tool reviews for easier, efficient DIY.


