
Countersink drill bits are an essential tool for anyone who wants to achieve a clean and professional-looking finish on their woodworking projects. They allow you to create a conical hole in a material, which can then be used to accommodate the head of a screw, nail or bolt. This means that the fastener can be countersunk below the surface of the material, leaving a smooth and even finish.
Understanding countersink drill bits is crucial for anyone who wants to use them effectively. There are different types of countersink drill bits available, including single-flute, double-flute, and multi-flute. Each type has its own unique advantages and disadvantages, so it’s important to choose the right one for your project. Additionally, proper preparation before drilling, handling different materials, and post-drilling procedures are also critical factors that affect the final outcome of your project.
Key Takeaways
- Proper understanding of countersink drill bits is essential for achieving a clean and professional-looking finish on woodworking projects.
- Different types of countersink drill bits are available, and each type has its own unique advantages and disadvantages.
- Proper preparation, handling different materials, and post-drilling procedures are critical factors that affect the final outcome of your project.
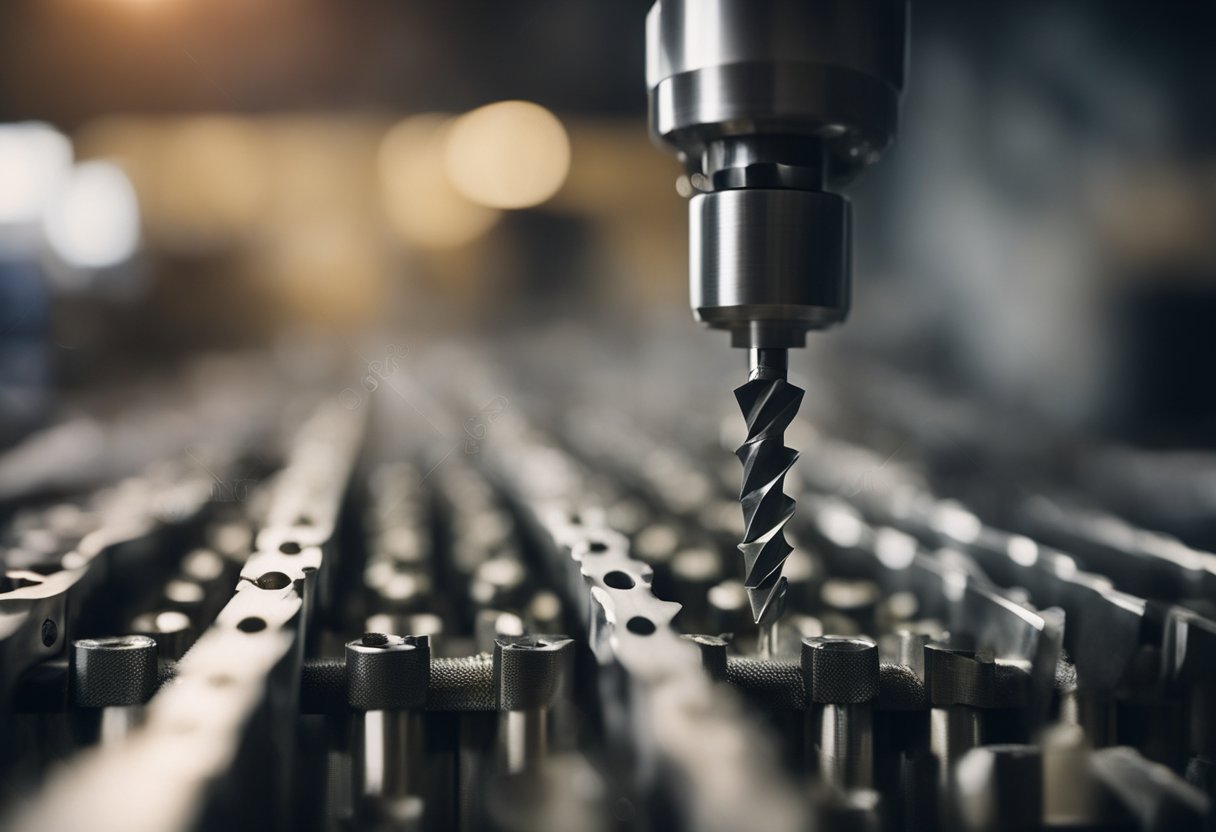
Understanding Countersink Drill Bits
https://www.youtube.com/watch?v=B5mH4rqUU1c&embed=true
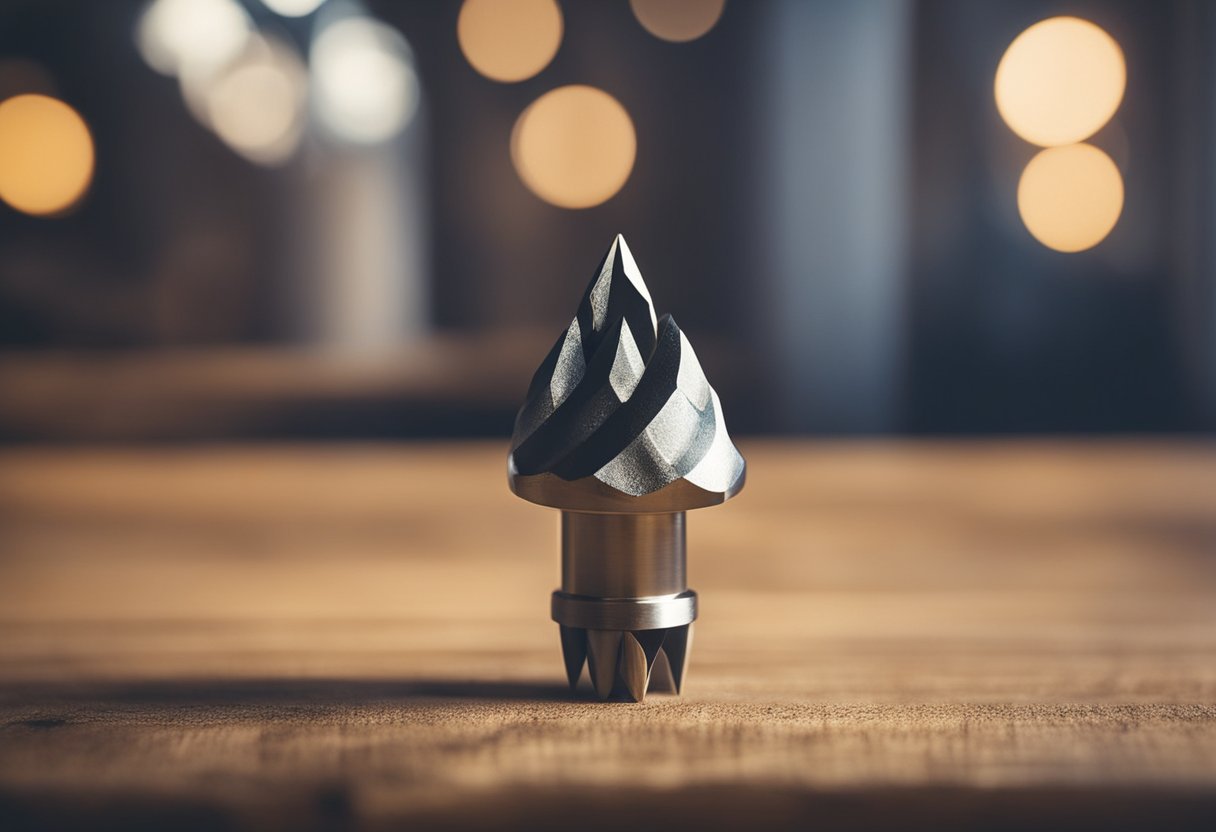
As a woodworker, I have found that countersink drill bits are an essential tool for achieving a professional finish on woodworking projects. A countersink drill bit is a special type of drill bit designed to create a conical hole in a material. The hole is wider at the top and narrower at the bottom, allowing the head of a screw to sit flush with the surface of the material.
Countersink drill bits are available in a variety of sizes and shapes, including single-flute, double-flute, and multi-flute. The number of flutes on a countersink bit determines the speed at which it can remove material. Single-flute bits are the fastest, while multi-flute bits are the slowest but produce the cleanest finish.
When using a countersink drill bit, it is important to match the size of the bit to the size of the screw head you will be using. Using a bit that is too small will not create a wide enough hole for the screw head, while using a bit that is too large will create a hole that is too wide and may not provide enough support for the screw.
One of the advantages of using a countersink drill bit is that it can prevent the material from splitting when you insert a screw. The conical shape of the hole allows the screw to sit flush with the surface of the material, reducing the risk of the material splitting. Additionally, countersink drill bits can be used to remove burrs and sharp edges from materials, creating a smooth and even finish.
In summary, countersink drill bits are a versatile tool that can be used to create conical holes in materials for screws, prevent material splitting, and create a smooth and even finish. When using a countersink bit, it is important to match the size of the bit to the size of the screw head and choose the appropriate number of flutes for the desired finish.
Types of Countersink Drill Bits
When it comes to using countersink drill bits, there are different types to choose from, and each has its own unique features and uses. In this section, I will discuss some of the most common types of countersink drill bits.
Combination Countersink Bits
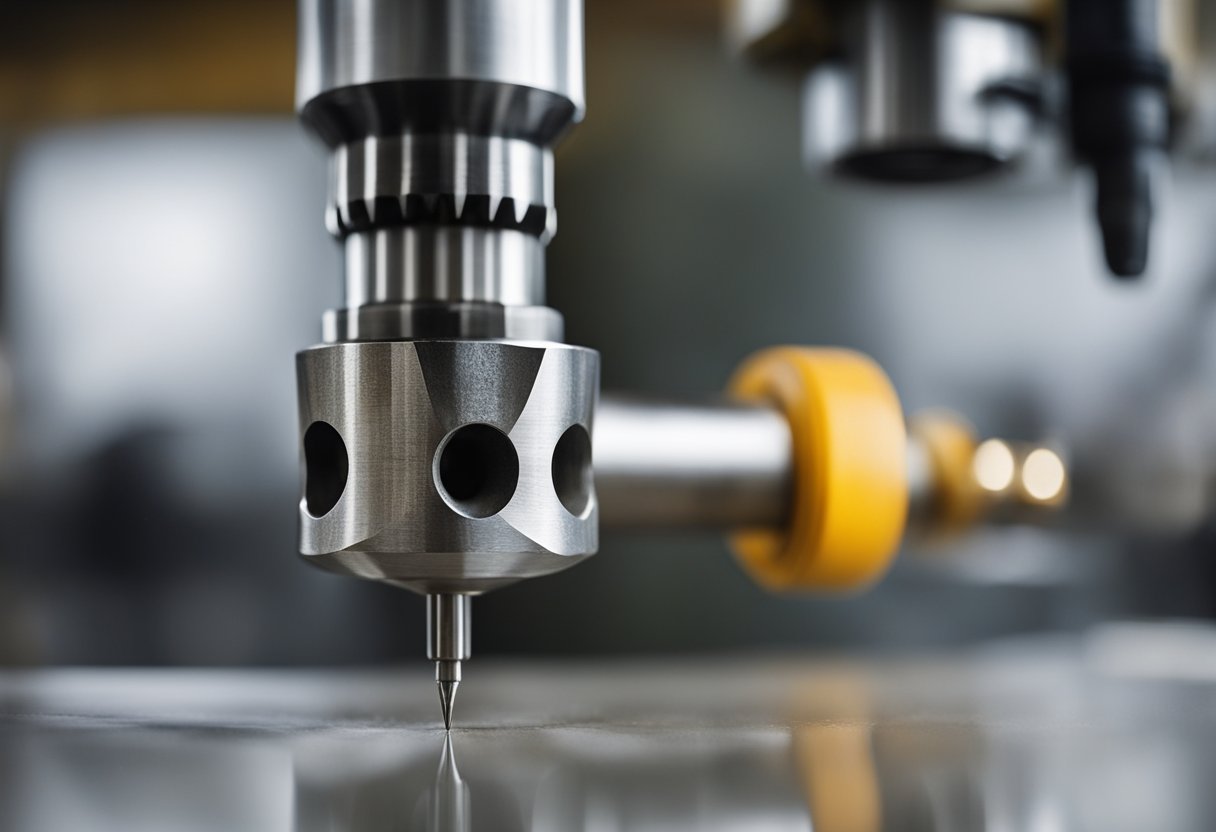
A combination countersink bit is a versatile tool that can be used for a wide variety of tasks. It features a drill bit in the center that is surrounded by a countersink bit. The drill bit is used to create a pilot hole, while the countersink bit creates a chamfer or countersink around the hole. Combination countersink bits are available in various sizes and can be used with both metal and wood.
Cross-Hole Countersink Bits
Cross-hole countersink bits are designed for use with screws that have cross holes in their heads. These bits have a unique shape that allows them to countersink the screw head and drill the pilot hole simultaneously. They are commonly used in woodworking projects and are available in a range of sizes.
One-Piece Countersink Bits
One-piece countersink bits are a popular choice for woodworkers because they are easy to use and produce accurate results. They have a single, integrated design that combines the drill bit and countersink bit into one unit. They are available in a range of sizes and can be used with both hardwood and softwood.
In conclusion, choosing the right type of countersink drill bit is essential to achieving accurate and professional-looking results. Combination countersink bits, cross-hole countersink bits, and one-piece countersink bits are just a few of the options available, and each has its own unique features and uses. By selecting the right tool for the job, you can ensure that your projects are completed quickly and efficiently.
Preparation Before Drilling
https://www.youtube.com/watch?v=uII0G89fONs&embed=true
Before drilling with a countersink drill bit, it is important to prepare the surface properly. Here are some steps to follow:
-
Mark the spot: Use a pencil to mark the spot where you want to drill the hole. This will help you stay on track and avoid drilling in the wrong place.
-
Use painter’s tape: If you are concerned about damaging the surface, you can use painter’s tape to cover the area around the hole. This will help protect the surface from scratches or other damage.
-
Create a pilot hole: It is important to create a pilot hole before using a countersink drill bit. This will help guide the drill bit and prevent it from wandering off course. Use a drill bit that is slightly smaller than the countersink drill bit you plan to use.
-
Choose the right countersink drill bit: Choose a countersink drill bit that matches the angle of the screw head you plan to use. This will ensure that the screw sits flush with the surface of the material.
-
Adjust the drill bit depth: Adjust the depth of the drill bit so that it matches the length of the screw you plan to use. This will ensure that the screw sits flush with the surface of the material.
By following these steps, you can prepare the surface properly and ensure that the hole is drilled accurately and cleanly.
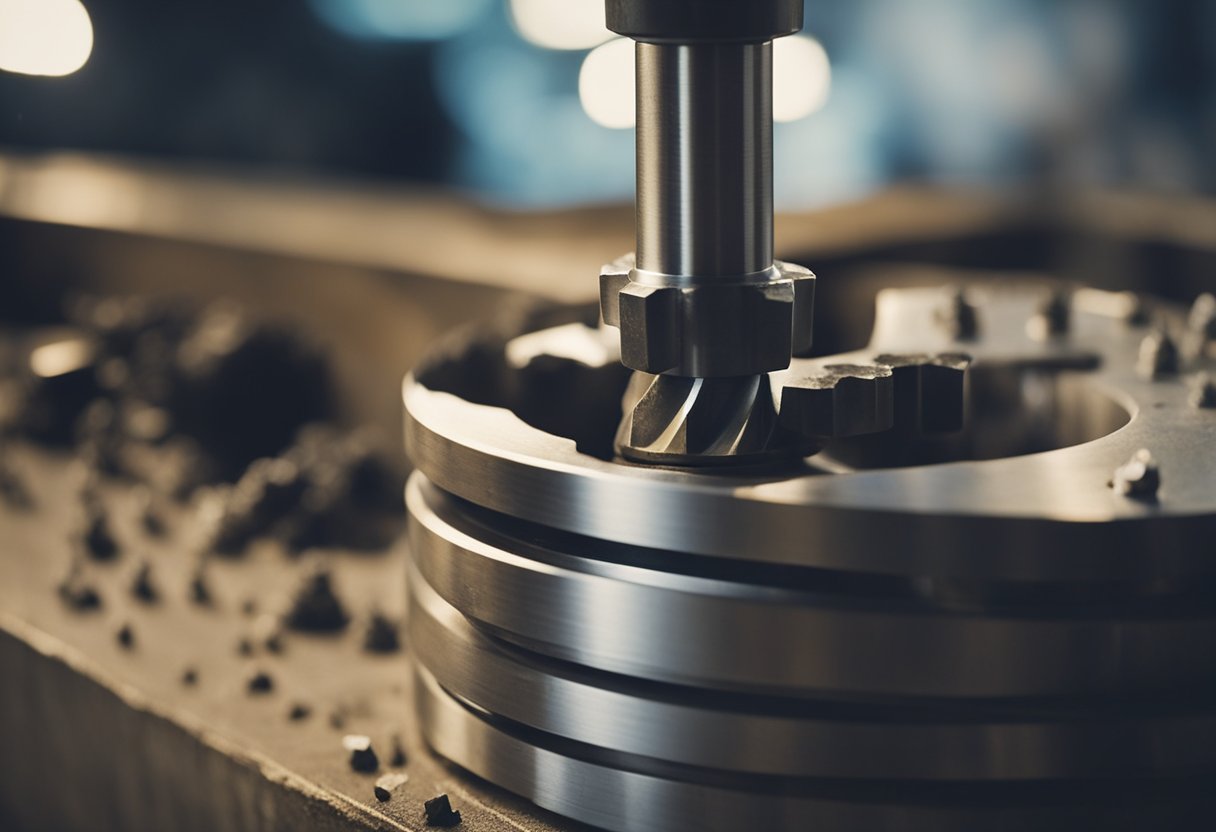
Drilling Process
When it comes to drilling with a countersink drill bit, there are a few things to keep in mind to ensure a successful outcome. The first step is to choose the right drill bit size for the screw you will be using. It’s important to note that the size of the countersink drill bit should match the size of the screw head, so that the screw can sit flush with the material’s surface.
Next, it’s important to mark the location of the hole to be drilled. This can be done using a center punch or by making a small indentation with a nail or awl. Once the location is marked, it’s time to start drilling.
When drilling with a countersink drill bit, it’s important to use a slower speed than you would with a regular drill bit. This will help prevent the material from cracking or splintering as you drill. If you’re using a drill press, make sure to adjust the speed accordingly.
As you begin to drill, it’s important to keep the drill bit perpendicular to the material’s surface. This will ensure that the hole is straight and that the screw will drive in smoothly. It’s also a good idea to periodically stop drilling and clear away any sawdust or debris from the hole.
Once the hole is drilled, it’s time to insert the screw. Make sure the screw head is properly aligned with the countersunk hole and then drive the screw in. The result should be a clean, flush finish with no visible screw head.
In summary, drilling with a countersink drill bit requires careful attention to detail, including choosing the right drill bit size, marking the location of the hole, drilling at a slower speed, keeping the drill bit perpendicular to the material’s surface, and properly aligning and driving the screw.
Handling Different Materials
https://www.youtube.com/watch?v=34UjD_mCGd4&embed=true
When it comes to drilling with a countersink drill bit, it’s important to consider the type of material you’re working with. Different materials require different approaches and tools to achieve the best results.
Hardwood
When drilling into hardwood, it’s important to use a high-speed steel or cobalt countersink drill bit. These materials are harder and more durable, which is necessary for drilling into dense hardwood. Additionally, using a slower drill speed and applying steady pressure will help prevent the wood from splitting or cracking.
Softwood
Softwoods, such as pine or cedar, are easier to drill into than hardwoods. However, it’s still important to use the correct countersink drill bit. High-speed steel or cobalt bits are still recommended, but you can also use a titanium-coated steel bit for softwoods. It’s also important to use a slower drill speed and steady pressure to prevent the wood from splintering.
Metals
Drilling into metal requires a different approach than drilling into wood. For metals, it’s important to use a countersink drill bit made from high-speed steel or cobalt. These materials are harder and more durable, which is necessary for drilling into metal. Additionally, using a lubricant, such as oil or coolant, will help prevent the drill bit from overheating and breaking.
Overall, it’s important to use the correct countersink drill bit and approach for the material you’re working with. By doing so, you’ll achieve the best results and prevent damage to your workpiece.
Post-Drilling Procedures
After drilling with a countersink drill bit, it is important to perform some post-drilling procedures to ensure a clean and smooth finish. Here are some steps you can take:
Remove Burrs
When drilling with a countersink drill bit, there may be some burrs left behind. These burrs can be sharp and can cause injury if not removed. To remove burrs, you can use a deburring tool or a file. Simply run the tool or file over the edge of the hole to remove any sharp edges.
Clean the Hole
After drilling, there may be some debris left behind in the hole. To ensure a clean finish, you can use compressed air or a vacuum to remove any debris. This will also help to prevent any damage to the material you are working with.
Smooth the Surface
If you want a smooth finish, you can use sandpaper or a sanding block to smooth the surface around the hole. This will help to remove any rough edges and make the surface look cleaner.
Overall, performing these post-drilling procedures will help to ensure a clean and smooth finish. By removing burrs, cleaning the hole, and smoothing the surface, you can achieve a professional-looking result.
Finishing and Repairing
When it comes to woodworking, finishing and repairing are essential steps to achieve a professional look. A countersink drill bit can help you achieve a flush and polished finish for your fasteners.
Using a countersink drill bit will allow your screws to sit flush with the surface of the wood, preventing them from sticking out and ruining the appearance of your project. Additionally, a countersink hole can provide a space for wood plugs, which can be used to cover the screw heads and create a seamless finish.
However, it’s important to be careful when using a countersink drill bit to avoid tear-out, which is when the wood around the hole splinters and breaks. To prevent this, make sure to use a sharp bit and apply light pressure when drilling.
If you do experience tear-out, don’t worry! It can be easily repaired with wood filler. Simply apply the filler to the damaged area and sand it down once it’s dry.
It’s also important to choose the right screwdriver for your fasteners. Using the wrong size or type of screwdriver can strip the screw head, making it difficult to remove or adjust.
In summary, using a countersink drill bit is a great way to achieve a polished and professional finish for your woodworking projects. Just be sure to use the right technique and tools to avoid tear-out and make repairs as needed with wood filler.
Preventing and Addressing Damage
When using a countersink drill bit, it’s important to take measures to prevent damage to both the bit and the material being drilled. Here are some tips to help prevent and address damage:
Choosing the Right Bit Size
One of the most important factors to consider when using a countersink drill bit is the size of the bit. It’s important to choose a bit size that matches the size of the screw you’re using. Using the wrong size bit can cause damage to the material being drilled, as well as the bit itself.
To determine the correct bit size, measure the diameter of the screw head and choose a bit that matches that size. It’s also important to consider the material being drilled. Harder materials may require a larger bit size to prevent damage.
Proper Alignment
Another key factor in preventing damage when using a countersink drill bit is proper alignment. It’s important to align the bit with the screw hole to prevent damage to the material being drilled. Misalignment can cause the bit to slip, which can result in damage to the material or the bit.
To ensure proper alignment, use a center punch to mark the center of the screw hole. This will help guide the bit and prevent it from slipping.
Addressing Damage
Even with proper precautions, damage can occur when using a countersink drill bit. If the bit becomes dull or damaged, it’s important to address the issue before continuing to use the bit. Continuing to use a damaged bit can cause further damage to the material being drilled and can also result in the bit breaking.
To address damage to the bit, it may be necessary to sharpen or replace the bit. Sharpening the bit can help restore its sharpness and prevent further damage. If the bit is too damaged to be sharpened, it should be replaced with a new bit.
By taking these precautions and addressing damage when it occurs, you can help ensure that your countersink drill bit lasts longer and that your drilling projects are successful.
Frequently Asked Questions
https://www.youtube.com/watch?v=eFdgbOYqRDk&embed=true
What are the different types of countersink drill bits?
There are several types of countersink drill bits available, including single-flute, double-flute, and adjustable countersink bits. Single-flute bits are the most common and are suitable for most woodworking projects. Double-flute bits are ideal for drilling harder materials, such as metal. Adjustable countersink bits are versatile and can be adjusted to create different-sized holes.
What is the purpose of countersinking a screw?
Countersinking a screw involves drilling a conical hole in the material, allowing the screw head to sit flush with the surface. This creates a smooth and professional-looking finish and prevents the screw head from protruding above the surface, which can cause damage or snagging.
How do you use an adjustable countersink drill bit?
Adjustable countersink drill bits are versatile and can be adjusted to create different-sized holes. To use an adjustable countersink drill bit, loosen the locking screw and adjust the depth collar to the desired depth. Tighten the locking screw and drill the hole, making sure to keep the drill bit perpendicular to the material.
What are the best countersink bits for wood?
The best countersink bits for wood are those made from high-speed steel or cobalt. These materials are durable and can withstand the high speeds and heat generated by drilling. It is also important to choose a countersink bit with a sharp cutting edge to ensure a clean and precise cut.
What is the difference between a step drill bit and a countersink bit?
A step drill bit is used to create holes of different sizes, while a countersink bit is used to create a conical hole for a screw head to sit flush with the surface. While both bits can be used for similar applications, they are designed for different purposes.
Do you drill or countersink first when using a countersink drill bit?
When using a countersink drill bit, it is best to drill the pilot hole first and then countersink the hole. This ensures that the pilot hole is the correct size and prevents the material from splitting.

Hi, I’m Sal Muller of Tooltrip.com. My DIY experience led me to understand essential power tools for home projects. Tooltrip.com guides enthusiasts and professionals in choosing right tools for any job. I provide concise top tool reviews for easier, efficient DIY.
