
Attic ladders are a convenient way to access the attic space in your home. They are easy to install and use, and they save you the trouble of having to drag a ladder up to the attic every time you need to go up there. However, over time, the arms of the ladder can become bent, making it difficult or impossible to use. In this article, I will discuss how to fix an attic ladder arm bent and get your ladder back in working order.
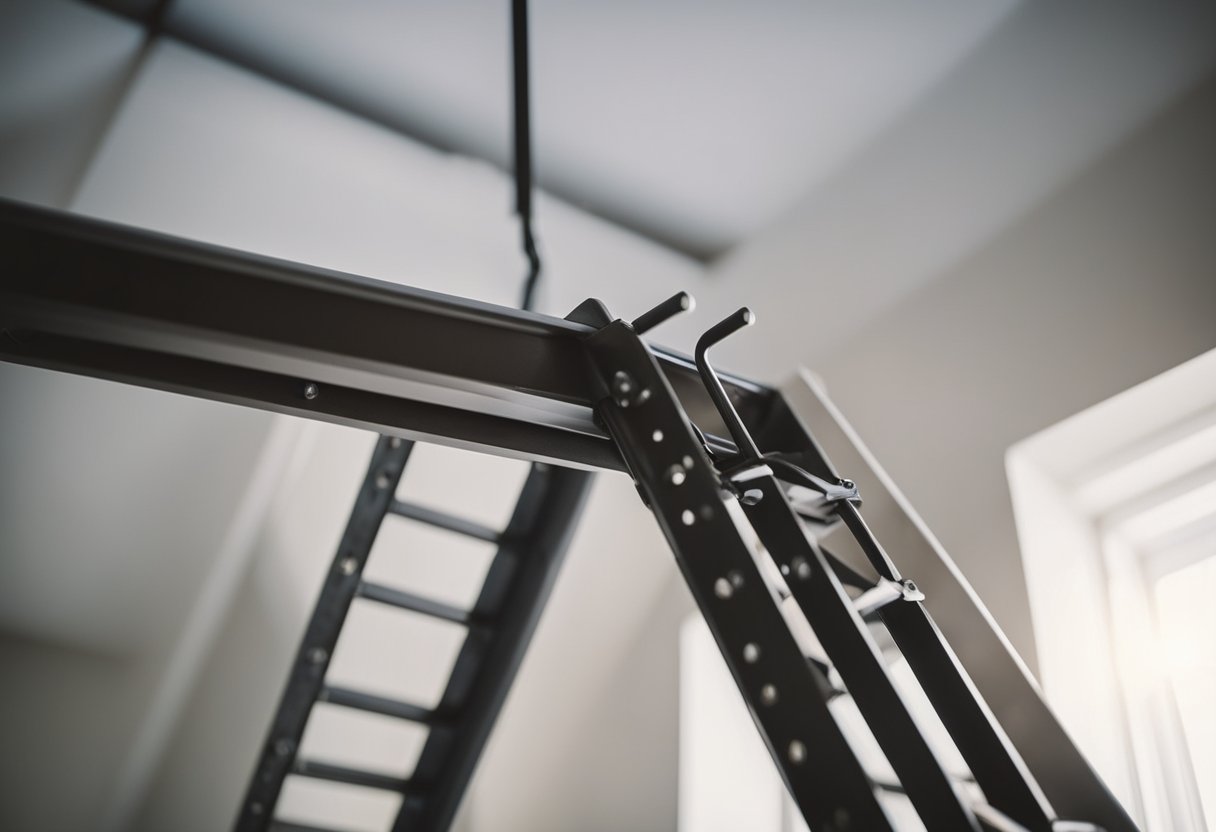
Identifying the problem is the first step in fixing an attic ladder arm bent. If your ladder is not folding and unfolding correctly, or if it feels wobbly or unstable when you climb it, there is a good chance that one or both of the arms are bent. You will need to remove the arm, replace it with a new one, and then test and adjust the new arm to ensure that it is working correctly.
Safety precautions are essential when working on an attic ladder. You will need to make sure that the ladder is secure and stable before you begin, and you should wear protective gear such as gloves and eye protection. It is also a good idea to have a helper on hand to hold the ladder steady while you work.
Identifying the Problem
https://www.youtube.com/watch?v=QmqczHs7hJE&embed=true
As a homeowner, I know how important it is to keep my home safe and well-maintained. One area that often goes overlooked is the attic ladder. Over time, the ladder arm can become bent, which can be a safety hazard. In this section, I will discuss how to diagnose and identify the problem of a bent attic ladder arm.
Symptoms
The symptoms of a bent attic ladder arm are easy to spot. The ladder may wobble or feel unstable when in use. It may also be difficult to open or close the ladder. Additionally, the ladder may not fold or unfold correctly, which can be a safety hazard. If you notice any of these symptoms, it is important to inspect the ladder arm for damage.
Causes
There are several causes of a bent attic ladder arm. Overloading the ladder with too much weight can cause the arm to bend. Poor installation can also cause the arm to become bent over time. Wear and tear from frequent use can also cause the arm to become damaged.
Inspection
To diagnose a bent attic ladder arm, it is important to inspect the ladder thoroughly. Start by checking the ladder arm for any visible signs of damage. Look for dents, cracks, or bends in the arm. Additionally, check the ladder for any signs of wear and tear, such as rust or corrosion.
Safety Hazard
A bent attic ladder arm is a safety hazard. If the ladder is not stable, it can cause serious injury or even death. It is important to address the problem as soon as possible to ensure the safety of anyone using the ladder.
Conclusion
In this section, I discussed how to diagnose and identify the problem of a bent attic ladder arm. By inspecting the ladder arm for damage and wear and tear, you can identify the cause of the problem and take steps to fix it. Remember, a bent attic ladder arm is a safety hazard and should be addressed as soon as possible.
Safety Precautions
As someone who has repaired an attic ladder arm bent, I know that safety is of utmost importance when working with ladders. Here are some safety precautions that I recommend you take before and during the repair process:
- Wear safety glasses to protect your eyes from dust and debris that may fall from the attic while you’re working.
- Wear gloves to protect your hands from splinters and sharp edges on the ladder.
- Make sure the ladder is securely in place before you start working on it. If necessary, have someone hold the ladder steady for you while you work.
- Use caution when climbing up and down the ladder. Always face the ladder and hold onto the rungs with both hands.
- When working on the ladder, make sure you have a stable surface to stand on. Never stand on the top rung or on a surface that is not level.
- If you need to use tools while working on the ladder, make sure they are secured to your person or within reach. Do not leave tools lying around where they could cause accidents.
By following these safety precautions, you can minimize the risk of accidents and ensure that your repair process goes smoothly.
Required Tools and Materials
When fixing a bent attic ladder arm, it’s important to have the right tools and materials on hand. Here are the items you’ll need to get the job done:
Tools
- Screwdriver
- Wrench
- Drill
- Pliers
- Tape measure
- Saw
Materials
- Replacement parts (depending on the extent of the damage)
- Bolts
- Screws
- Nut
- Hex head bolt
- Lubricant or oil
It’s important to have different sizes of bolts, screws, and nuts on hand to ensure that you have the right size for the job. A hex head bolt is also useful for tightening the ladder arm securely in place.
A screwdriver and wrench are necessary for removing and replacing screws and bolts. A drill can be used to make new holes or widen existing ones if needed. Pliers are useful for holding parts in place while tightening screws or bolts.
A tape measure is essential for measuring the length of the ladder arm and replacement parts. A saw may be needed to cut replacement parts to the correct length.
Finally, lubricant or oil can be used to ensure smooth operation of the ladder arm. Apply a small amount to the hinges and pivot points to prevent rust and corrosion.
With these tools and materials, you’ll be ready to tackle a bent attic ladder arm and get it back in working order.
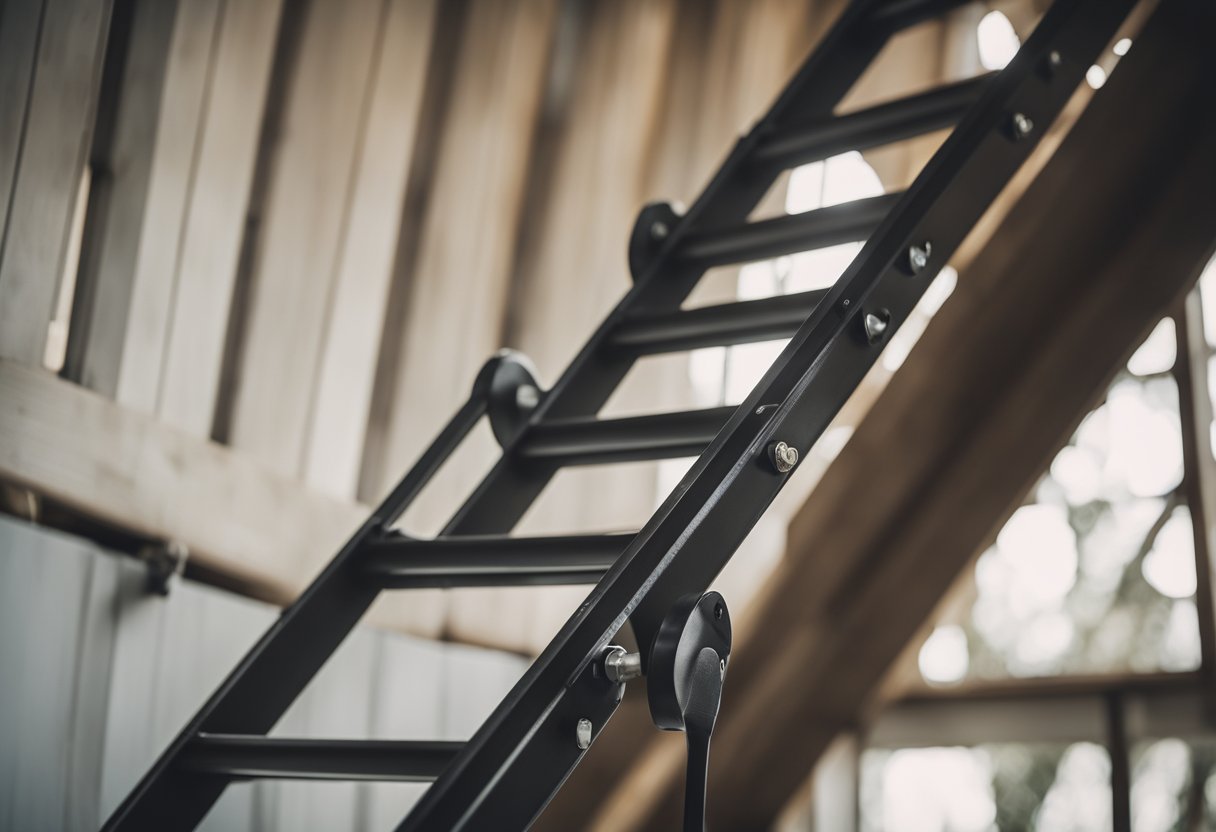
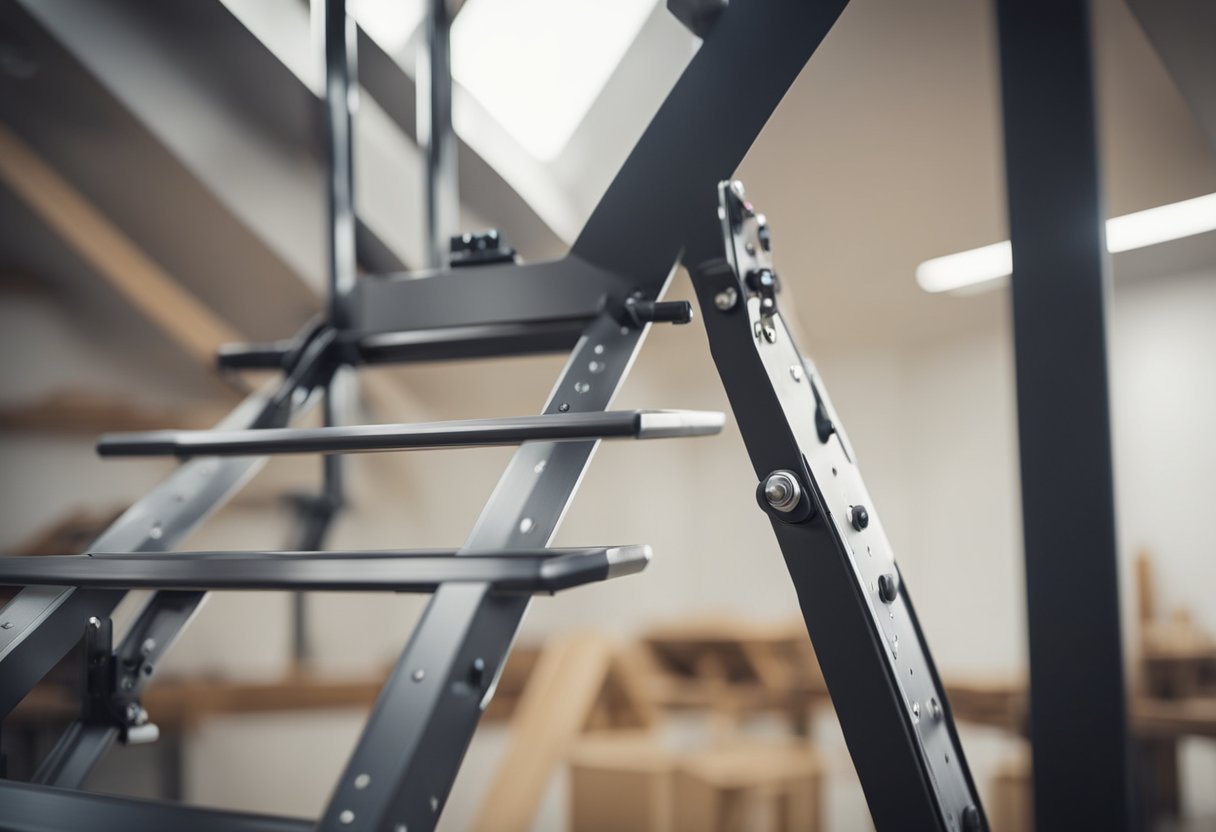
Removing the Bent Arm
To remove the bent arm, I first need to locate it. Typically, the bent arm is connected to the hinge arm, which is attached to the attic ladder. Once I have located the bent arm, I can begin the process of removing it.
Before I start, I need to make sure that I have all the necessary tools. These may include a hammer, pliers, a screwdriver, and a wrench. Once I have all the tools, I can begin the process of removing the bent arm.
The first step is to remove any loose screws or bolts that may be holding the arm in place. Once the screws or bolts have been removed, I can then use a hammer or pliers to gently pull the arm away from the hinge. If the arm is still stuck, I may need to use a wrench to loosen the pivot pin that holds the arm in place.
Once the bent arm has been removed, I can then replace it with a new one. This may involve purchasing a replacement arm from a hardware store or online retailer. Alternatively, I may be able to find a replacement arm from the manufacturer of the attic ladder.
In summary, removing a bent arm from an attic ladder involves locating the bent arm, removing any loose screws or bolts, gently pulling the arm away from the hinge, and using a wrench to loosen the pivot pin if necessary. Once the arm has been removed, it can be replaced with a new one.
Replacing the Bent Arm
https://www.youtube.com/watch?v=7MBICc8VJa8&embed=true
If your attic ladder arm is bent, it is essential to replace it as soon as possible to prevent any accidents. Here are the steps to replace the bent arm:
-
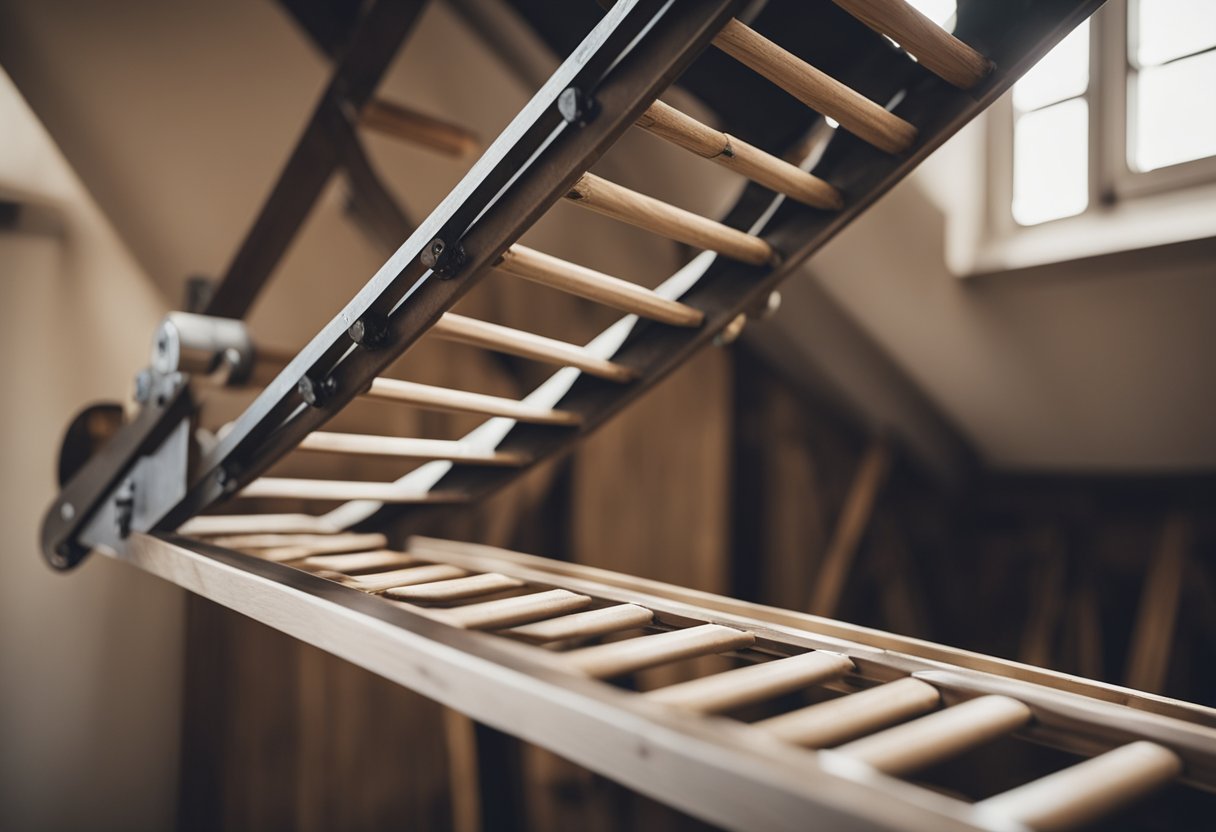
Remove the old arm: First, remove the screws or bolts that connect the bent arm to the ladder and ceiling frame. You may use a screwdriver, adjustable wrench, or socket wrench, depending on the fastener type. If the fasteners are stuck, applying penetrating oil can help loosen them.
-
Measure the replacement arm: Once you have removed the old arm, measure the length of the replacement part. The new arm should be the same size and shape as the old one.
-
Attach the replacement arm: Once you have the replacement arm, attach it to the ladder and ceiling frame. Make sure to use the same screws, bolts, or nuts that you removed from the old arm. Tighten them securely to ensure that the new arm is properly attached.
-
Adjust the arm: Finally, adjust the new arm to ensure that it is in the correct position. The arm should be straight and parallel to the ladder. If necessary, adjust the screws or bolts to reattach the arm in the correct position.
Replacing the bent arm of your attic ladder is a simple process that can be done with basic tools. However, if you are not confident in your ability to replace the arm, it is best to hire a professional to do the job for you.
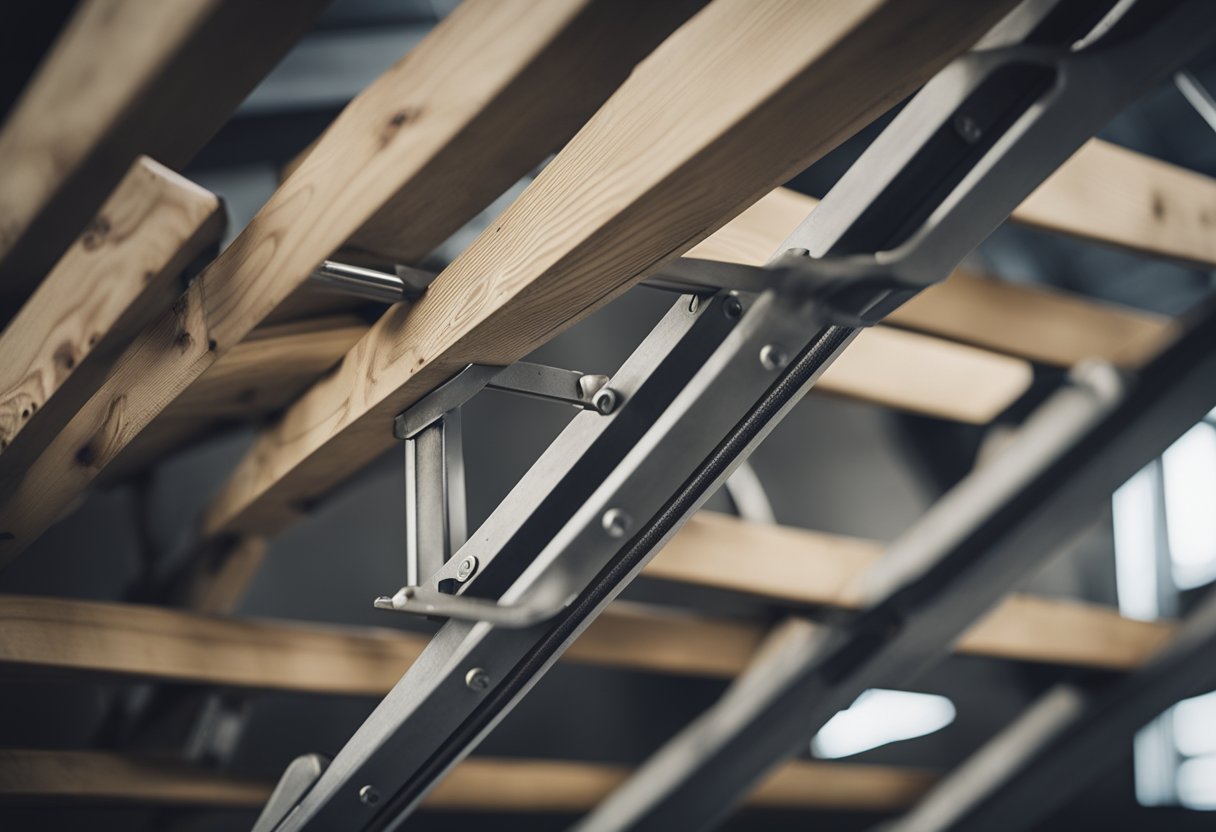
Testing and Adjusting the New Arm
After replacing the bent arm of your attic ladder hinge, it is essential to test and adjust the new arm to ensure safety and stability. Here are the steps to follow:
-
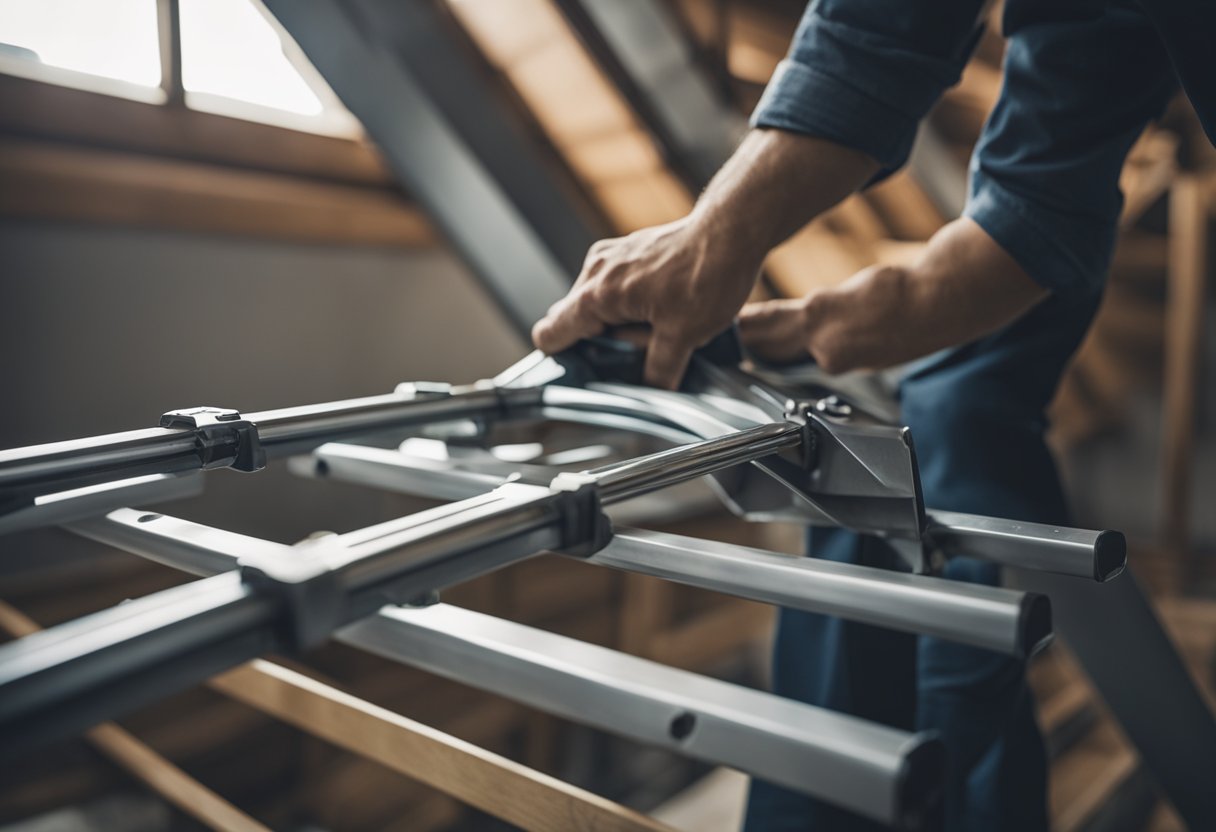
Test the ladder: Before adjusting the new arm, test the ladder to ensure that it is functioning correctly. Open and close the ladder a few times to check for any issues. Make sure that the ladder is stable and that there is enough clearance for you to climb up and down.
-
Adjust the arm: If the ladder is functioning correctly, proceed to adjust the new arm. Loosen the adjustment nuts found on the J-hooks’ threaded stems that link each spring with the corresponding power arm. Use an open-end wrench to loosen the locking nut that fastens the adjustment nuts to the threaded stem. Adjust the arm to the desired position, and then tighten the locking nut and the adjustment nuts. This eliminates the gap between the door and the frame, ensuring that the ladder is stable and safe to use.
-
Test the ladder again: After adjusting the new arm, test the ladder again to ensure that it is functioning correctly. Open and close the ladder a few times to check for any issues. Make sure that the ladder is stable and that there is enough clearance for you to climb up and down.
-
Final adjustments: If the ladder is still not functioning correctly, make final adjustments to the new arm. You may need to adjust the arm further or replace it entirely. Always prioritize safety when making adjustments to the attic ladder hinge arm.
By following these steps, you can ensure that your attic ladder is safe and stable for use. Remember to test the ladder and adjust the new arm carefully to avoid any accidents or injuries.
Maintenance and Troubleshooting
https://www.youtube.com/watch?v=rffW8NqAowk&embed=true
As a homeowner, I understand the importance of maintaining and troubleshooting my attic ladder arm to ensure that it remains in good working condition. Regular maintenance can help prevent wear and tear, which can lead to costly repairs or even accidents. Here are some tips on how to maintain and troubleshoot your attic ladder arm.
Lubrication
One of the most important things you can do to maintain your attic ladder arm is to lubricate it regularly. Over time, dust and debris can accumulate on the ladder springs, causing them to become loose or squeaky. By lubricating the springs and hinges, you can prevent this from happening, ensuring that your ladder operates smoothly.
Inspection
Another important aspect of maintaining your attic ladder arm is to inspect it regularly for signs of wear and tear. Check the ladder springs and hinges for any signs of damage or corrosion. If you notice any issues, it is important to address them promptly to prevent further damage.
Troubleshooting
If you are experiencing issues with your attic ladder arm, there are a few troubleshooting steps you can take. First, check to see if the ladder is properly aligned and seated in the frame. If it is not, adjust it accordingly. If the ladder still does not operate smoothly, you may need to adjust or replace the ladder springs or hinges. If you are unsure how to do this, it may be best to consult with a professional.
By following these maintenance and troubleshooting tips, you can ensure that your attic ladder arm remains in good working condition for years to come.
Conclusion
In conclusion, fixing a bent attic ladder arm is a DIY project that can save you money and ensure your safety. A well-functioning attic ladder allows homeowners to efficiently utilize their attic as storage or additional living space. Therefore, it is essential to keep it in good condition.
Safety is a top priority when it comes to attic ladder repair. A ladder that is not in good condition can be a hazard to the user. Regular inspection of the ladder is recommended to ensure that it is in good condition. If the ladder is damaged, it is safer to replace it with a new one rather than attempting to fix it.
While hiring a professional to fix your attic ladder arm may seem like an easier option, it can be costly. Fixing the ladder arm yourself can save you money and give you a sense of accomplishment. However, it is important to have the right tools and knowledge before attempting the repair.
In summary, fixing a bent attic ladder arm is a DIY project that can be done by the customer, but safety should always be the top priority. By following the right steps and using the correct tools, you can ensure that your attic ladder is in good condition and safer to use.
Frequently Asked Questions
https://www.youtube.com/watch?v=tMAvqbZ-olw&embed=true
Can a bent arm on an attic ladder be repaired or replaced?
Yes, a bent arm on an attic ladder can be repaired or replaced. Depending on the extent of the damage, a simple adjustment may be enough to fix the issue. However, if the arm is severely bent or damaged, it may need to be replaced entirely.
What are the common causes of a bent arm on an attic ladder?
The most common causes of a bent arm on an attic ladder are excess weight or force applied to the ladder. This can occur when the ladder is overloaded or when someone tries to force it into a space that is too small. Additionally, wear and tear over time can cause the arm to become weakened and more susceptible to bending.
How can I prevent the arm on my attic ladder from bending?
To prevent the arm on your attic ladder from bending, it is important to follow proper usage guidelines. This includes avoiding overloading the ladder, inspecting the arm regularly for signs of wear and damage, and storing the ladder properly when not in use. Additionally, using a ladder stabilizer can help distribute weight more evenly and reduce the risk of damage.
Is it safe to use an attic ladder with a bent arm?
No, it is not safe to use an attic ladder with a bent arm. A bent arm can cause the ladder to be unstable and increase the risk of accidents or injuries. It is important to repair or replace the arm as soon as possible to ensure the safety of anyone using the ladder.
What is the cost of repairing or replacing a bent arm on an attic ladder?
The cost of repairing or replacing a bent arm on an attic ladder can vary depending on the extent of the damage and the type of ladder. In general, repairs may cost anywhere from $50 to $200, while replacement arms can cost $100 to $300.
Who should I contact for professional repair of a bent arm on my attic ladder?
For professional repair of a bent arm on your attic ladder, it is best to contact a licensed and experienced contractor or handyman. They will have the knowledge and tools necessary to assess the damage and recommend the best course of action for repair or replacement.

Hi, I’m Sal Muller of Tooltrip.com. My DIY experience led me to understand essential power tools for home projects. Tooltrip.com guides enthusiasts and professionals in choosing right tools for any job. I provide concise top tool reviews for easier, efficient DIY.
