
When it comes to maintaining a shower, one of the most important things to consider is the seal around the shower door frame. A properly sealed shower door helps to prevent leaks and water damage, which can be costly to repair. In this article, I will provide a step-by-step guide on how to seal a shower door frame.
Understanding shower door seals is the first step to successfully sealing your shower door frame. There are various types of seals available in the market, such as magnetic seals, vinyl seals, and silicone seals. Each type of seal has its own benefits and drawbacks. It is important to choose the right type of seal for your shower door frame to ensure a long-lasting and effective seal. With that said, let’s dive into the steps required to seal your shower door frame.
Key Takeaways
- Understanding the different types of shower door seals is crucial for choosing the right one for your shower door frame.
- Proper preparation, removal of the old seal, and installation of the new seal are essential steps in the sealing process.
- Regular maintenance of your shower door seal can help prevent leaks and water damage in the future.
Understanding Shower Door Seals
https://www.youtube.com/watch?v=IU-5abG6Mo0&embed=true
As someone who has installed and maintained shower doors in the past, I know that a properly sealed shower door is essential to prevent water leaks. A shower door seal is a strip of rubber or vinyl that is attached to the bottom or sides of the shower door to prevent water from escaping.
There are different types of shower door seals available in the market, including bottom seals, side seals, and magnetic seals. Bottom seals are the most common type of shower door seals and are used to prevent water from leaking out of the bottom of the shower door. Side seals are used to prevent water from escaping from the sides of the shower door, while magnetic seals are used to ensure that the shower door stays closed when not in use.
If you have an old shower door seal that is worn out or damaged, it is important to replace it as soon as possible to prevent water leaks. A worn-out seal can cause water to leak out of the shower, leading to water damage and mold growth.
When purchasing a new shower door seal, it is important to ensure that it is the right size and shape for your shower door frame. A seal that is too long or too short will not provide adequate protection against water leaks.
In addition to preventing water leaks, a shower door seal can also help to improve the overall appearance of your shower. A clean, well-maintained shower door seal can make your shower look more attractive and inviting.
In summary, understanding shower door seals is essential for anyone who wants to maintain a leak-free shower. Whether you have a framed or frameless shower door, a properly installed and maintained shower door seal is essential to prevent water leaks and maintain the appearance of your shower.
Preparatory Steps
Before sealing your shower door frame, it is important to take some preparatory steps to ensure a successful outcome. Here are some important steps to follow:
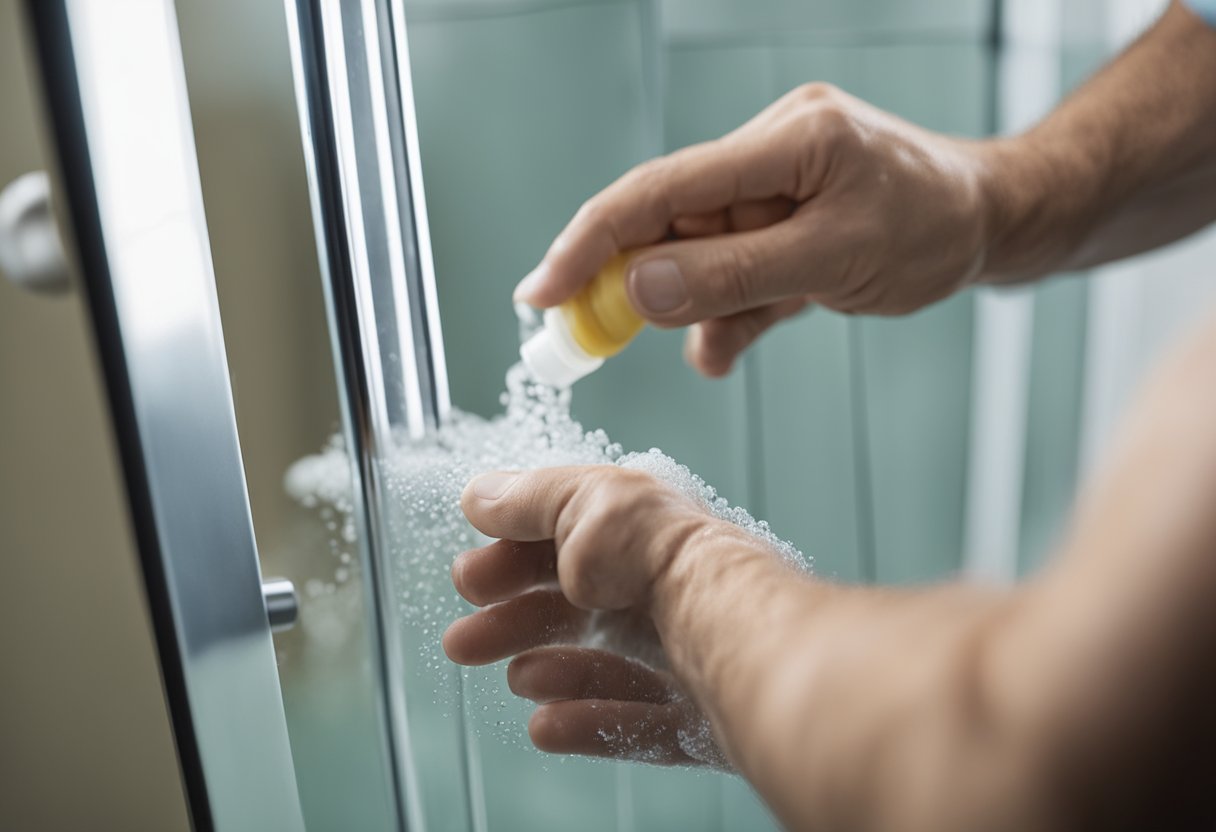
Cleaning the Shower Door Frame
The first step in sealing your shower door frame is to ensure that it is clean and free from any dirt, grime, or soap scum. You can use a damp rag and a cleaning spray to clean the frame thoroughly. Make sure to dry it completely before proceeding.
Removing Mold and Mildew
If you notice any mold or mildew on the shower door frame, it is important to remove it before sealing. You can use a cleaning spray specifically designed to remove mold and mildew. Make sure to follow the instructions on the spray bottle carefully.
Discolored Areas
If there are any discolored areas on the shower door frame, you can use a cleaning spray to remove them. Simply spray the affected area and wipe it with a damp rag. If the discoloration persists, you may need to sand the area lightly.
Tools Required
You will need a few tools to seal your shower door frame. These include a screwdriver, a level, and a saw. Make sure to have these tools on hand before starting the sealing process.
By following these preparatory steps, you will ensure that your shower door frame is clean and ready for sealing. This will help to ensure a successful outcome and prevent any future leaks.
Removing the Old Seal
https://www.youtube.com/watch?v=ygDuFvXuryQ&embed=true
When it comes to sealing a shower door frame, the first step is to remove the old seal. This is an important step because if the old seal is left in place, it can cause problems with the new seal and prevent it from working properly.
To remove the old seal, I start by inspecting it for any signs of wear and tear. If the old seal is brittle or cracked, it is a clear indication that it needs to be replaced. It is also important to check for any water leakage or moisture around the shower door frame or on the bathroom floor.
Once I have determined that the old seal needs to be replaced, I use a putty knife to carefully pry it away from the door frame. I work slowly and gently to avoid damaging the frame or the door. If the old seal is difficult to remove, I use a hairdryer to soften it up and make it easier to remove.
After removing the old seal, I clean the area thoroughly with a damp cloth to remove any dirt, grime, or adhesive residue. This helps to ensure that the new seal will adhere properly to the frame and provide a tight seal that prevents water leakage.
Overall, removing the old seal is an important step in the process of sealing a shower door frame. It requires a careful and methodical approach to avoid damaging the door or frame, but with the right tools and techniques, it can be done quickly and easily.
Cutting and Installing the New Seal
https://www.youtube.com/watch?v=2kVskrbglk8&embed=true
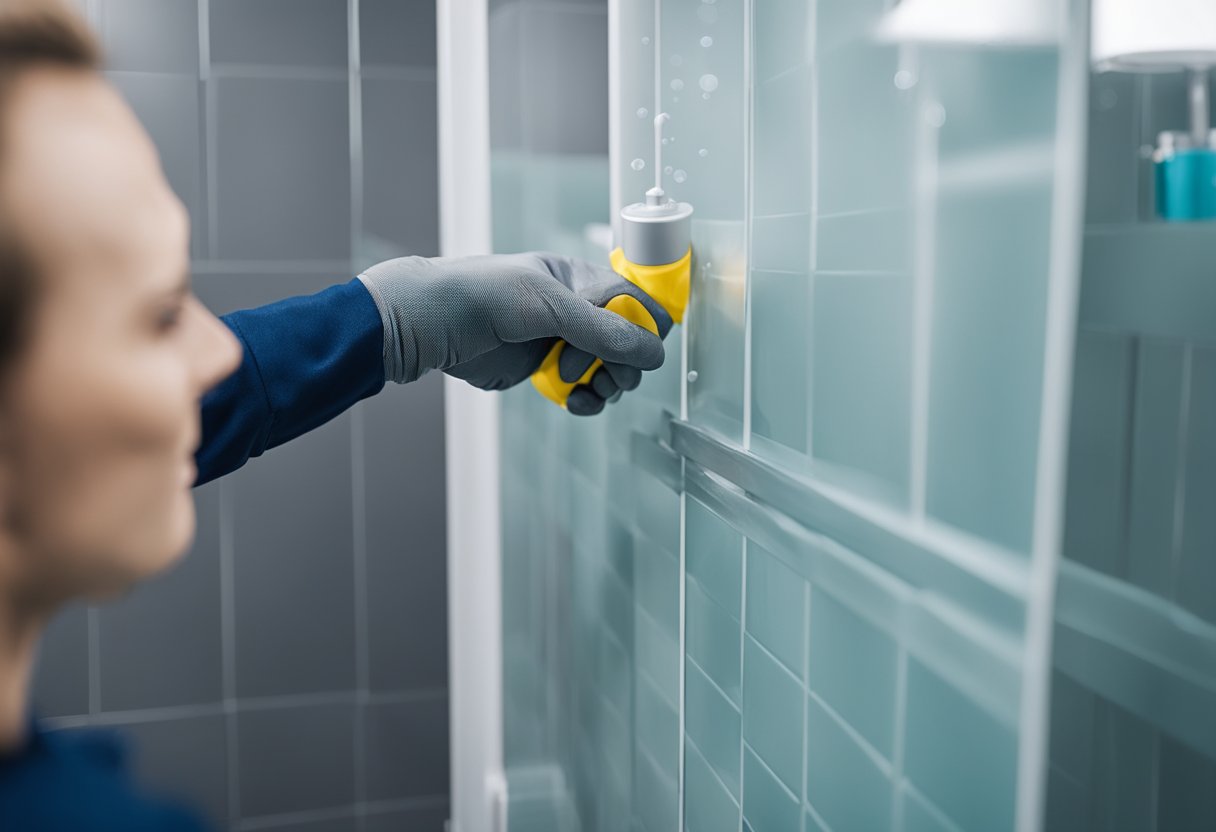
Once you have removed the old seal, it’s time to install a new one. Measure the length of the bottom sweep or seal strip that you need. You can use a tape measure or ruler to get an accurate measurement. Make sure to measure the length of the bottom sweep from end to end.
Next, take a saw and cut the new seal to the correct length. You can use a hacksaw or a hand saw to make the cut. Make sure to cut the seal straight and at a 90-degree angle.
Once you have cut the new seal, you can attach it to the shower door. Most shower door seals come with pre-drilled holes for hinges. If your seal doesn’t have pre-drilled holes, you can use a drill to make them.
Attach the new seal to the shower door using screws or adhesive. Make sure that the seal is attached securely and that there are no gaps between the seal and the shower door.
Finally, test the new seal to make sure that it is working properly. Open and close the shower door a few times to make sure that the seal is not interfering with the hinges. If everything looks good, you’re done!
Remember, installing a new shower door seal is a simple and affordable way to prevent leaks and keep your bathroom dry. By following these steps, you can ensure that your new seal is installed correctly and will provide years of reliable service.
Sealing the Shower Door Frame
https://www.youtube.com/watch?v=AyxtT15guso&embed=true
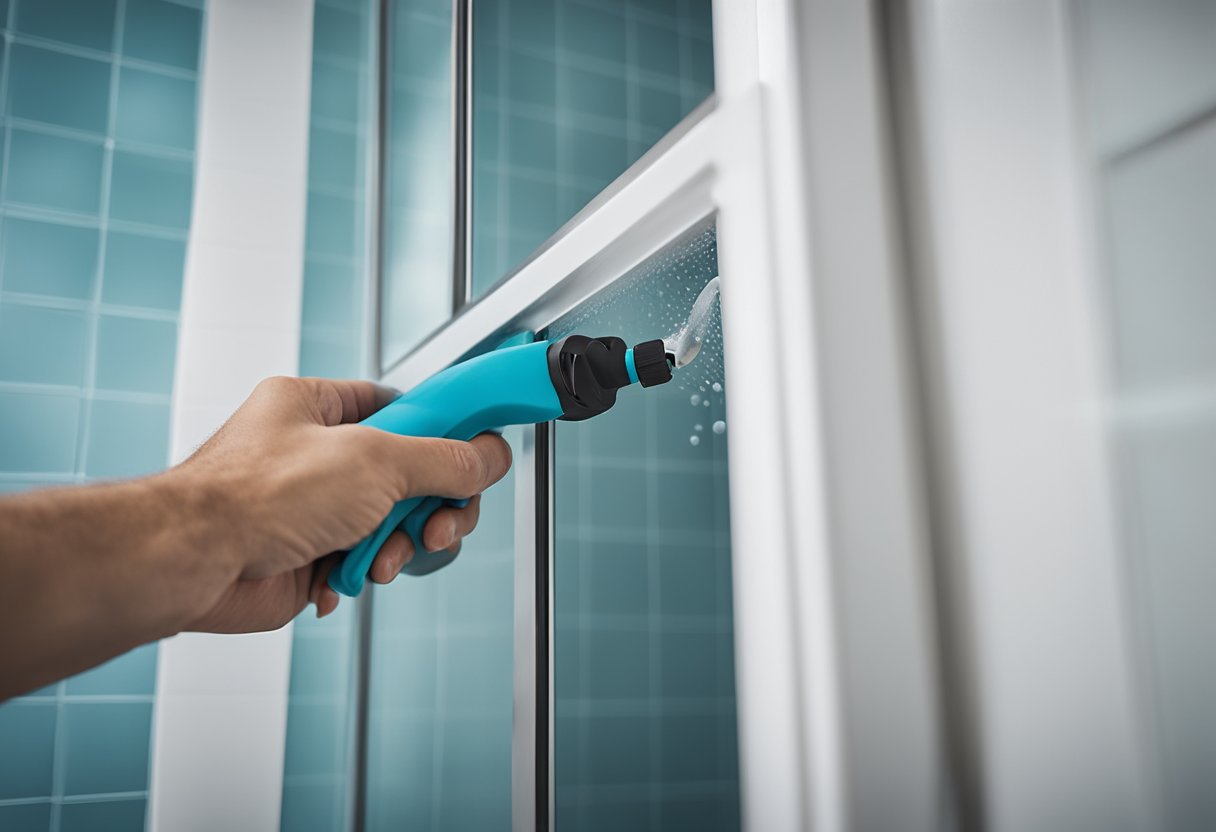
When it comes to sealing the shower door frame, there are a few options to consider. The most common choices are caulk, silicone, and adhesive. Each of these has its own strengths and weaknesses, so it’s important to choose the right one for your needs.
One of the most important factors to consider is the type of seal you need. A lip or drip rail can help to direct water away from the door and prevent leaks. Clear silicone or waterproof silicone caulk can also be used to seal gaps and prevent water from getting through.
Before applying any sealant, it’s important to clean the area thoroughly. This will ensure that the sealant adheres properly and provides a strong seal. Use a mild detergent and warm water to clean the shower glass and frame, and allow it to dry completely before applying any sealant.
When applying sealant, it’s important to follow the manufacturer’s instructions carefully. Apply the sealant evenly and smoothly, and use a caulk smoothing tool or your finger to smooth out any bumps or ridges. This will help to ensure a strong and even seal.
Overall, sealing the shower door frame is an important step in keeping your shower clean and dry. By choosing the right sealant and following the proper steps, you can prevent leaks and ensure that your shower stays in good condition for years to come.
Addressing Potential Leakage Issues
https://www.youtube.com/watch?v=u_kxp_vBnfI&embed=true
As a homeowner, I understand how frustrating it can be to deal with water leakage issues in the bathroom. One of the most common areas where water leakage occurs is around the shower door frame. There are several reasons why this can happen, including gaps between the door and the frame, worn-out bottom sweeps, or damaged drip rails.
To prevent water leakage, it’s important to address these issues as soon as possible. Here are some steps that I recommend taking:
1. Check for Gaps
The first step is to check for any gaps between the shower door and the frame. If you notice any gaps, you can use silicone caulking to seal them. Make sure to clean the area thoroughly before applying the caulking, and allow it to dry completely before using the shower.
2. Inspect the Bottom Sweep
The bottom sweep is a rubber strip that runs along the bottom of the shower door. Over time, it can become worn out or damaged, which can lead to water leakage. If you notice that the bottom sweep is damaged, you can replace it easily by purchasing a new one from a hardware store.
3. Install a Drip Rail
A drip rail is a plastic strip that is attached to the bottom of the shower door. It helps to direct water back into the shower and prevents it from dripping onto the bathroom floor. If your shower door doesn’t have a drip rail, you can purchase one and install it yourself.
By taking these steps, you can prevent water leakage and keep your bathroom floor dry. It’s important to address these issues as soon as possible to avoid any potential damage to your bathroom. If you’re unsure about how to address these issues, it’s always best to consult with a professional.
Maintaining Your Shower Door Seal
As important as it is to install a shower door seal correctly, it is equally important to maintain it properly. A well-maintained seal can last for years, providing you with a water-tight shower enclosure. Here are some tips to help you keep your shower door seal clean, mold-free, and durable.
Clean the Seal Regularly
Cleaning the shower door seal regularly is essential to prevent the buildup of soap scum, dirt, and mildew. Use a mild cleaner and a soft-bristled brush to scrub the seal gently. Avoid using abrasive cleaners or brushes, as they can damage the seal. Rinse the seal thoroughly with water after cleaning and dry it with a clean cloth.
Remove Mold and Mildew
Mold and mildew can grow on the shower door seal if it is not cleaned regularly. To remove mold and mildew, mix equal parts of water and white vinegar in a spray bottle. Spray the mixture on the seal and let it sit for 10-15 minutes. Scrub the seal gently with a soft-bristled brush and rinse it thoroughly with water. Dry the seal with a clean cloth.
Check for Damage
Regularly check the shower door seal for any signs of damage, such as cracks or tears. If you notice any damage, replace the seal immediately to prevent water from seeping through. A damaged seal can also cause the shower door to become misaligned, which can lead to further damage.
Conclusion
Maintaining your shower door seal is crucial to keep your shower enclosure water-tight and durable. By following these simple tips, you can keep your shower door seal clean, mold-free, and in good condition for years to come.
Frequently Asked Questions

What is the best sealant for glass shower doors?
The best sealant for glass shower doors is silicone caulk. It is waterproof and flexible, making it perfect for sealing around the edges of your shower door. You can choose from clear or colored silicone caulk depending on your preference.
How do you seal a frameless shower door?
To seal a frameless shower door, you can use a clear silicone sealant. Apply the sealant to the edges of the glass shower door and smooth it out with a caulk smoothing tool. This will ensure that the sealant is evenly distributed and provides a tight seal.
What is a vertical shower door seal strip and how do you install it?
A vertical shower door seal strip is a rubber strip that is installed on the edge of the shower door to prevent water from leaking out. To install it, simply measure the length of the shower door and cut the strip to size. Then, peel off the backing and press the strip onto the edge of the door. Make sure it is pressed down firmly to create a tight seal.
Should you seal the inside of a shower screen?
It is not necessary to seal the inside of a shower screen. The purpose of sealing is to prevent water from leaking out of the shower and causing damage to the surrounding area. Since the inside of the shower screen is already contained within the shower, there is no need to seal it.
How do you seal a shower wall?
To seal a shower wall, you can use a waterproof sealant such as silicone caulk. Apply the sealant to the edges of the shower wall where it meets the floor and the ceiling. Smooth out the sealant with a caulk smoothing tool to ensure that it is evenly distributed and provides a tight seal.
What is the proper way to caulk a shower door bottom frame?
To caulk a shower door bottom frame, first, remove any old caulk or sealant. Then, clean the area with rubbing alcohol and let it dry completely. Apply a bead of silicone caulk to the bottom edge of the shower door frame and smooth it out with a caulk smoothing tool. Allow the caulk to dry completely before using the shower.

Hi, I’m Sal Muller of Tooltrip.com. My DIY experience led me to understand essential power tools for home projects. Tooltrip.com guides enthusiasts and professionals in choosing right tools for any job. I provide concise top tool reviews for easier, efficient DIY.
