
Cleaning your drywall tools is an essential part of maintaining their longevity. Drywall tools are expensive, and you want to make sure that they last as long as possible. Regular cleaning of your drywall tools will also ensure that they are always ready for use when you need them. In this article, I will guide you through the process of cleaning your drywall tools step-by-step.
Before we dive into the cleaning process, it’s important to understand the different types of drywall tools and their uses. Knowing the tools’ functions will help you identify which tools need cleaning and how to clean them properly. We will also discuss the importance of regular cleaning and how it can prevent rust and damage to your tools.
Once you have a good understanding of drywall tools and their importance, we will move on to the preparation for cleaning. This includes gathering the necessary cleaning materials and preparing your work area. We will then go through the step-by-step cleaning process and discuss how to deal with rust and damage. Lastly, we will cover how to dry and store your drywall tools properly and provide additional tips for cleaning drywall tools.
Key Takeaways
- Regular cleaning of your drywall tools is essential for their longevity and to ensure they are always ready for use.
- Understanding the different types of drywall tools and their uses is crucial in identifying which tools need cleaning and how to clean them properly.
- Proper preparation, step-by-step cleaning, and drying and storing your tools correctly will help prevent buildup and prolong your drywall tools’ lifespan.
Understanding Drywall Tools
https://www.youtube.com/watch?v=Na2dfba2Y_0&embed=true
As a DIY enthusiast or a professional, you need to have the right tools to get the job done. When it comes to drywall installation and repair, having the right tools is crucial. In this section, I will introduce you to some of the essential drywall tools and their uses.
Putty Knife
A putty knife is a versatile tool used for scraping, applying, and smoothing drywall compound. It is also known as a joint knife or a scraper. Putty knives come in different sizes, ranging from 1 inch to 6 inches. The smaller sizes are ideal for applying compound to small areas, while the larger sizes are used for spreading compound over larger surfaces.
Taping Knife
A taping knife is a tool used for applying drywall tape and compound to joints. It is also known as a joint knife or a drywall knife. Taping knives come in different sizes, ranging from 6 inches to 14 inches. The larger sizes are used for spreading compound over larger surfaces, while the smaller sizes are used for applying compound to small areas.
Scraper
A scraper is a tool used for removing excess drywall compound from surfaces. It is also known as a putty knife or a joint knife. Scrapers come in different sizes, ranging from 1 inch to 6 inches. The smaller sizes are ideal for removing excess compound from small areas, while the larger sizes are used for removing excess compound from larger surfaces.
Drywall Trowels
Drywall trowels are tools used for applying and smoothing drywall compound. They come in different shapes and sizes, including square, rectangular, and round. The most common sizes range from 4 inches to 14 inches.
Mud Pans
Mud pans are containers used for holding drywall compound. They come in different sizes, ranging from small handheld pans to larger pans that can hold several gallons of compound.
Drywall Tape
Drywall tape is used for reinforcing joints and preventing cracks from forming in drywall. It comes in different types, including paper tape, mesh tape, and fiberglass tape. Paper tape is the most common type and is used for most applications.
Drywall tools are essential for every DIYer or professional who deals with drywall installations or repairs. By understanding the different types of tools and their uses, you can ensure that you have the right tools for the job.
The Importance of Regular Cleaning
https://www.youtube.com/watch?v=foX3lfZAI1E&embed=true
As someone who has been working with drywall tools for a long time, I cannot stress enough the importance of regular cleaning. Proper cleaning and maintenance of your drywall tools can significantly extend their durability and lifespan, saving you time and money in the long run.
When you use drywall tools, joint compound or mud tends to accumulate on the blade, handle, and other parts of the tool. If left uncleaned, this buildup can harden and become difficult to remove, eventually leading to rust and damage to the tool. Regular cleaning prevents this from happening.
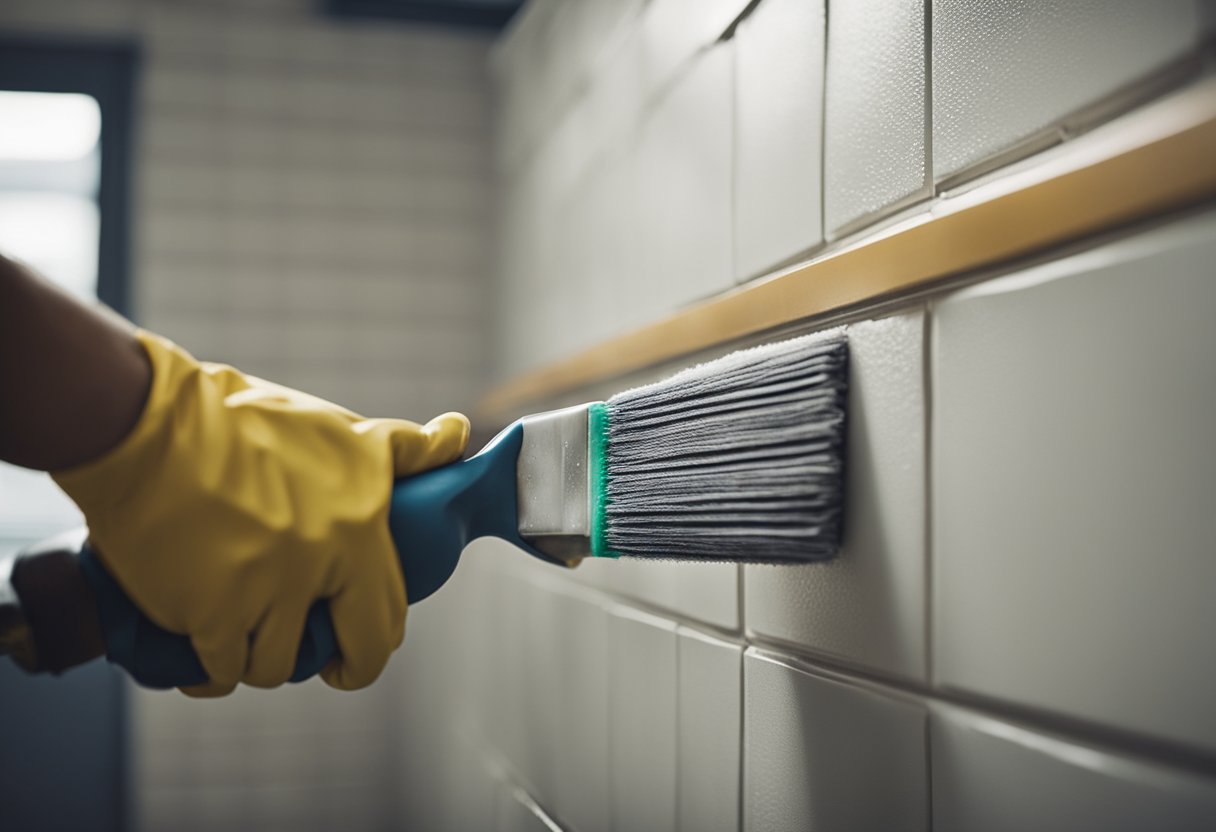
Cleaning your drywall tools after each use is a simple but effective way to keep them in good condition. The process involves removing any obvious residue from the blade and handle by wiping it down with a clean cloth. For tougher stains, you can use a mild dish soap mixed with warm water and a scrub brush with medium stiffness to scrub away the dried compound and debris.
In addition to extending the lifespan of your tools, regular cleaning also ensures that they work efficiently. Dirty tools can affect the quality of your work and make the job more difficult than it needs to be. Clean tools allow you to work more effectively, resulting in a smoother finish and a more professional look.
Overall, regular cleaning and maintenance of your drywall tools is essential for their durability and lifespan. It is a simple but effective way to ensure that your tools work efficiently and produce high-quality results.
Preparation for Cleaning
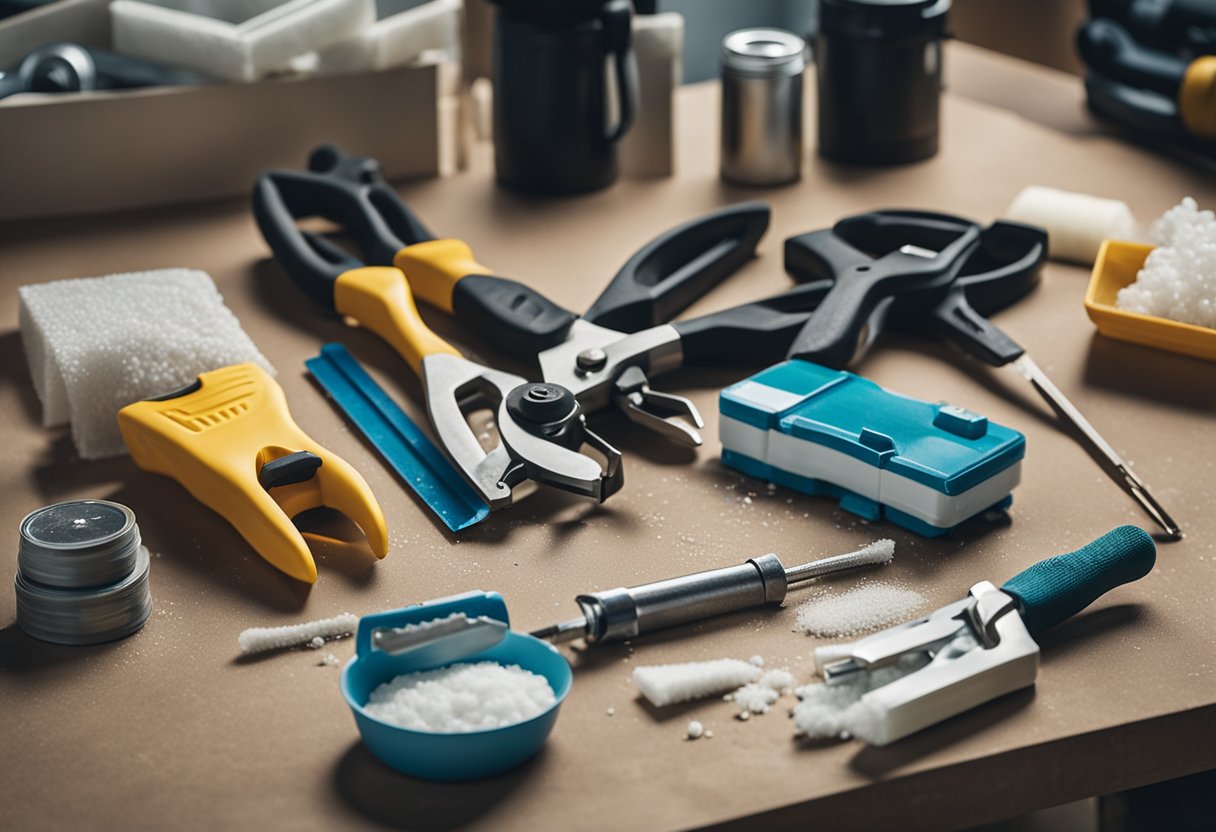
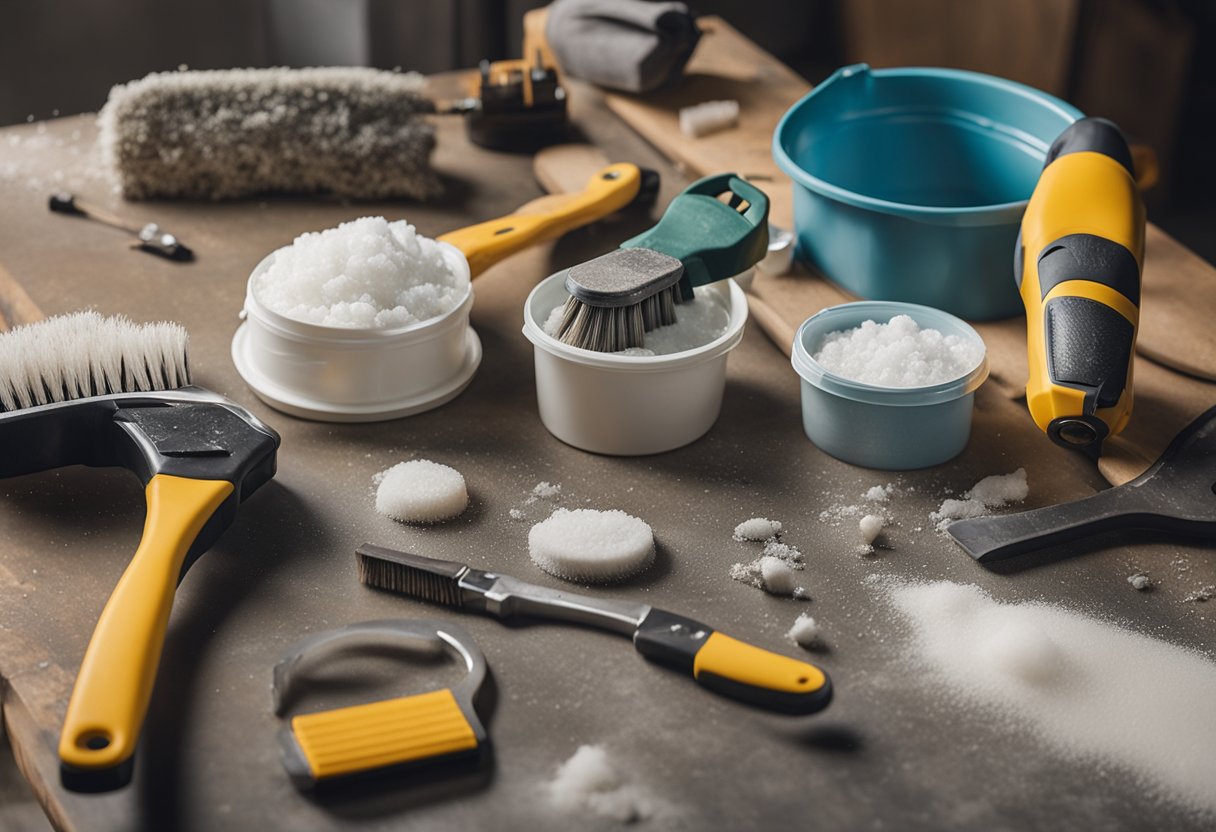
Before starting to clean drywall tools, it is essential to prepare the necessary materials. The following items are needed for cleaning drywall tools: a bucket, warm water, mild dish soap, scrub brush, and a clean cloth.
To start, I fill a bucket with warm water and add a few drops of mild dish soap. I prefer using warm water as it helps to soften the dried mud on the tools, making it easier to clean. If warm water is not available, using room temperature water is also acceptable.
Next, I prepare a clean cloth to wipe down the tools after cleaning. A scrub brush with medium stiffness is also needed to scrub away any remaining dirt or residue.
It is important to note that the bucket of water should be large enough to submerge the tools completely. If a bucket is not available, a sink can be used instead. However, it is important to avoid clogging the sink with excess mud, as this can cause plumbing issues.
In summary, preparing the necessary materials is the first step in cleaning drywall tools. A bucket of warm water with a few drops of mild dish soap, a scrub brush, and a clean cloth are essential items needed for cleaning.
Step-by-Step Cleaning Process
https://www.youtube.com/watch?v=vR1xT5QsuWE&embed=true
Cleaning drywall tools is essential to maintain their effectiveness and prolong their lifespan. Here is a step-by-step process to clean your drywall tools:
-
Scrape off any excess joint compound or paint from the tools using a putty knife or your drywall taping knife. Make sure to scrape off as much as possible to avoid clogging the drain.
-
Soak the tools in a bucket of warm water. You can add a small amount of vinegar to the water to help loosen any dried joint compound. Make sure the tools are completely submerged in the water.
-
Let the tools soak for at least 30 minutes, or until the dried joint compound has softened.
-
Scrub the tools with a stiff scrub brush or a scouring pad to remove any remaining joint compound or paint. Make sure to scrub all parts of the tool, including the handle.
-
Rinse the tools thoroughly with clean water to remove any remaining residue.
-
Dry the tools completely using a clean rag or a sponge. Make sure to remove all excess water to prevent rust or corrosion.
-
Store the dry tools in a clean, dry place until their next use.
By following these simple steps, you can keep your drywall tools clean and in good condition for years to come. Remember to clean your tools after each use to prevent buildup and maintain their effectiveness.
Dealing with Rust and Damage
https://www.youtube.com/watch?v=lfYCUJSZe7o&embed=true
When it comes to drywall tools, rust can be a common issue, especially if they are not stored properly. Rust can cause damage to the metal, which can affect the performance of the tools. If you notice rust on your drywall tools, it is important to deal with it as soon as possible.
One way to deal with rust is to use a rust inhibitor spray. These sprays can help prevent rust from forming on your tools and can also help remove rust that has already formed. Simply spray the rust inhibitor on the affected area and let it sit for a few minutes. Then, use a wire brush or sandpaper to remove the rust. Be sure to wear gloves and eye protection when using these products.
If the rust has caused damage to the metal fasteners or other parts of the tool, it may be necessary to replace those parts. This can be a DIY project if you have the necessary tools and knowledge. However, if you are not comfortable with this type of work, it is best to take your tools to a professional for repair.
In addition to rust, drywall tools can also suffer from other types of damage, such as dents or cracks. If you notice any damage to your tools, it is important to address it right away. Dents and cracks can affect the performance of the tool and can also be a safety hazard.
To repair dents and cracks, you can use a metal filler. Simply apply the filler to the affected area and smooth it out with a putty knife. Once the filler has dried, you can sand it down to create a smooth surface. Be sure to follow the manufacturer’s instructions when using metal filler.
Overall, dealing with rust and damage on drywall tools is an important part of tool maintenance. By taking care of your tools, you can ensure that they last longer and perform better.
Drying and Storing Drywall Tools
https://www.youtube.com/watch?v=Ox–Ma7TCqI&embed=true
After cleaning your drywall tools, it is essential to dry them thoroughly before storing. Leaving moisture on the tools can cause rust and corrosion, which can damage the tools and reduce their lifespan. Here are some tips for drying and storing your drywall tools:
- Use a clean towel to dry the tools thoroughly. Make sure to dry all parts of the tool, including the handle and any crevices where moisture can accumulate.
- If you have a lot of tools to dry, use a fan to speed up the drying process. Place the tools in a well-ventilated area and turn on the fan. This will help to circulate the air and dry the tools faster.
- If you are in a hurry and need to dry the tools quickly, use a hairdryer on the cool setting. Hold the tool a few inches away from the hairdryer and move it around to dry all parts of the tool.
Once your drywall tools are dry, it is important to store them properly to prevent moisture from accumulating and causing rust. Here are some tips for storing your drywall tools:
- Store your drywall tools in a dry place. Moisture can accumulate in damp areas and cause rust and corrosion on your tools.
- Use a plastic container to store your drywall tools. Plastic is non-corrosive and will not react with the metal on your tools.
- If you don’t have a plastic container, wrap your drywall tools in a clean towel before storing them. This will help to absorb any moisture and prevent rust from forming.
- Store your drywall tools with the handles facing up. This will prevent any moisture from accumulating in the handle and causing rust.
By following these tips for drying and storing your drywall tools, you can ensure that your tools last longer and perform better.
Preventing Buildup and Prolonging Lifespan
As a professional in the drywall industry, I know how important it is to keep my tools clean and well-maintained. Not only does this prevent buildup and debris from affecting the quality of my work, but it also helps to prolong the lifespan of my tools.
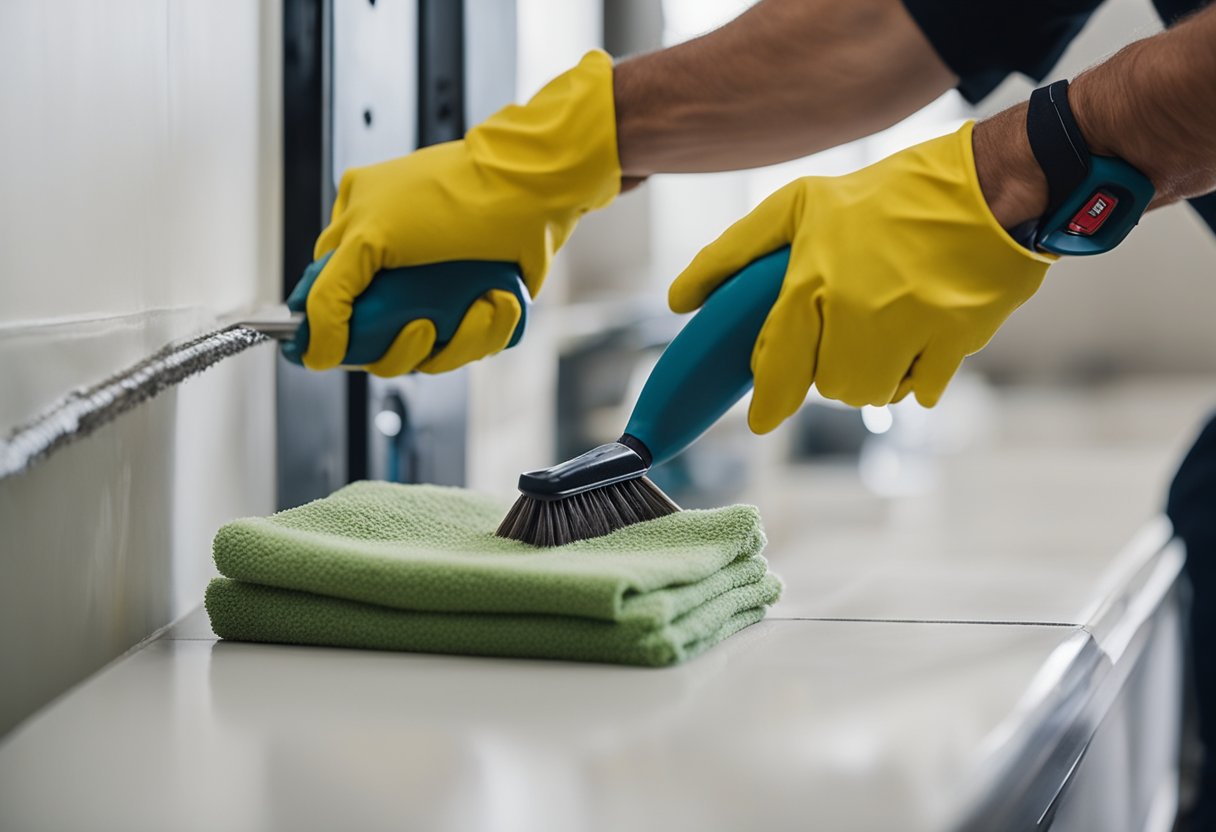
One of the most important steps in preventing buildup is to clean your tools thoroughly after each use. This includes removing any excess joint compound or debris from the blade and handle of your tools. I recommend using a stiff scrub brush or sponge to remove any remaining dirt or residue.
Another important step is to keep your workspace clean and free of drywall dust and debris. This can be achieved by sanding and vacuuming your work area regularly. I also recommend using a mud pan to collect excess joint compound and debris, which can then be disposed of properly.
In addition to cleaning your tools and workspace, it’s important to store your tools properly to prevent damage and prolong their lifespan. I recommend storing your tools in a dry, cool place, away from direct sunlight and moisture. You can also use a hose or tube to protect your tools during transport.
Finally, it’s important to inspect your tools regularly for signs of wear and tear. This includes checking for loose screws, caulking, and other damage. If you notice any damage, it’s important to repair or replace your tools as soon as possible to prevent further damage and ensure the quality of your work.
By following these simple steps, you can prevent buildup and debris from affecting the quality of your work, and prolong the lifespan of your drywall tools.
Additional Tips for Cleaning Drywall Tools
Cleaning drywall tools is essential to maintain their longevity and keep them in top condition. While the steps mentioned in the previous section are sufficient to clean your tools, here are some additional tips that can help you achieve even better results.
Heat Treatment
One of the most effective ways to clean drywall tools is by using heat treatment. Heat can help loosen the dried joint compound, making it easier to scrape off with a putty knife. You can use a heat gun or a propane torch to heat up the tool. However, be careful not to overheat the tool as it can damage the blade.
Oil Treatment
Another effective way to clean drywall tools is by using oil. Apply a thin layer of oil on the blade of the tool and let it sit for a few minutes. The oil will help soften the dried joint compound, making it easier to scrape off. After a few minutes, wipe off the excess oil with a clean cloth and proceed with the cleaning process.
Crevices and Corners
Drywall tools often have crevices and corners that are difficult to clean. To clean these areas, use a toothbrush or a small paintbrush. Dip the brush in warm water and scrub the crevices and corners thoroughly. You can also use a toothpick or a cotton swab to clean hard-to-reach areas.
Sandpaper
If your drywall tool has rust or other stubborn stains, use sandpaper to remove them. Use a fine-grit sandpaper and gently rub the affected area until the stain is removed. Be careful not to rub too hard as it can damage the blade.
Broom and Dustpan
After cleaning the drywall tools, it is important to clean the work area as well. Use a broom and dustpan to sweep up any debris or dust. This will help prevent the dust from settling on your tools and causing damage.
WD-40
If your drywall tool has rust, you can use WD-40 to remove it. Spray a small amount of WD-40 on the affected area and let it sit for a few minutes. Then, wipe off the excess WD-40 with a clean cloth and proceed with the cleaning process.
By following these additional tips, you can ensure that your drywall tools are always clean and in top condition.
Frequently Asked Questions
What is the easiest way to clean up drywall dust?
The easiest way to clean up drywall dust is by using a vacuum cleaner with a HEPA filter. You can also use a broom or a brush to sweep the dust into a pile and then use a dustpan to collect it. It is important to wear a mask and goggles to protect yourself from inhaling the dust.
What is the best thing to clean drywall with?
The best thing to clean drywall with is water and a mild detergent. You can use a sponge or a rag to clean the drywall surface. Avoid using abrasive cleaners or scrubbers as they can damage the drywall surface.
How do you clean drywall tools?
To clean drywall tools, start by scraping off as much of the dried joint compound as possible with a putty knife or a drywall taping knife. Then, soak the tools in a bucket of warm water for a few minutes to soften and dissolve the remaining mud. Use a scrub brush or a sponge to clean the tools thoroughly. Rinse the tools with clean water and dry them with a towel.
Can you wash drywall tools in sink?
Yes, you can wash drywall tools in a sink. However, it is important to avoid clogging the sink drain with the mud. To prevent this, scrape off as much of the mud as possible before washing the tools in the sink. You can also use a bucket or a tub to clean the tools.
How to store drywall tools?
To store drywall tools, clean them thoroughly and dry them with a towel. Then, store them in a dry and cool place. You can use a tool bag or a toolbox to keep the tools organized and protected from dust and moisture.
How to remove dried drywall mud?
To remove dried drywall mud, use a scraper or a putty knife to chip away the dried mud. Then, use a sanding block or sandpaper to smooth out the surface. It is important to wear a mask and goggles to protect yourself from inhaling the dust.

Hi, I’m Sal Muller of Tooltrip.com. My DIY experience led me to understand essential power tools for home projects. Tooltrip.com guides enthusiasts and professionals in choosing right tools for any job. I provide concise top tool reviews for easier, efficient DIY.
