
Replacing drywall in a bathroom is a common home improvement project that can help to upgrade the look and feel of your bathroom. Drywall is a popular material for bathroom walls because of its affordability and ease of installation. However, over time, drywall can become damaged due to moisture, mold, or other factors, and may need to be replaced. In this article, I will guide you through the process of replacing drywall in your bathroom, from identifying the need for replacement to finishing the drywall and painting it.
Understanding drywall in bathrooms is an important part of this project. Bathrooms are high-moisture environments that can cause drywall to become damaged more quickly than in other areas of the home. It is essential to identify the need for replacement as soon as possible to prevent further damage to the wall and other areas of the bathroom. With the right tools and materials, you can remove the damaged drywall, install new drywall, and finish and paint the wall to give your bathroom a fresh new look.
Key Takeaways
- Identifying the need for replacement is crucial to prevent further damage to the wall and other areas of the bathroom.
- Removing the damaged drywall is a necessary step in the process of replacing drywall in a bathroom.
- Finishing and painting the drywall is the final step to give your bathroom a fresh new look.
Understanding Drywall in Bathrooms
https://www.youtube.com/watch?v=Dj3R2tHOiUc&embed=true
As a professional contractor, I know that drywall is a popular choice for walls and ceilings in bathrooms. However, it’s important to understand the different types of drywall and their properties to ensure a successful installation.
One of the most important factors to consider when installing drywall in a bathroom is moisture resistance. Bathrooms are high-moisture areas, so it’s crucial to use moisture-resistant drywall to prevent mold and mildew growth. Greenboard is a common type of moisture-resistant drywall that is designed for use in bathrooms and other damp areas. It has a green paper coating that is water-resistant, but it is not waterproof.
Another option for bathroom drywall is cement board. This type of drywall is made from cement and fiber mesh, which makes it highly resistant to moisture and mold. Cement board is often used as a backing for tile in showers and tub surrounds.
It’s also important to note that not all drywall is created equal. Regular drywall, also known as whiteboard, is not suitable for use in bathrooms due to its lack of moisture resistance. Using regular drywall in a bathroom can lead to mold and mildew growth, which can be a health hazard.
In summary, when replacing drywall in a bathroom, it’s important to choose the right type of drywall for the job. Moisture-resistant drywall, such as greenboard or cement board, is essential to prevent mold and mildew growth. By choosing the right type of drywall, you can ensure a successful installation that will last for years to come.
Identifying the Need for Replacement
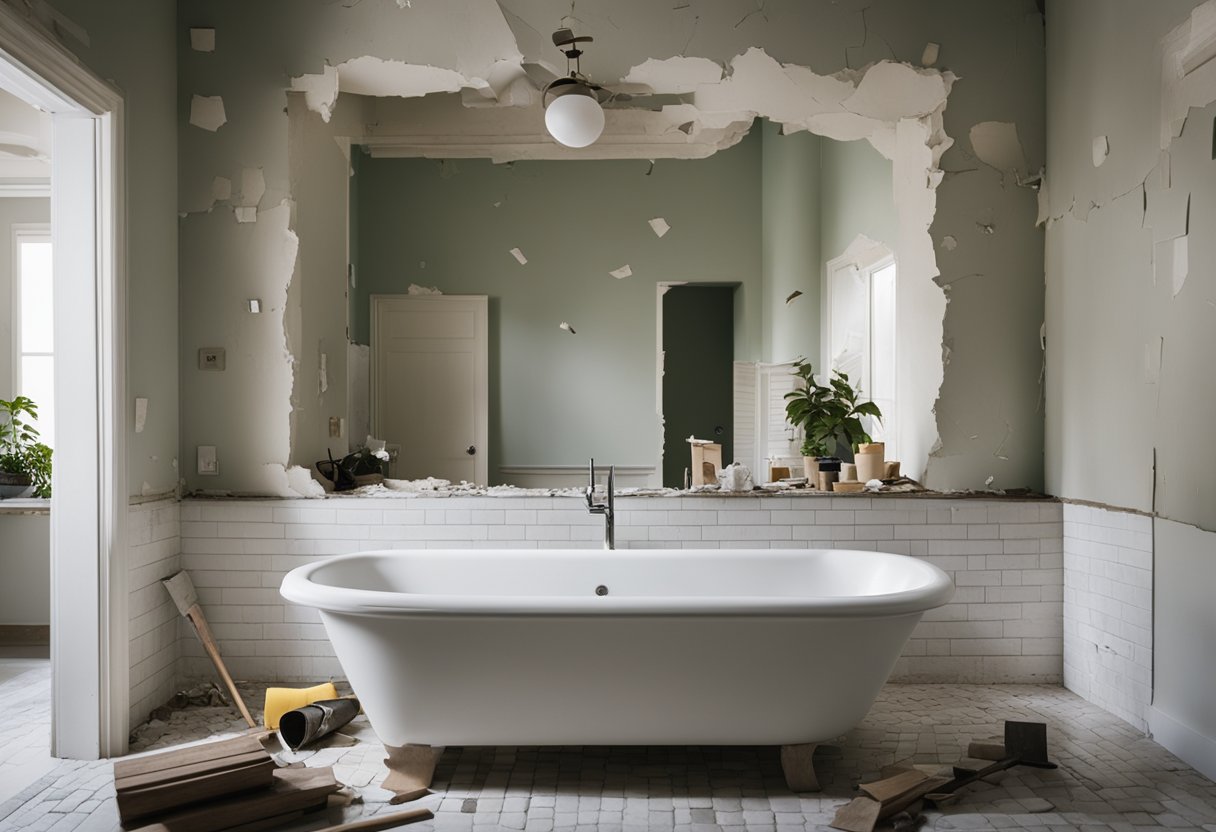
As a professional contractor, I have seen many cases where homeowners attempt to repair damaged drywall in their bathrooms instead of replacing it. While repairing is a cheaper and faster option, it is not always the best solution. Sometimes, drywall damage is beyond repair, and replacing it is the only option. Here are some signs that indicate the need for replacing drywall in your bathroom.
Water Damage
Water damage is a common problem in bathrooms, especially in areas around sinks, showers, and toilets. When drywall comes in contact with water, it can become soft, swollen, and discolored. If the damage is limited to a small area, you can repair it by cutting out the damaged portion and replacing it with a new piece of drywall. However, if the damage is extensive, replacing the entire drywall is a better option.
Mold and Mildew
Mold and mildew thrive in damp and humid environments, making bathrooms a perfect breeding ground. When mold and mildew grow on drywall, they can cause discoloration, foul odor, and health problems. If you notice mold or mildew on your drywall, it is essential to replace it as soon as possible to prevent the spread of spores and protect your health.
Peeling Paint
Peeling paint is a sign of damaged drywall. When drywall is exposed to moisture, it can cause the paint to peel and crack. If you notice peeling paint in your bathroom, it is a sign that your drywall needs attention. While you can repair small areas of peeling paint, extensive damage requires replacement.
Large Hole
A large hole in your bathroom drywall is a clear indication that you need to replace it. While you can patch small holes, large holes require cutting out the damaged portion and replacing it with a new piece of drywall. If you attempt to repair a large hole, it will be noticeable, and it will compromise the structural integrity of the drywall.
In summary, identifying the need for replacement of drywall in your bathroom is crucial to ensure the safety and integrity of your home. If you notice any of the signs mentioned above, it is best to replace the drywall instead of attempting to repair it.
Tools and Materials Required
https://www.youtube.com/watch?v=KpPb1sklA1E&embed=true
When it comes to replacing drywall in a bathroom, having the right tools and materials is crucial to ensure a successful project. Here are the essential items you will need:
Tools
-
Drywall knife: A drywall knife is used to cut the drywall sheets to the desired size. It comes in various sizes, but a 6-inch knife is sufficient for most bathroom projects.
-
Utility knife: A utility knife is used to cut the drywall tape and make small cuts in the drywall sheets.
-
Drywall screwdriver: A drywall screwdriver is used to drive the drywall screws into the studs.
-
Sanding sponge: A sanding sponge is used to smooth out the joint compound after it has dried.
-
Putty knife: A putty knife is used to apply joint compound to the seams and joints.
-
Paint scraper: A paint scraper is used to remove any loose paint or debris from the walls.
Materials
-
Drywall sheets: Drywall sheets are available in different sizes and thicknesses. For bathroom projects, it is recommended to use moisture-resistant drywall.
-
Drywall screws: Drywall screws are used to attach the drywall sheets to the studs.
-
Joint compound: Joint compound is used to fill in the seams and joints between the drywall sheets.
-
Drywall tape: Drywall tape is used to reinforce the seams and joints.
-
Sanding paper: Sanding paper is used to smooth out the joint compound after it has dried.
-
Caulk: Caulk is used to seal gaps between the drywall and other surfaces, such as the bathtub or shower.
-
Drywall primer: Drywall primer is used to prepare the drywall surface for painting.
Having all of these tools and materials on hand before starting the project will ensure that the process goes smoothly and efficiently.
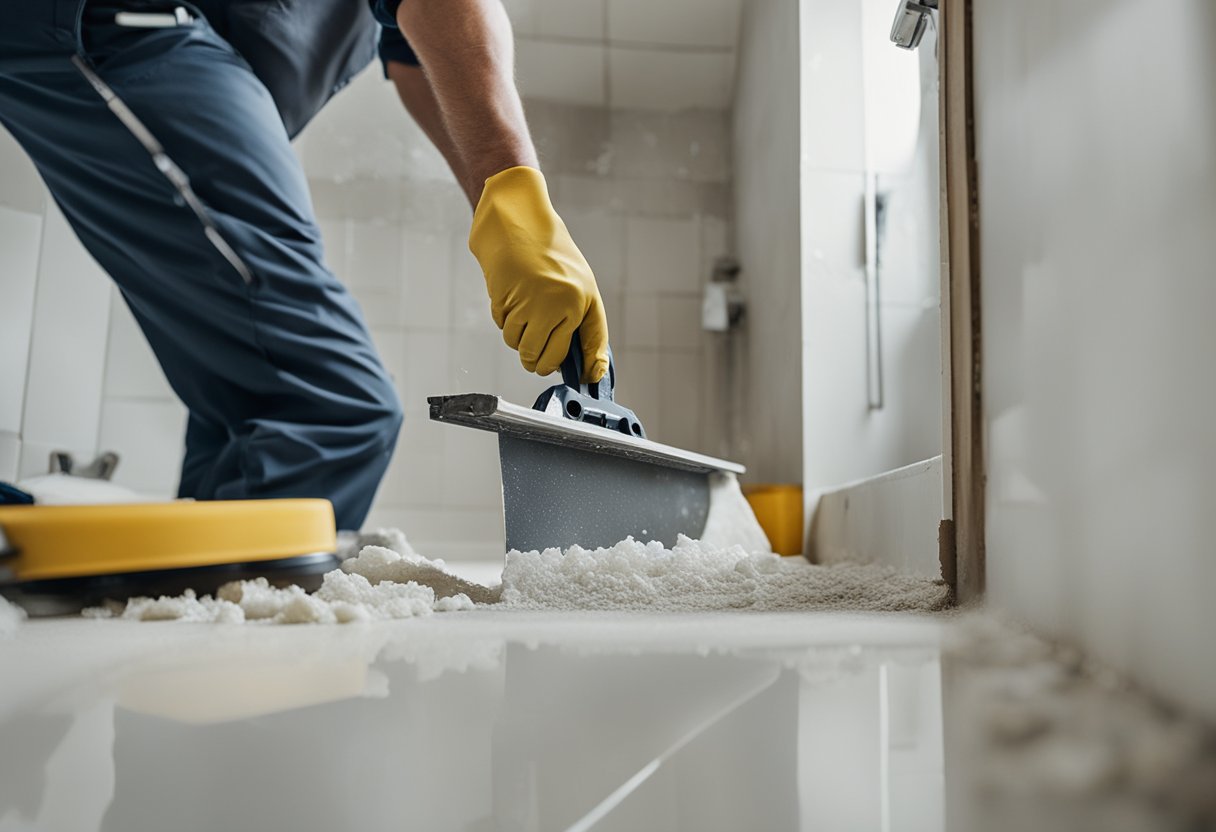
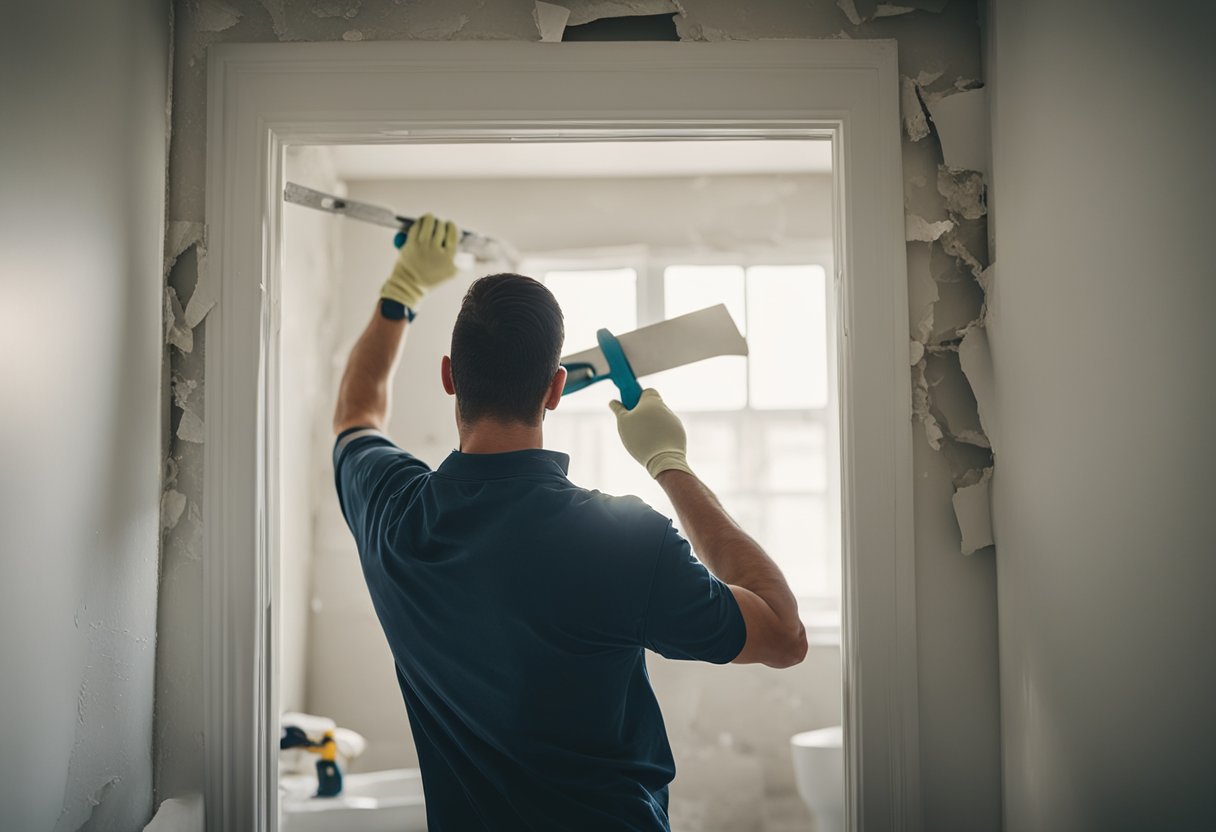
Removing the Damaged Drywall
https://www.youtube.com/watch?v=0Eqrv7fmszg&embed=true
When it comes to replacing drywall in a bathroom, the first step is to remove the damaged drywall. This can be a messy and time-consuming process, but it is essential to ensure that the new drywall will be properly installed and secure.
To begin, I need to cut out the damaged section of drywall using a utility knife or drywall saw. It is important to be careful during this process to avoid damaging any wall studs, electrical wires, or plumbing that may be behind the drywall. I should also wear gloves and goggles to protect myself from any debris.
Once I have cut out the damaged drywall, I can then assess the condition of the wall studs. If any of the studs are damaged or rotting, I will need to replace them before installing the new drywall. This is an important step to ensure that the new drywall will be properly supported and secure.
If there are electrical wires or plumbing behind the drywall, I need to be careful not to damage them during the removal process. I may need to cut small holes in the drywall to access these components and ensure that they are not damaged during the removal process.
Overall, removing damaged drywall is an important first step in the process of replacing drywall in a bathroom. By being careful and taking the time to assess the condition of the wall studs, electrical wires, and plumbing behind the drywall, I can ensure that the new drywall will be properly installed and secure.
Installing the New Drywall
https://www.youtube.com/watch?v=DRfywOUQF0E&embed=true
With the old drywall removed, it’s time to install the new drywall sheets. Before starting, I make sure that the wall studs are in good condition and free from any damage or rot. Any issues with the studs should be addressed before moving forward.
I then measure the space where the drywall needs to be installed. I make sure to measure twice to ensure that I get accurate measurements. Once I have the measurements, I cut the drywall sheets to size using a utility knife. I also mark where the wall studs are located on the drywall sheets so that I know where to screw them in.
Next, I position the drywall sheet against the wall and use drywall screws to secure it to the wall studs. I make sure to use enough screws to hold the drywall securely in place, but not so many that they cause the drywall to crack or break. I use a corner tool to ensure that the corners are properly aligned and flush with the wall.
Once the first sheet is installed, I move on to the next sheet, making sure to leave a small gap between the sheets to allow for expansion and contraction. I repeat the process of measuring, cutting, and installing until all of the drywall sheets are in place.
After all of the sheets are installed, I go back and fill in any gaps or holes with joint compound. I make sure to smooth out the compound and let it dry completely before sanding it down. Once the compound is sanded down, the drywall is ready to be painted or finished in whatever way the homeowner desires.
Finishing the Drywall
https://www.youtube.com/watch?v=2uFK8OGV2UM&embed=true
Once the drywall has been hung and the joints have been taped, the next step is to finish the drywall. This involves applying joint compound (also known as mud) to the taped seams and screw holes, sanding the drywall, and applying a sealant.
To begin, I apply a thin layer of joint compound over the taped seams and screw holes using a putty knife. I then smooth out the joint compound and remove any excess with the putty knife, being careful not to leave any bumps or ridges.
After the joint compound has dried, I sand the surface of the drywall with a sanding block or sandpaper to create a smooth finish. I start with a coarse grit sandpaper to remove any high spots or ridges, and then move on to a finer grit sandpaper to create a smooth finish.
Once the drywall has been sanded, I apply a sealant to the surface of the drywall to prevent moisture from penetrating the surface. I use a high-quality sealant and apply it with a caulking gun, being careful to fill any gaps or cracks in the surface of the drywall.
Finally, I apply a coat of primer to the surface of the drywall to prepare it for painting or wallpapering. This helps to ensure that the final finish is smooth and even.
Overall, finishing drywall can be a time-consuming process, but it is an important step in creating a professional-looking finish in your bathroom. By following these steps and taking the time to do the job right, you can ensure that your finished bathroom looks great and lasts for years to come.
Painting the Drywall
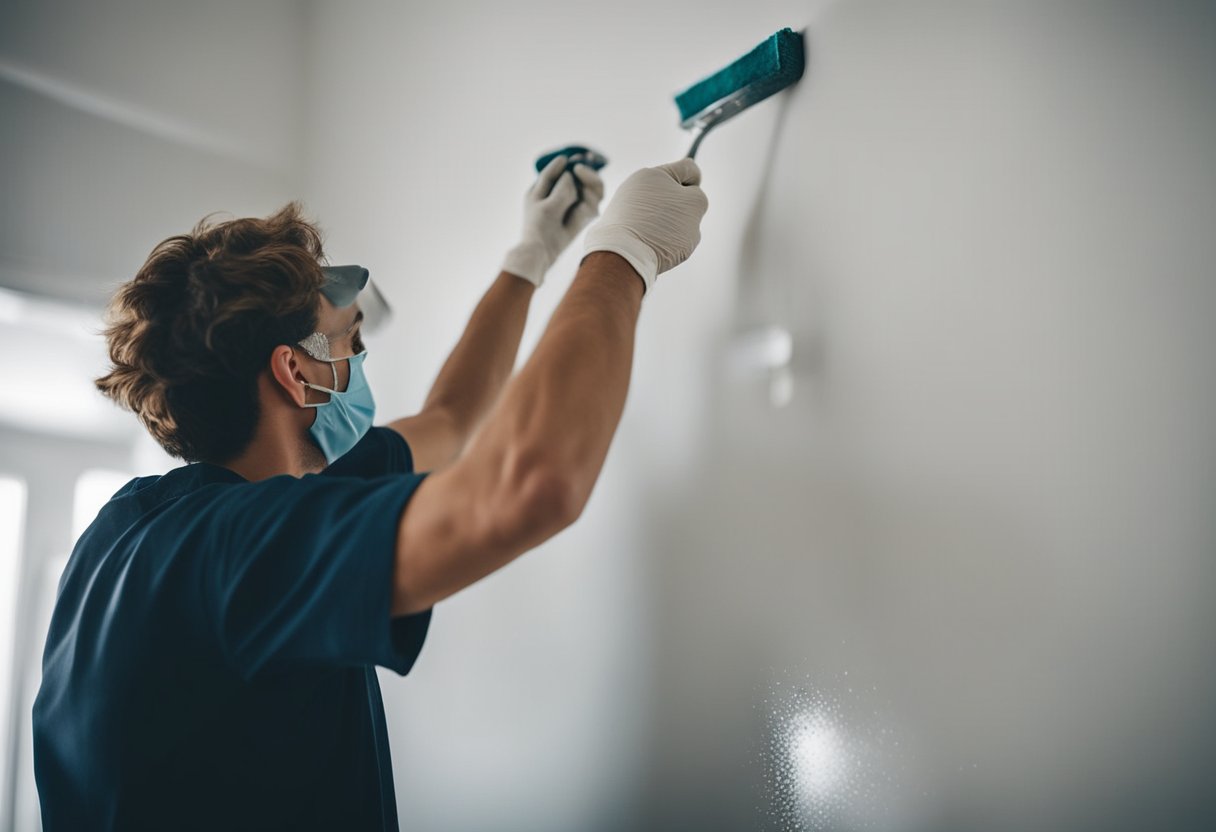
After the drywall has been installed and finished, it’s time to paint it. Before painting, it’s important to ensure that the drywall is clean and free of any dust or debris. I usually use a paint scraper to remove any bumps or rough spots on the drywall. This step is important because it ensures that the surface is smooth and ready for painting.
Once the drywall is clean and smooth, it’s time to apply caulk to any gaps or cracks in the drywall. Caulk is a flexible material that is used to fill gaps and cracks in the drywall. It’s important to use a high-quality caulk that is specifically designed for use with drywall. This will ensure that the caulk adheres properly and doesn’t crack or shrink over time.
After the caulk has been applied and has dried completely, it’s time to apply a drywall primer. A drywall primer is a special type of primer that is designed to be used on drywall. It helps to seal the drywall and create a smooth, even surface for painting. I usually apply two coats of primer, allowing each coat to dry completely before applying the next.
Once the primer has dried completely, it’s time to apply the paint. I usually use a high-quality paint that is specifically designed for use on drywall. It’s important to choose a paint that is durable and easy to clean, especially in a bathroom where moisture can be an issue. I usually apply two coats of paint, allowing each coat to dry completely before applying the next.
In conclusion, painting drywall in a bathroom requires a few important steps to ensure a smooth and durable finish. By using a paint scraper to remove any bumps or rough spots, applying caulk to fill any gaps or cracks, and using a drywall primer before painting, you can create a beautiful and long-lasting finish that will stand up to the moisture and humidity of a bathroom.
Cleaning Up After the Project
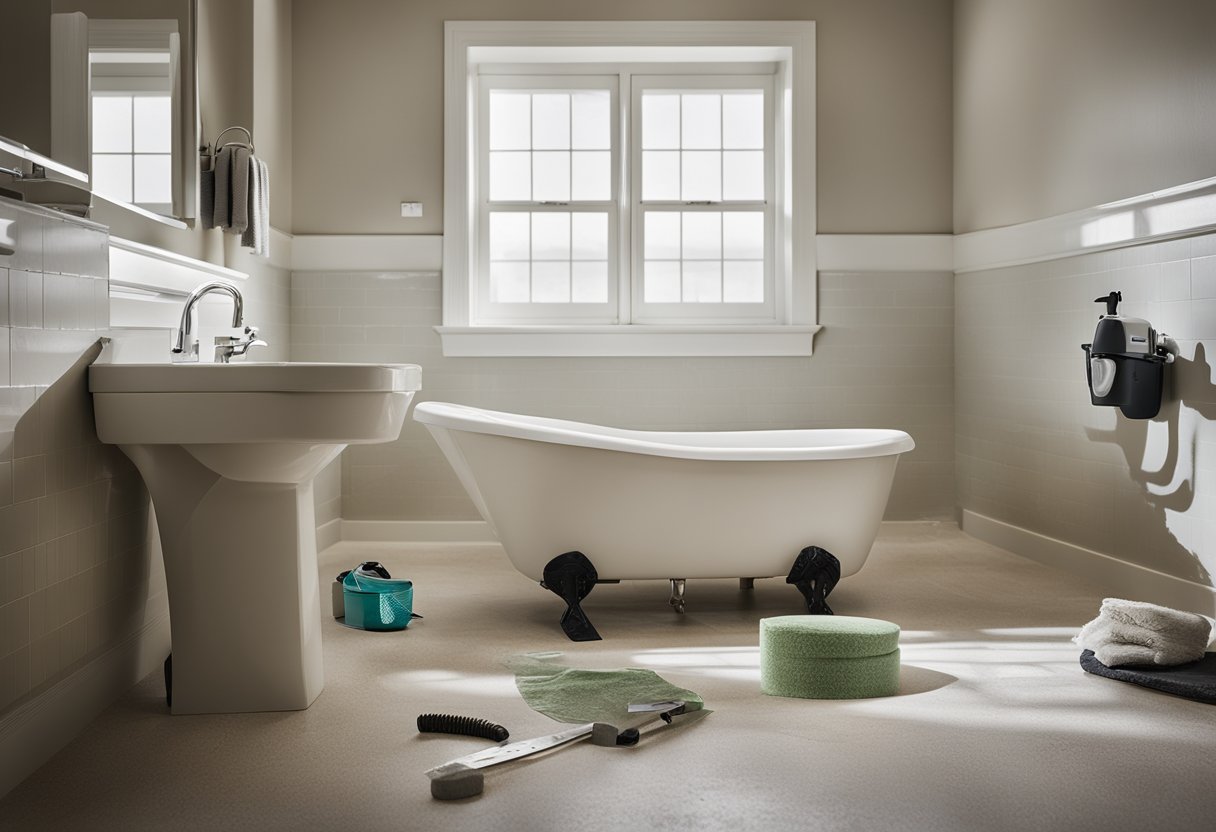
Once the drywall replacement project is complete, it is time to clean up the mess. Cleaning up after a drywall project can be a dusty and messy affair, but it is crucial to ensure that the area is completely clean before you can start using the bathroom again.
The first step in cleaning up after a drywall project is to remove any debris that may have been left behind. This includes any drywall pieces, screws, nails, and any other materials that were used during the project. You can use a broom and dustpan to sweep up the debris, or a vacuum cleaner with a HEPA filter to suck up the dust particles.
Next, you should wipe down all surfaces in the bathroom with a damp cloth to remove any remaining dust particles. This includes the walls, the ceiling, and the floors. You may need to use a cleaning solution to remove any stubborn dust particles that are stuck to the surfaces.
It is also a good idea to wash any towels, bath mats, and other linens that were in the bathroom during the project. This will help to remove any dust particles that may have settled on them.
Finally, you should dispose of all the debris that you have collected while cleaning up. You can use a trash bag or a dumpster to dispose of the debris. Be sure to seal the bag tightly to prevent any dust particles from escaping.
Cleaning up after a drywall replacement project can be a time-consuming and messy process, but it is essential to ensure that the area is clean and safe for use. By following these steps, you can ensure that your bathroom is clean and ready to use once again.
Frequently Asked Questions
What is the best type of drywall to use in a bathroom?
The best type of drywall to use in a bathroom is moisture-resistant drywall. This type of drywall is designed to resist moisture and mold growth, making it ideal for use in bathrooms and other areas with high humidity. Greenboard and purple board are two common types of moisture-resistant drywall that are suitable for use in bathrooms.
How do you fix water-damaged drywall in a bathroom?
Fixing water-damaged drywall in a bathroom can be a complicated process. If the damage is minor, you may be able to repair the drywall using joint compound and sandpaper. However, if the damage is more severe, you may need to replace the damaged section of drywall. It is important to address water damage as soon as possible to prevent mold growth and further damage.
When should I replace my bathroom’s drywall?
You should replace your bathroom’s drywall if it is water-damaged, moldy, or otherwise damaged beyond repair. Additionally, if your bathroom’s drywall is more than 20 years old, it may be time to replace it. Old drywall can become brittle and lose its structural integrity, making it more prone to damage.
Do I need to use special drywall for my bathroom?
Yes, it is recommended to use special drywall for your bathroom. Moisture-resistant drywall is designed to resist moisture and mold growth, making it ideal for use in bathrooms and other areas with high humidity. Using regular drywall in a bathroom can lead to water damage and mold growth, which can be costly to repair.
Is regular drywall suitable for bathroom ceilings?
Regular drywall is not suitable for bathroom ceilings. Bathroom ceilings are prone to moisture and humidity, which can cause regular drywall to sag and become damaged. It is recommended to use moisture-resistant drywall or cement board for bathroom ceilings.
Can water-damaged drywall be repaired or does it need to be replaced?
The answer to this question depends on the extent of the water damage. If the damage is minor, you may be able to repair the drywall using joint compound and sandpaper. However, if the damage is more severe, you may need to replace the damaged section of drywall. It is important to address water damage as soon as possible to prevent mold growth and further damage.

Hi, I’m Sal Muller of Tooltrip.com. My DIY experience led me to understand essential power tools for home projects. Tooltrip.com guides enthusiasts and professionals in choosing right tools for any job. I provide concise top tool reviews for easier, efficient DIY.
