
Removing solder from copper pipe can be a challenging task, especially if you are not familiar with the process. However, with the right tools and techniques, it is possible to remove solder from copper pipe without causing any damage to the pipe or fittings. In this article, I will guide you through the steps you need to take to remove solder from copper pipe safely and effectively.
Before we dive into the steps, let’s understand the basics of soldering and desoldering copper pipes. Soldering is the process of joining two pieces of metal by melting a filler metal, called solder, and allowing it to flow into the joint. Desoldering, on the other hand, is the process of removing the solder from the joint. To desolder a copper pipe, you need to heat the solder until it melts and then remove it from the joint using a desoldering tool or a wick.
Now that we have a basic understanding of soldering and desoldering, let’s move on to the steps you need to take to remove solder from copper pipe. But before we do that, let’s take a look at the necessary tools and safety measures you need to have in place to ensure a safe and successful desoldering process.
Key Takeaways
- Understanding the basics of soldering and desoldering copper pipes is crucial for a successful desoldering process.
- The necessary tools and safety measures must be in place before starting the desoldering process.
- The steps to remove solder from copper pipe involve heating the solder until it melts and then removing it from the joint using a desoldering tool or a wick.
Understanding the Basics
As a plumber, I have come across situations where I needed to remove solder from copper pipes. Soldering is a common method used to join two pieces of copper pipe together. However, sometimes, you may need to remove the solder to make repairs or modifications to the plumbing system. In this section, I will explain the basics of soldering, copper pipes, and fittings, and how to remove solder from copper pipes.
Soldering Copper Pipes
Soldering is a process that involves melting a metal alloy (solder) to join two pieces of metal together. In plumbing, soldering is commonly used to join copper pipes and fittings. The process involves heating the joint with a torch until the solder melts and flows into the joint, creating a strong, leak-proof connection.
Copper Pipes and Fittings
Copper pipes are commonly used in plumbing because of their durability, corrosion resistance, and ease of installation. Copper fittings, such as elbows, tees, and couplings, are used to connect copper pipes together. These fittings are available in various sizes and shapes to fit different plumbing applications.
Removing Solder from Copper Pipes
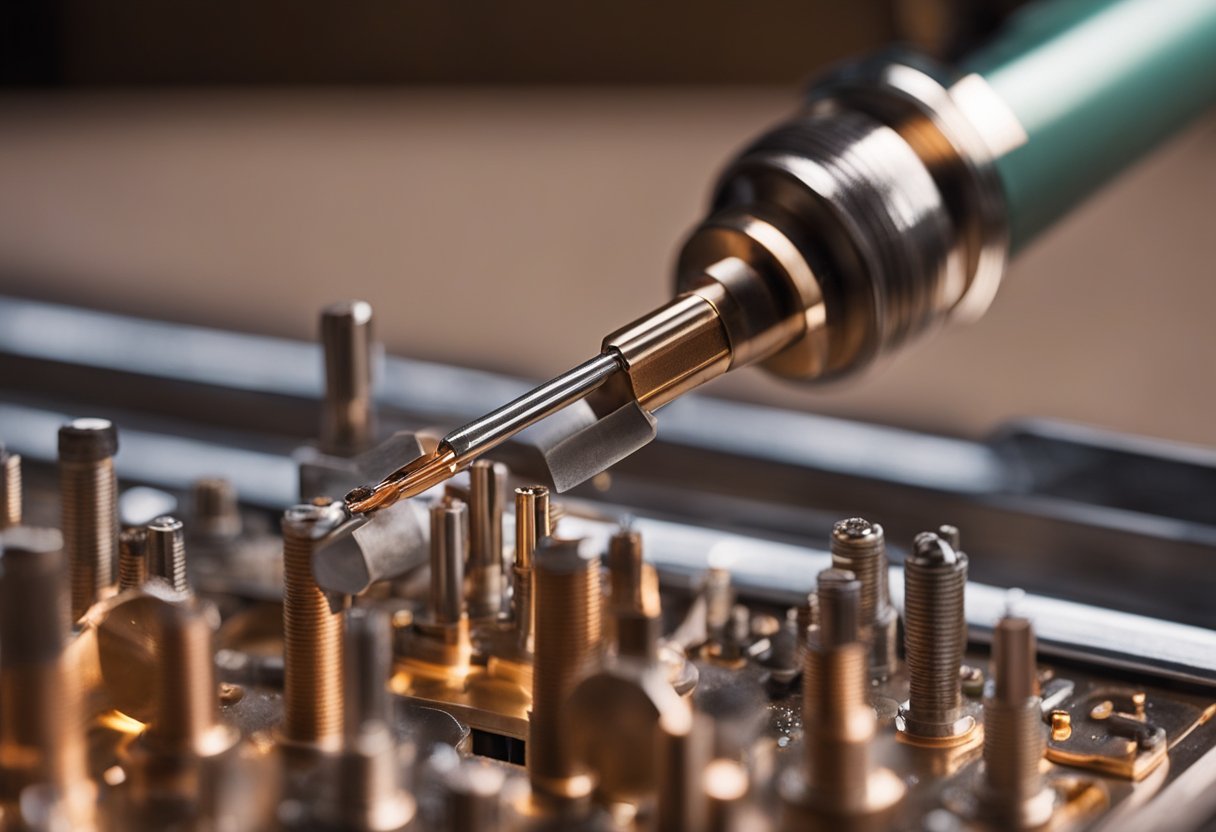
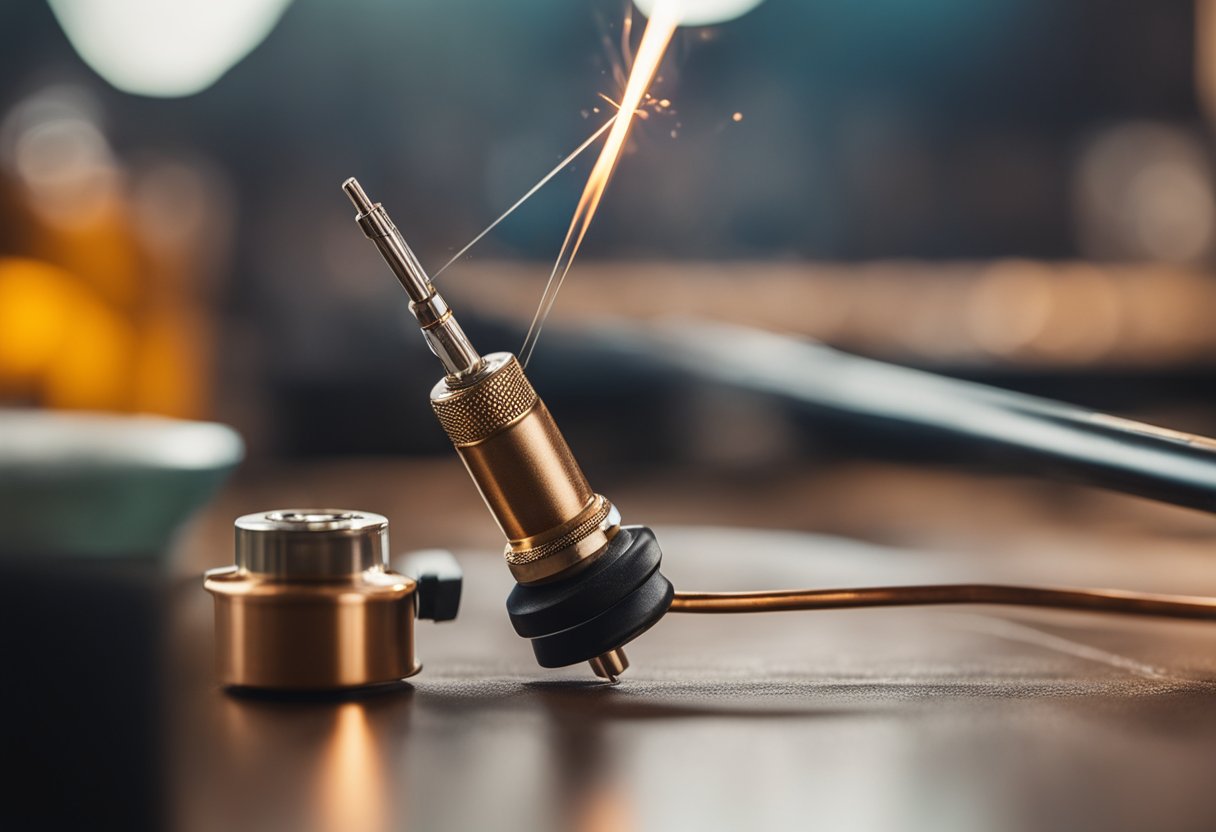
To remove solder from copper pipes, you need to heat the joint with a torch until the solder melts and then use a desoldering pump or braid to remove the melted solder. Another method involves using heat and tape to remove the solder. This process involves wrapping the area you want to desolder with electrical tape, applying heat to the connection, and then using pliers to pull the melted solder away from the joint.
In conclusion, understanding the basics of soldering, copper pipes, and fittings is essential to remove solder from copper pipes. By following the right procedures, you can remove solder safely and efficiently, making repairs or modifications to the plumbing system.
Necessary Tools and Safety Measures
Removing solder from a copper pipe requires specific tools and safety measures to be taken. Here are the necessary tools and safety measures that I use when removing solder:
Tools
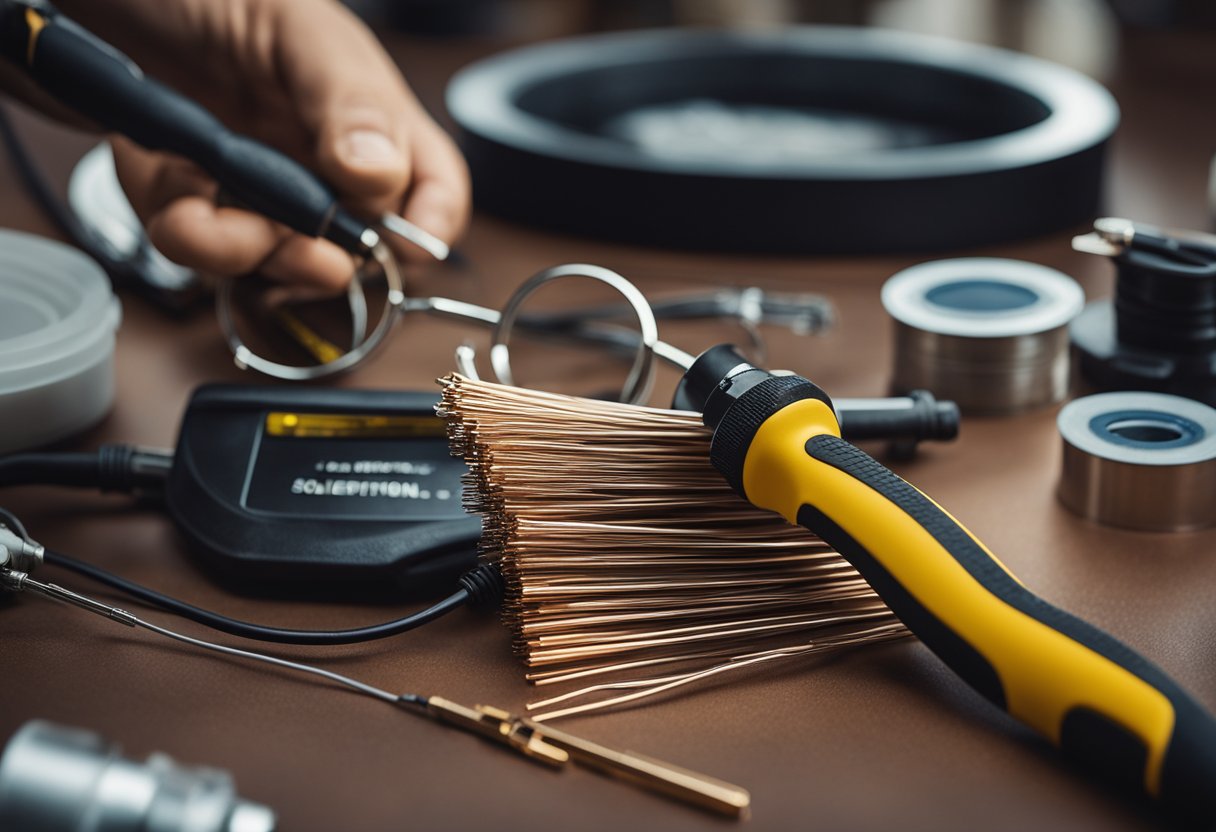
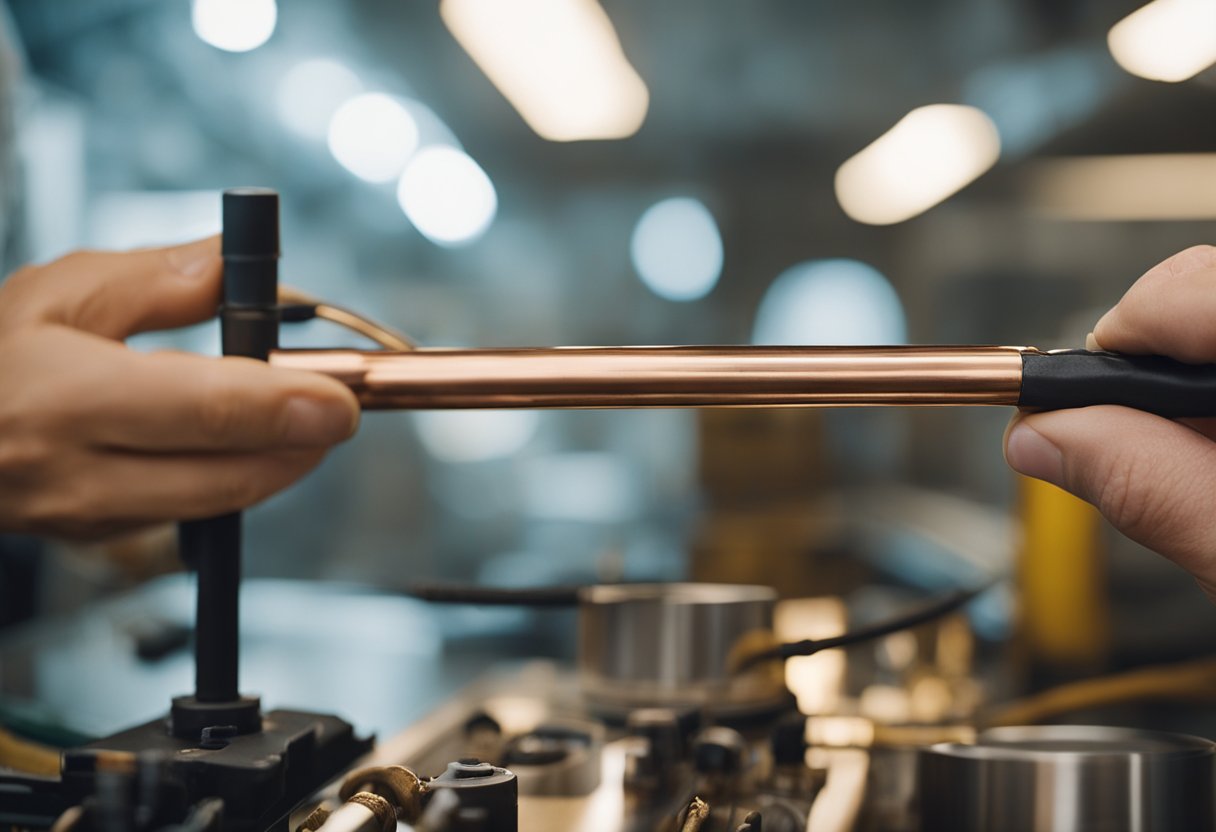
- Propane Torch or Heat Gun: I use a propane torch or heat gun to heat the area around the solder. This is necessary to melt the solder so that it can be removed.
- Pliers: Pliers are another great way of removing solder without heat. All you need is a good pair of pliers with strong enough jaws to grip the soldering material and pull it away from the copper pipe with enough force to break free from its bond with the metal surface below it.
- Wire Brush: After removing the solder, I use a wire brush to clean the pipe. This is necessary to remove any remaining solder or debris from the pipe.
- Pipe Cutter: A pipe cutter is used to trim away the excess copper pipe after removing the solder. This is necessary to ensure a tight fit when reconnecting the pipes.
Safety Measures
- Protection: It is important to wear protective gloves and safety glasses when removing solder to protect your hands and eyes from burns and debris.
- Heat-Resistant Cloth: I use a heat-resistant cloth to protect nearby surfaces from the heat of the torch or heat gun. This is necessary to prevent accidental fires or damage to nearby objects.
- Ventilation: Proper ventilation is necessary when removing solder to prevent the inhalation of harmful fumes. I always make sure to work in a well-ventilated space or use a ventilation fan.
- Fire Extinguisher: It is always a good idea to have a fire extinguisher nearby when working with heat. This is necessary to prevent fires in case of an accident.
By using these necessary tools and safety measures, I can safely and effectively remove solder from a copper pipe.
Preparation Before Starting
Before attempting to remove solder from a copper pipe, it is important to take certain precautions to ensure that the process goes smoothly. Here are some steps to follow before starting:
-
Turn off the main water valve: Before starting any work on copper pipes, it is important to turn off the main water valve to prevent any water from flowing through the pipes. This will help to prevent any accidental flooding or leaks during the process.
-
Protect the surrounding area: You should protect the surrounding area with a clean cloth or rag to prevent any damage to nearby objects. This is especially important if you are using a heat source to remove the solder, as it can cause nearby objects to catch fire.
-
Clean the area around the joint: Use a clean cloth or rag to clean the area around the joint to remove any dirt, debris, or old solder. This will help to ensure that the new solder adheres properly to the copper pipe.
-
Apply flux: Apply flux to the area around the joint to help the new solder adhere to the copper pipe. Flux is a chemical that helps to clean the surface of the copper pipe and prepare it for soldering.
-
Gather necessary tools: Make sure you have all the necessary tools before starting the process. This may include pliers, a heat source, a wet rag, a bucket, and a clean cloth.
By following these steps, you can ensure that the process of removing solder from a copper pipe goes smoothly and without any issues. Taking care and being prepared before starting the process can save you time and money in the long run.
Steps to Remove Solder from Copper Pipe
https://www.youtube.com/watch?v=BWXFGwBpyvM&embed=true
As a plumber, I have come across situations where I have to remove solder from copper pipes. It could be because of a faulty joint or because I need to take it apart for some reason. In this section, I will outline the steps I follow to remove solder from copper pipes.
Applying Heat
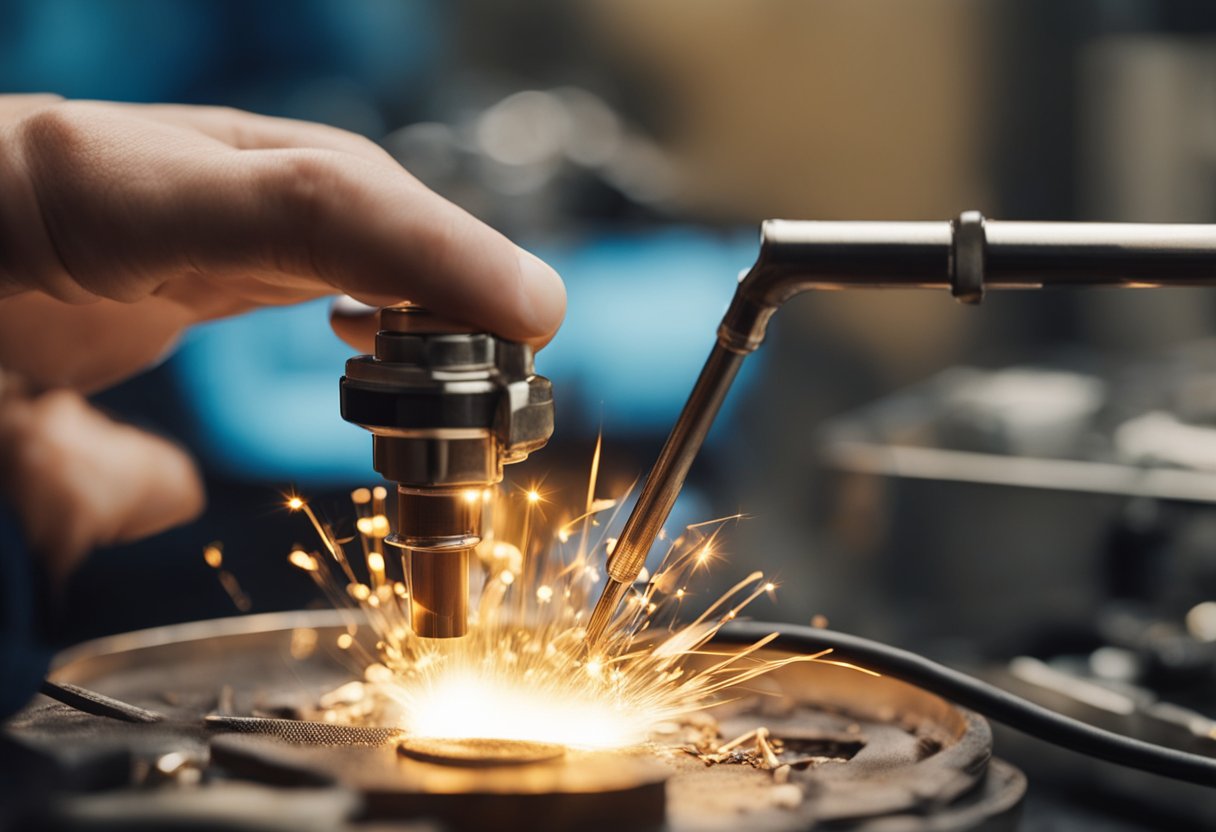
The first step is to apply heat to the area around the solder. I use a plumber’s torch or a heat gun for this purpose. The area needs to be hot enough to melt the solder, but I am careful not to overheat the pipe. If the pipe gets too hot, it could warp or melt, which would make it unusable.
Desoldering
Once the area is heated, I use a wet rag to cool the pipe down. Then, I use a desoldering pump or a desoldering braid to remove the solder. I place the desoldering braid or pump on the soldered joint and heat it with the torch or heat gun. The solder melts and is absorbed by the desoldering braid or pump. I repeat this process until all the solder is removed.
Cleaning the Pipe
After removing the solder, I clean the fitting and the pipe with a wire brush. This is important because any remaining solder can interfere with the new solder, which could cause leaks. I also make sure to clean the inside of the fitting to remove any debris or old solder.
If I need to reuse the fitting, I make sure to prepare it for the new solder by cleaning it thoroughly. If I am using a new fitting, I make sure to fit it properly and apply new solder to create a strong and durable joint.
In summary, removing solder from copper pipes requires preparation, heating, desoldering, and cleaning. It is important to follow these steps carefully to avoid damaging the pipe or fitting. With the right tools and techniques, removing solder from copper pipes can be done quickly and efficiently.
Common Mistakes and Misconceptions

As someone who has worked with copper pipes for years, I’ve seen many mistakes and misconceptions when it comes to removing solder from copper pipes. Here are some of the most common ones:
Using Abrasive Materials
One of the biggest mistakes people make is using abrasive materials to remove solder from copper pipes. This can cause damage to the pipe and even create leaks. Instead, use a desoldering tool or heat gun to remove the solder.
Not Heating the Area Enough
Another mistake is not heating the area enough before attempting to remove the solder. If the area is not hot enough, the solder will not melt and it will be difficult to remove. Use a soldering torch or heat gun to heat the area until the solder melts.
Misconception About Bonding
A common misconception is that soldering bonds the pipes together, but this is not true. Soldering simply creates a seal between the pipes. If you need to remove the solder, it will not affect the bond between the pipes.
Leaky Pipes
If you have a leaky pipe, it’s important to fix the leak before attempting to remove the solder. Removing the solder will not fix the leak and may even make it worse.
Removing Solder from Copper Pipes
Removing solder from copper pipes can be a tricky process, but it’s important to do it correctly to avoid damage to the pipes. Use a desoldering tool or heat gun to remove the solder, and make sure to heat the area enough before attempting to remove the solder. Remember that removing the solder will not affect the bond between the pipes, so don’t worry about that. If you have a leaky pipe, fix the leak before attempting to remove the solder.
Professional Techniques and Tips
https://www.youtube.com/watch?v=V13EEkeeYfM&embed=true
As a professional plumber, I have gained expertise in removing solder from copper pipes. Here are some techniques that I have found to be effective:
Use a Soldering Torch and Wet Rag
One of the most effective techniques for removing solder from copper pipes is to use a soldering torch and a wet rag. Begin by heating the area around the solder with your soldering torch, making sure not to overheat the pipe. Once the area is heated, use your wet rag to cool the pipe down. This will cause the solder to harden and become brittle, making it easier to remove.
Use Pliers and a Heat Gun
If you don’t have a soldering torch, you can use pliers and a heat gun to remove solder from copper pipes. Simply grip the soldering material with a good pair of pliers and pull it away from the copper pipe with enough force to break free from its bond with the metal surface below it. Then use a heat gun on a low setting and apply it directly to the connection for about 10 minutes. This will soften the remaining solder, making it easier to remove.
Seek Professional Help
If you are not confident in your ability to remove solder from copper pipes, seek the help of a professional. A plumber can guide you through the process and ensure that the job is done correctly.
By using these techniques, you can effectively remove solder from copper pipes and complete your project with ease.
Aftercare and Maintenance
Once you have successfully removed the solder from your copper pipe, it is important to take proper care of the pipe to prevent any future issues. Here are some tips and tricks for aftercare and maintenance of your copper pipe:
-
Attention to leaks: After removing the solder, it is important to check for any leaks in the pipe. Even a small leak can cause significant damage over time, so it is important to address any leaks as soon as possible. Check the connections thoroughly and make sure they are tight and secure.
-
Cleaning the pipe: After desoldering, it is a good idea to clean the pipe thoroughly. Use a cleaning solution to remove any residue or debris from the pipe. This will help to prevent any future issues and ensure the pipe is in good working condition.
-
Retail insights: If you are unsure about how to properly care for your copper pipe after removing the solder, visit your local hardware store or plumbing supply store. They can provide you with valuable insights and recommendations on the best products and techniques for aftercare and maintenance.
-
Inspections: It is a good idea to have your copper pipe inspected regularly by a licensed plumber. They can identify any potential issues and address them before they become major problems.
Remember, proper aftercare and maintenance can help to prevent future issues with your copper pipe. By taking the time to care for your pipes, you can avoid costly repairs and ensure that your plumbing system is in good working order for years to come.
Frequently Asked Questions
https://www.youtube.com/watch?v=hr9ICZzZYNE&embed=true
What is the best way to remove solder from a copper pipe?
The best way to remove solder from a copper pipe is to heat the area around the solder with a soldering torch or heat gun until the solder melts. Once the solder is melted, use a wet rag to cool the pipe down and then use pliers to gently pull the joint apart. Be careful not to overheat the pipe as it could warp or melt.
How can I remove old solder that won’t melt on a copper pipe?
If the old solder won’t melt, you can try using a desoldering pump or solder wick to remove the excess solder. A desoldering pump is a tool that creates a vacuum to suck up the molten solder, while solder wick is a braided copper wire that absorbs the molten solder. Heat the area around the solder with a soldering torch or heat gun and then use the desoldering pump or solder wick to remove the excess solder.
Is it possible to reuse soldered copper fittings?
It is not recommended to reuse soldered copper fittings as the heat from the soldering process can weaken the fitting and cause leaks. It is better to replace the fitting with a new one.
What is the recommended solder for copper pipes?
The recommended solder for copper pipes is a lead-free, 95/5 tin-antimony solder. This type of solder is safe for potable water systems and has a lower melting point than other types of solder, making it easier to work with.
How do I disconnect copper pipes?
To disconnect copper pipes, first turn off the water supply and drain the pipes. Then, use a tubing cutter or hacksaw to cut the pipe at the joint. Use pliers to gently pull the joint apart and remove any excess solder or debris.
Can I solder over old solder on a copper pipe?
It is not recommended to solder over old solder on a copper pipe as it can weaken the joint and cause leaks. It is better to remove the old solder completely before soldering the joint again.

Hi, I’m Sal Muller of Tooltrip.com. My DIY experience led me to understand essential power tools for home projects. Tooltrip.com guides enthusiasts and professionals in choosing right tools for any job. I provide concise top tool reviews for easier, efficient DIY.
