
If you are a DIY enthusiast or a professional handyman, you know how frustrating it can be when your drill battery won’t charge. A dead battery can halt your project and cause you to waste time and money. Fortunately, fixing a drill battery that won’t charge is not rocket science. With some basic tools and knowledge, you can bring your battery back to life and save yourself some cash.
Understanding the problem is the first step in fixing a drill battery that won’t charge. There are several reasons why a battery may stop charging, such as a damaged charger, dirty battery terminals, or a faulty battery. In this article, I will guide you through the process of diagnosing and fixing the most common causes of battery failure.
Before we dive into the details, it’s worth noting that fixing a drill battery requires some technical skills and knowledge. If you are not comfortable working with electricity or don’t have the right tools, it’s best to seek professional help. With that said, let’s get started.
Key Takeaways
- Understanding the problem is the first step in fixing a drill battery that won’t charge.
- Testing the battery and charger is crucial to identifying the root cause of the problem.
- Preventative measures such as proper storage and maintenance can help prolong the life of your drill battery.
Understanding the Problem
https://www.youtube.com/watch?v=dz70zpLHqHM&embed=true
As a DIY enthusiast, I have encountered the problem of a dead drill battery that won’t charge. This issue is common among cordless drills, and it can be frustrating when you have a project to complete, and your drill won’t work due to a dead battery.
The first step in fixing a drill battery that won’t charge is to understand the problem. There are several reasons why your battery may not be charging, including a damaged battery pack, a faulty charger, or a dead battery.
One of the most common reasons why a drill battery won’t charge is a dead battery. If your battery is not holding a charge or is not charging at all, it may be time to replace the battery. However, before you replace the battery, you should check the battery contacts to ensure they are clean and free of debris.
Another reason why a drill battery may not be charging is a faulty charger. If your charger is not working correctly, it may not be charging your battery correctly. You should check the charger to ensure it is working correctly and that the cord is not damaged.
In some cases, a drill battery may not be charging because of a damaged battery pack. If the battery pack is damaged, it may not be holding a charge, and you may need to replace it. However, before you replace the battery pack, you should check the contacts to ensure they are clean and free of debris.
Understanding the problem is the first step in fixing a drill battery that won’t charge. By identifying the issue, you can determine the best course of action to fix the problem and get your drill back to working condition.
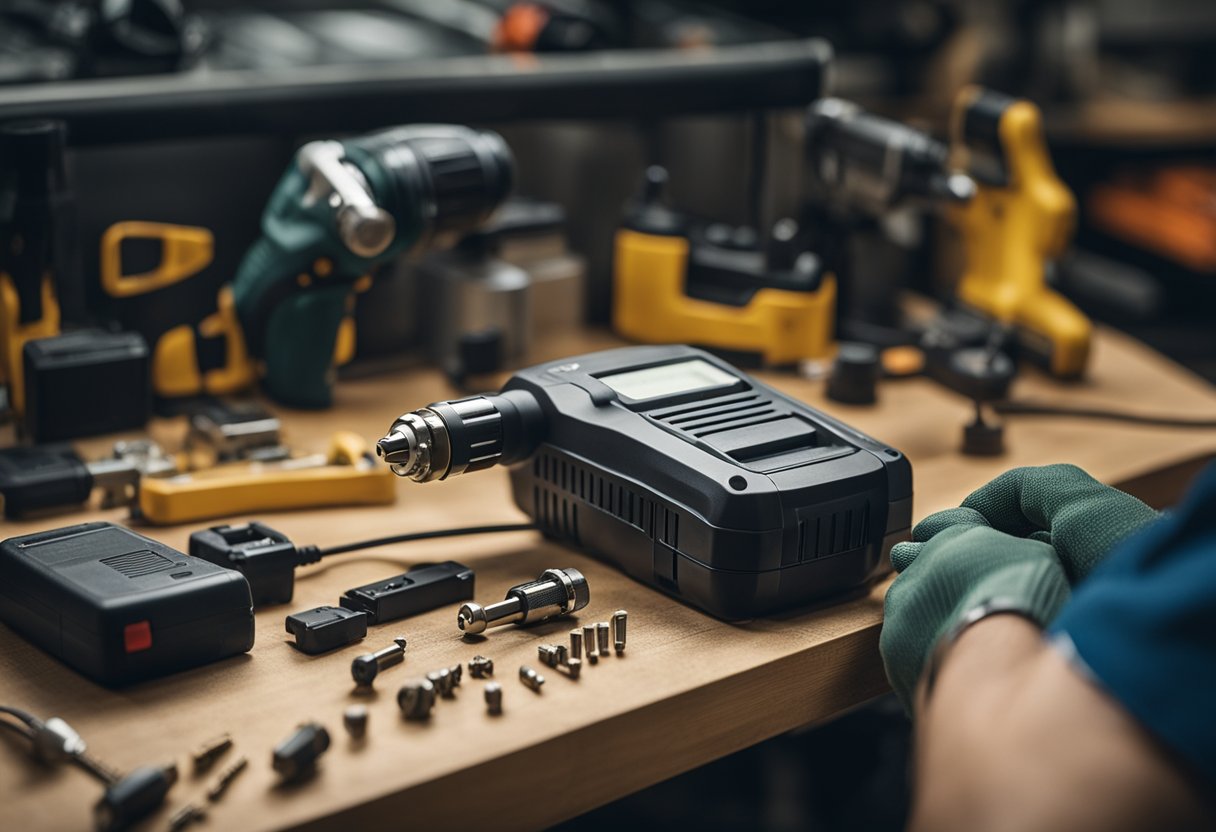
Initial Inspection
https://www.youtube.com/watch?v=r_sJd6WaSi0&embed=true
When your drill battery won’t charge, the first step is to perform an initial inspection. This will help you determine whether the problem is with the drill or the battery.
Checking the Drill
Begin by checking the drill itself for any visible damage or wear and tear. Look for any cracks or breaks in the casing that could indicate a problem. If you notice any damage, it’s important to address it right away. If your drill is under warranty, contact the manufacturer for assistance. For popular brands like Dewalt, Black and Decker, and Ryobi, you can often find authorized repair centers that can help with repairs.
Examining the Battery
Next, examine the battery for any signs of damage or wear. Look for any cracks or breaks in the casing, as well as any corrosion on the terminals. If you notice any damage, it’s important to address it right away. If your battery is under warranty, contact the manufacturer for assistance.
If you don’t see any visible damage, the problem could be with the battery’s internal components. In this case, it may be necessary to open up the battery to perform further inspections. However, this should only be done by someone with experience in handling lithium-ion batteries, as they can be dangerous if mishandled.
Overall, performing an initial inspection is an important first step in fixing a drill battery that won’t charge. By checking both the drill and the battery for any visible damage or wear, you can determine the best course of action to take.
Common Causes of Battery Failure
As someone who has been working with power tools for a long time, I have seen my fair share of dead batteries. Here are some of the most common causes of battery failure:
Battery Age and Lifespan
Like any other battery, drill batteries have a limited lifespan. Over time, the battery cells will start to degrade and lose their ability to hold a charge. If you use your drill frequently, you may need to replace the battery every couple of years. You can check the age of your battery by looking at the date code on the battery label.
Corrosion and Debris
Corrosion and debris can also cause battery failure. If the contacts on the battery or the charger become corroded, it can prevent the battery from charging properly. Debris can also get stuck in the contacts, preventing a good connection. To prevent corrosion and debris, it’s important to keep your battery and charger clean. You can use a soft brush to clean the contacts and a damp cloth to wipe away any debris.
Extreme Temperatures
Extreme temperatures can also affect the lifespan of your battery. If you store your battery in a hot or cold environment, it can cause the battery cells to degrade faster. It’s best to store your battery in a cool, dry place when not in use. If you need to use your drill in extreme temperatures, it’s important to take breaks and let the battery cool down before using it again.
By understanding these common causes of battery failure, you can take steps to prevent it from happening to your drill battery. Regular maintenance and proper storage can go a long way in extending the lifespan of your battery.
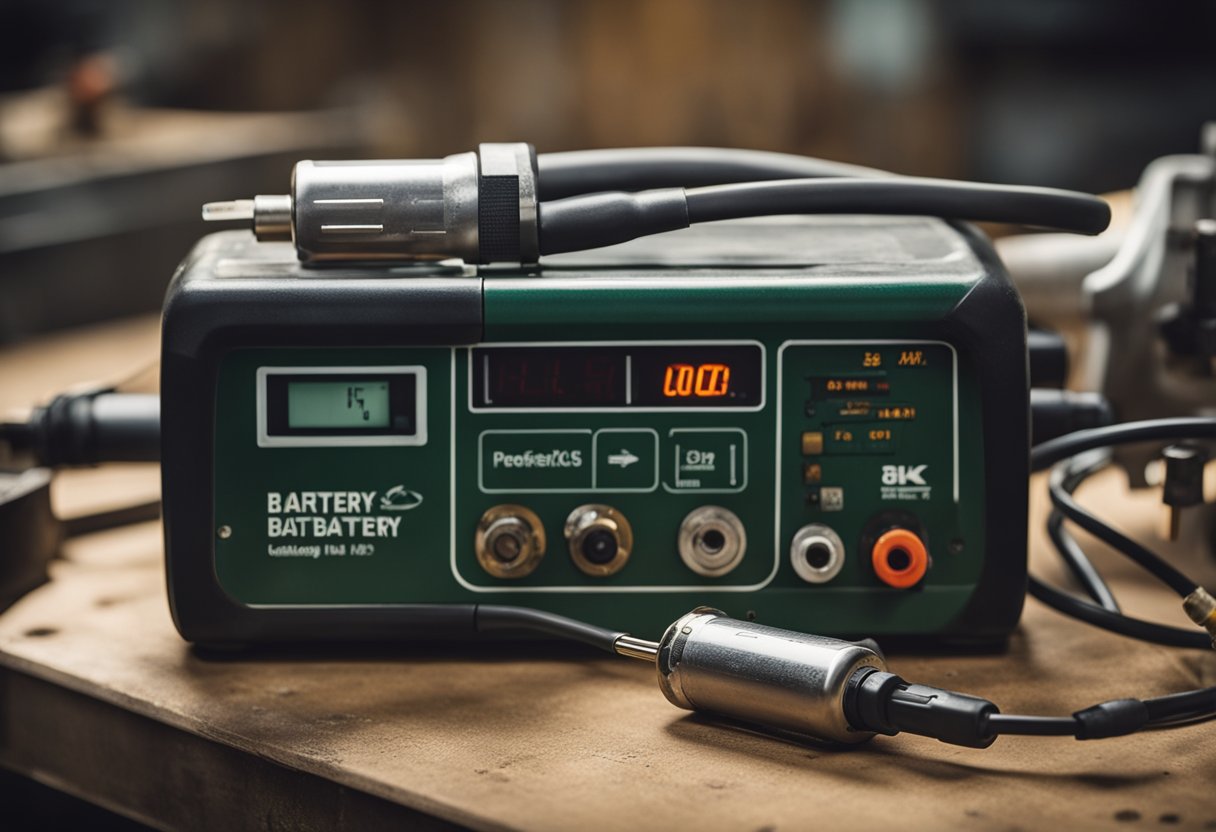
Testing the Battery and Charger
https://www.youtube.com/watch?v=ruR42DHJ9tc&embed=true
As a first step in fixing a drill battery that won’t charge, it’s important to test both the battery and the charger. Here are two methods to help you determine if they are functioning properly.
Using a Multimeter
One way to test the battery is by using a multimeter, which is a device that measures voltage, current, and resistance. To do this, set the multimeter to measure DC voltage and connect the red probe to the positive terminal of the battery and the black probe to the negative terminal. A healthy battery should have a voltage reading within the range specified by the manufacturer. If the reading is significantly lower, the battery may need to be replaced.
To test the charger, plug it into an electrical outlet and connect the multimeter probes to the positive and negative terminals of the charger. The voltage reading should match the output voltage specified by the manufacturer. If the reading is significantly lower, the charger may need to be replaced.
Assessing Charger Performance
Another way to test the charger is by assessing its performance while charging the battery. To do this, connect the charger to the battery and plug it into an electrical outlet. If the charger is functioning properly, it should charge the battery within the time frame specified by the manufacturer. If the battery doesn’t charge within the specified time, the charger may not be delivering enough power to the battery or may be defective.
It’s important to note that some chargers have a safety feature that prevents charging if the battery is too hot or too cold. If the battery temperature is outside the recommended range, the charger may not be able to charge the battery until it has reached the appropriate temperature.
By testing the battery and charger using a multimeter and assessing charger performance, you can determine if they are functioning properly and identify any issues that may need to be addressed to fix a drill battery that won’t charge.
Fixing the Battery
https://www.youtube.com/watch?v=bcvzUnKqIhE&embed=true
If you’re dealing with a dead drill battery that won’t charge, don’t worry. There are a few simple steps you can take to fix the problem and get your drill back up and running.
Cleaning the Battery Terminals
The first thing to check when your drill battery won’t charge is the battery terminals. Over time, these terminals can become dirty or corroded, preventing the battery from making a solid connection with the charger. To clean the terminals, simply use a clean cloth or rag to wipe away any dirt or grime. For more stubborn corrosion, you can use a small wire brush or even a pencil eraser to gently scrub away the buildup.
Once the terminals are clean, make sure they are making a good connection with the charger. If necessary, you can gently bend the terminals to ensure a tight fit.
Boosting a Dead Battery
If the battery terminals are clean and the battery still won’t charge, it’s possible that the battery cells are dead. In this case, you can try boosting the battery to give it a little extra charge.
To do this, you’ll need a second, fully charged battery of the same type. Connect the positive terminal of the dead battery to the positive terminal of the charged battery, and then connect the negative terminal of the dead battery to the negative terminal of the charged battery. Let the batteries sit for a few minutes, and then try charging the dead battery again.
If these steps don’t work, it may be time to replace the battery. But by following these simple steps, you can often fix a dead drill battery and avoid the cost of buying a new one.
Reassembling and Testing the Drill
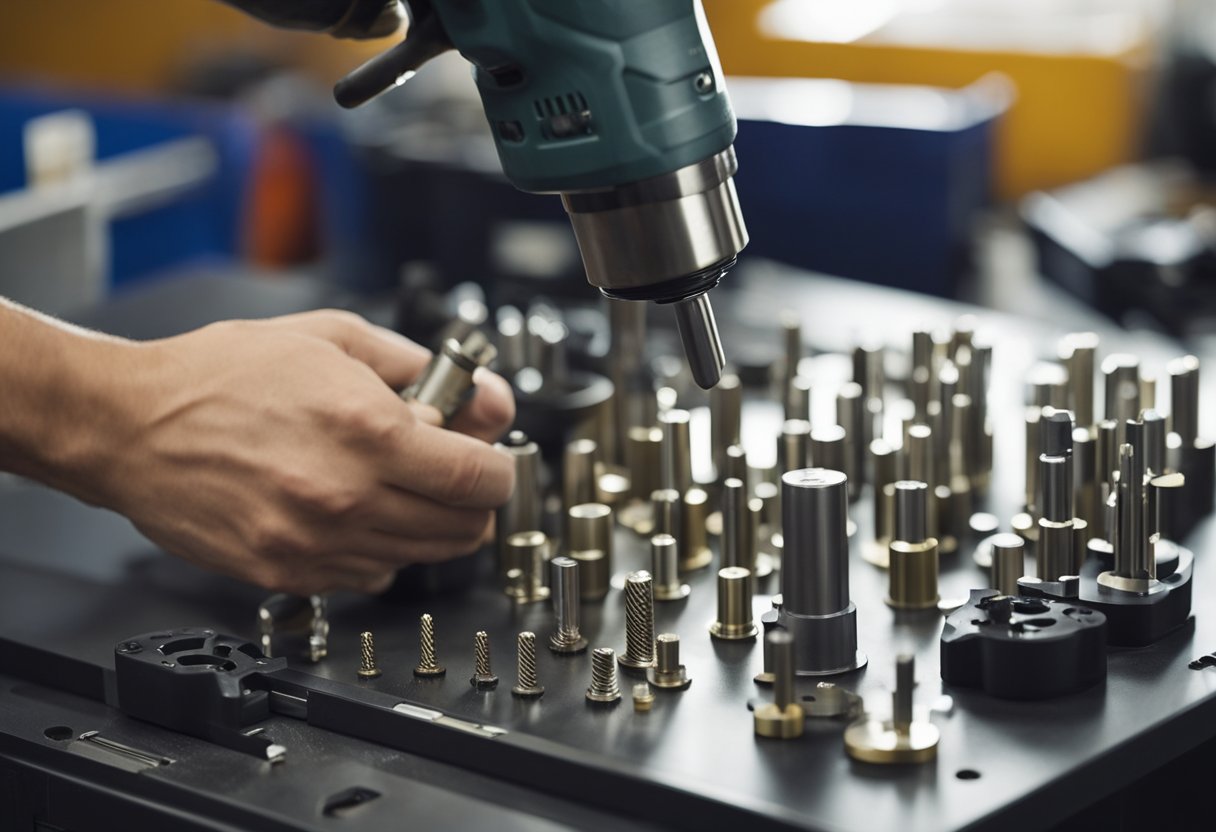
Now that the new battery is installed, I can reassemble my cordless drill. First, I will need to replace the chuck and drill bit if I removed them earlier. I will make sure to tighten the chuck properly to avoid any accidents while using the drill.
Once everything is in place, I will test the drill to make sure it is working properly. I will start by turning it on and checking the torque. If the torque is too low, I may need to adjust it using the torque adjustment ring.
Next, I will test the drill by using it on a piece of scrap wood. I will make sure that the drill bit is not slipping or wobbling and that the drill is able to make clean holes.
If everything checks out, I can now use my cordless drill with confidence knowing that the battery is fully charged and the drill is working properly.
In summary, reassembling and testing the drill is an important step in fixing a drill battery that won’t charge. It is important to make sure that everything is tightened properly and that the drill is working at full capacity before using it for any projects.
Preventative Measures and Maintenance
As a drill user, I know how important it is to keep my drill battery in good condition. Preventative measures and maintenance can go a long way in ensuring that your drill battery stays in top shape. Here are some tips that I follow to maintain my drill battery:
- Regular Use: If you don’t use your battery regularly, it will self-discharge and eventually become unusable. To avoid this, make sure to use your battery at least once every couple of weeks. This will help keep the battery active and prevent it from losing its charge.
- Proper Storage: When not in use, store your battery in a cool, dry place. Avoid storing it in extreme temperatures as this can damage the battery. Also, keep the battery away from direct sunlight or heat sources.
- Quality Power Source: Always use a quality power source to charge your battery. Using a low-quality charger can damage the battery and reduce its lifespan. Make sure to use the charger that came with your drill or a charger that is specifically designed for your battery pack.
- Battery Pack Maintenance: Check your battery pack regularly for any signs of damage or wear. If you notice any cracks or leaks, replace the battery pack immediately. Also, clean the battery contacts with a soft cloth to remove any dirt or debris.
- Temperature Control: Drill batteries can be affected by extreme temperatures. If it’s too cold, the battery won’t work as well. If it’s too hot, the battery can overheat and become damaged. Try to keep your battery at room temperature when charging or using it.
- Cordless Drill Maintenance: Regularly clean and maintain your cordless drill to ensure that it is working properly. A poorly maintained drill can put extra strain on your battery and reduce its lifespan.
By following these preventative measures and maintenance tips, you can help extend the life of your drill battery and ensure that it is always ready to use when you need it.
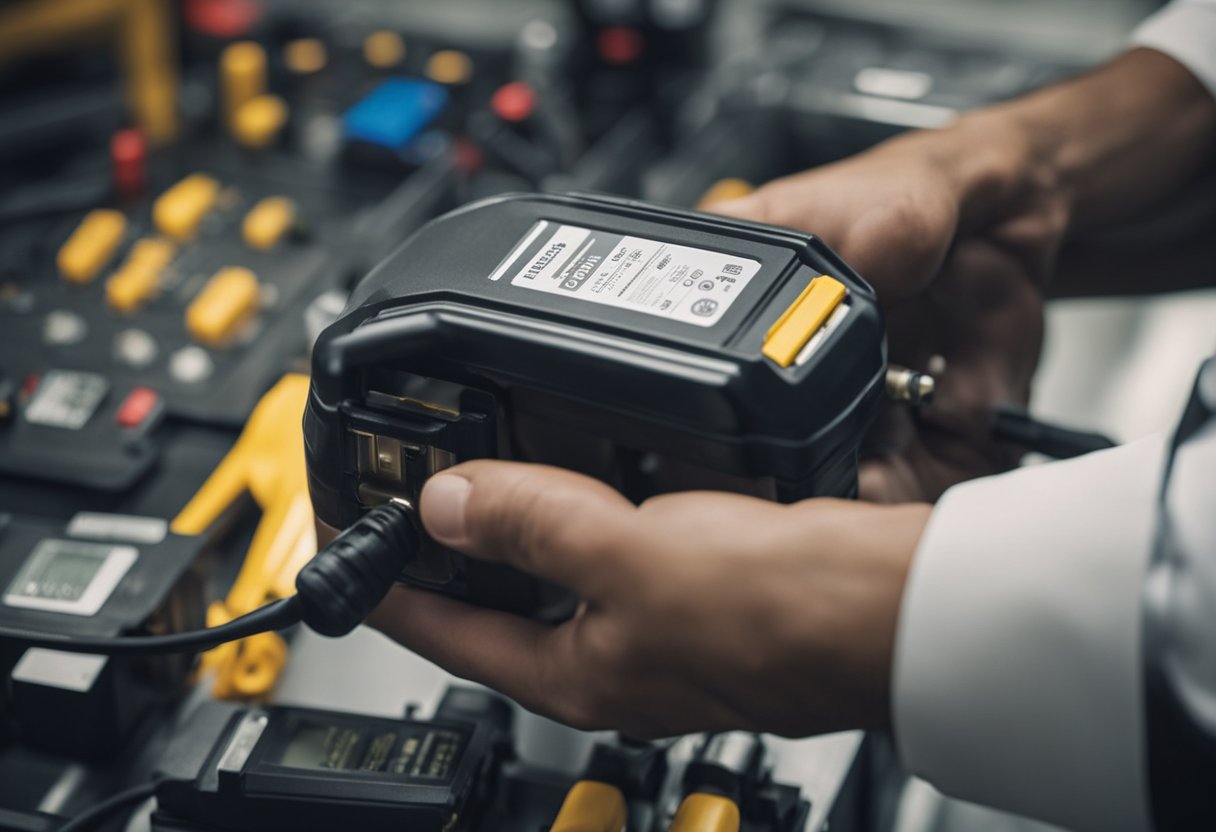
Getting Professional Help
If you have tried all the troubleshooting tips and your drill battery still won’t charge, it may be time to seek professional help. A certified repair professional can help you diagnose the issue and provide the necessary repairs.
The first step is to check if your drill battery is still under warranty. If it is, you can contact the manufacturer’s customer service and they may be able to provide support or even replace the battery for free. Make sure to have your warranty information ready when you call.
If your battery is not under warranty, you can still contact the manufacturer’s customer service to ask for support or recommendations for certified repair professionals in your area. You can also search for repair shops online or ask for recommendations from friends or colleagues.
When choosing a repair professional, make sure to choose one that is certified and has experience working with drill batteries. You can ask for references or check online reviews to ensure the quality of their work.
Before bringing your battery to a repair shop, make sure to ask for an estimate and a timeline for the repairs. This will help you avoid any surprises and ensure that you are getting a fair price.
Remember that getting professional help may cost more than trying to fix the battery yourself, but it can save you time and ensure that the battery is fixed properly.
Frequently Asked Questions
https://www.youtube.com/watch?v=BOeE932q6F4&embed=true
How do I revive a dead cordless drill battery?
Reviving a dead cordless drill battery is not always possible, but there are a few things you can try before giving up on it. First, try charging the battery for 24 hours. If that doesn’t work, try cleaning the battery contacts with a pencil eraser or a small wire brush. If the battery still won’t charge, it may be time to replace it.
How do I fix a drill battery that won’t charge?
There are several reasons why a drill battery may not charge. One common reason is that the battery contacts are dirty or corroded. Try cleaning the contacts with a pencil eraser or a small wire brush. Another reason may be that the battery is too hot or too cold to charge. Allow the battery to cool or warm up to room temperature before trying to charge it. If none of these solutions work, the battery may need to be replaced.
How do I reset a cordless drill battery?
Resetting a cordless drill battery is not a common practice, but it may be necessary if the battery is not functioning properly. To reset the battery, remove it from the drill and place it in the charger. Allow the battery to charge for 24 hours. If the battery still won’t charge, try cleaning the contacts with a pencil eraser or a small wire brush.
Can I repair a cordless drill battery?
In some cases, it is possible to repair a cordless drill battery. However, this should only be attempted by someone with experience in battery repair. Attempting to repair a battery without proper knowledge and tools can be dangerous and may damage the battery beyond repair.
How do I replace a cordless drill battery?
Replacing a cordless drill battery is a simple process. First, purchase a replacement battery that is compatible with your drill. Next, remove the old battery from the drill and insert the new battery. Finally, charge the new battery according to the manufacturer’s instructions.
What should I do if my cordless drill battery won’t charge?
If your cordless drill battery won’t charge, there are a few things you can try. First, make sure that the battery contacts are clean and free of corrosion. If the contacts are dirty, clean them with a pencil eraser or a small wire brush. Next, make sure that the battery is not too hot or too cold to charge. Allow the battery to cool or warm up to room temperature before trying to charge it. If none of these solutions work, the battery may need to be replaced.

Hi, I’m Sal Muller of Tooltrip.com. My DIY experience led me to understand essential power tools for home projects. Tooltrip.com guides enthusiasts and professionals in choosing right tools for any job. I provide concise top tool reviews for easier, efficient DIY.
