
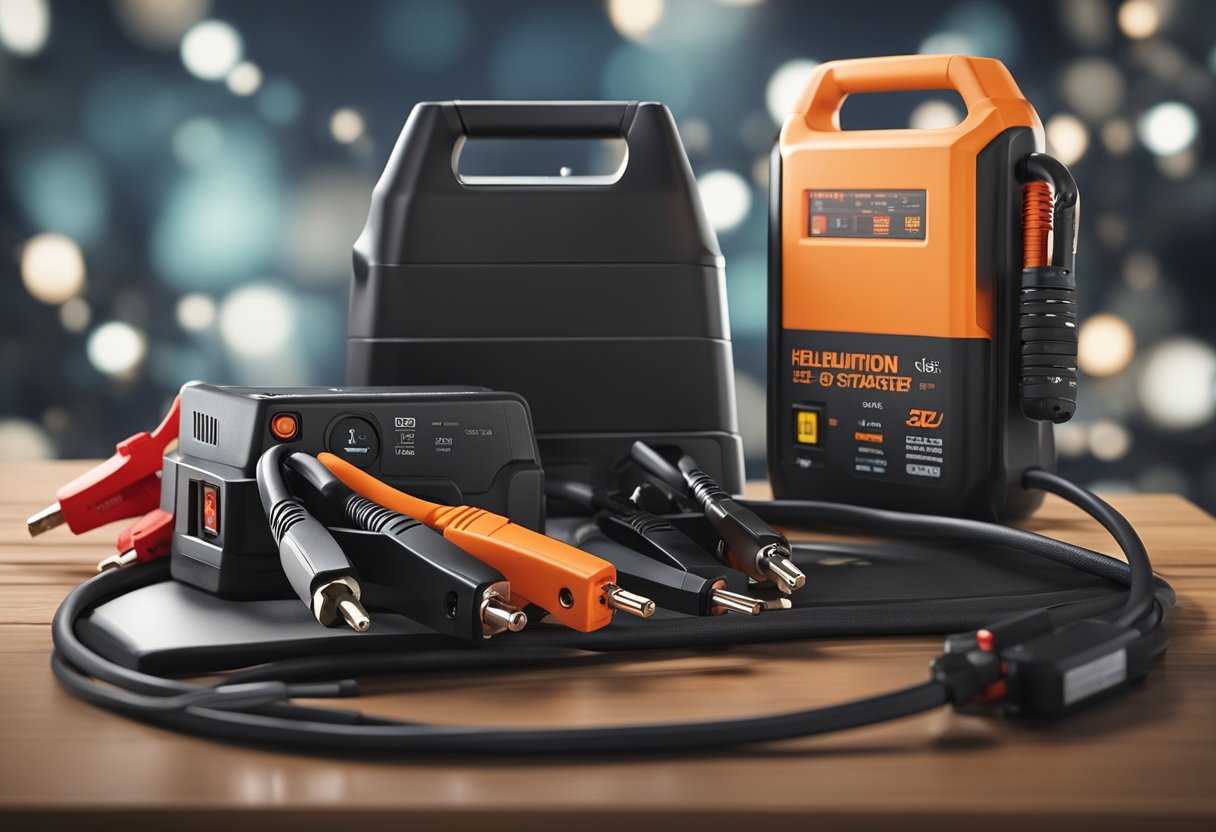
Charging your Vector Jump Starter is an essential part of ensuring that you have reliable portable power when you need it. Whether you’re heading out on a road trip, camping adventure, or just need a backup power source, knowing how to charge your Vector Jump Starter is crucial. In this article, I will explain how to charge your Vector Jump Starter and provide some useful tips to help you get the most out of your portable power source.
Vector Jump Starters are available in different types, including Lithium-Ion, Lead-Acid, and AGM batteries. Each type has its unique charging requirements, and it’s essential to understand them to ensure that you charge your Vector Jump Starter correctly. Additionally, Vector Jump Starters come with different charging options, including AC and DC charging, USB charging, and solar charging. Understanding the charging options available to you will help you choose the best charging method for your needs.
To charge your Vector Jump Starter, you need to follow some simple steps, including connecting the charger, plugging it into a power source, and monitoring the charging progress. I will explain these steps in detail in the next section. Additionally, I will provide some useful tips on how to maintain and use your Vector Jump Starter to ensure that it lasts longer and performs better.
Key Takeaways
- Understanding the type of Vector Jump Starter you have and its charging requirements is crucial when charging your device.
- Vector Jump Starters come with various charging options, including AC and DC charging, USB charging, and solar charging.
- Follow the recommended charging steps, maintain and use your Vector Jump Starter correctly to ensure that it lasts longer and performs better.
Understanding Vector Jump Starters

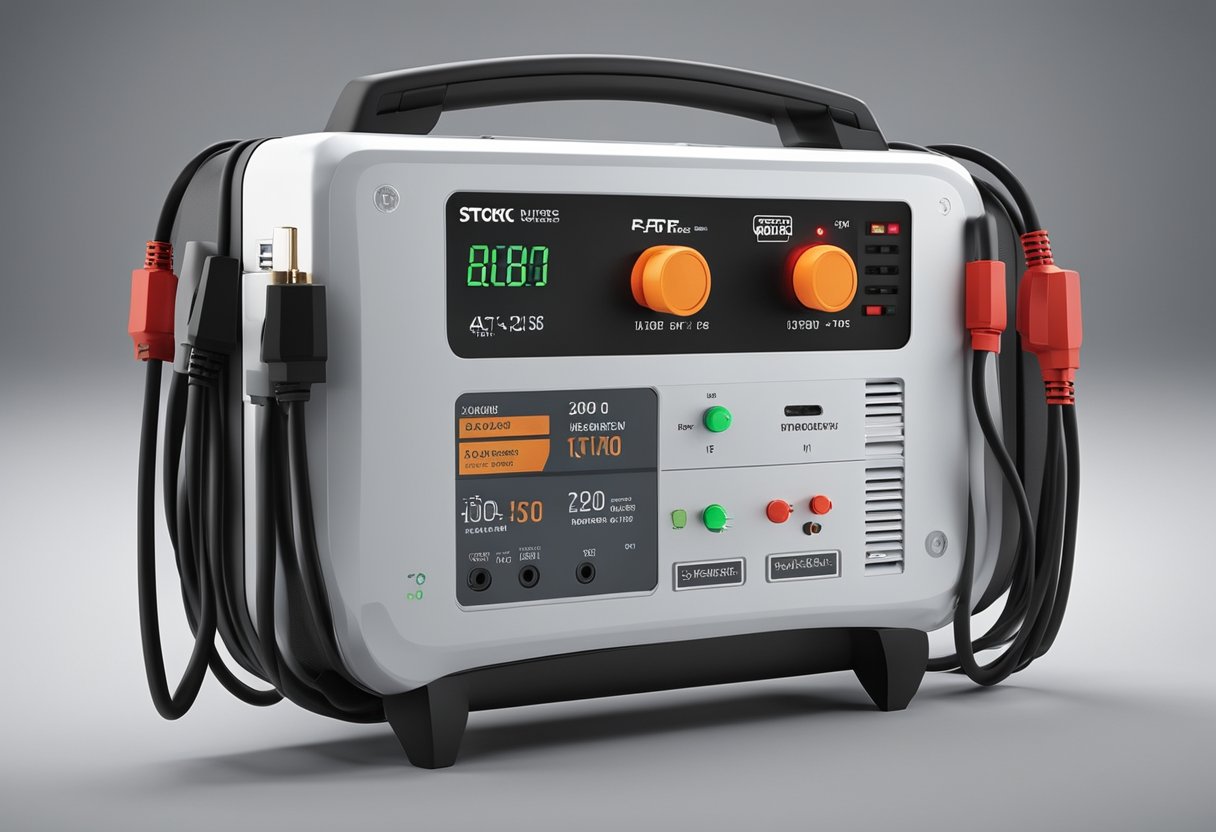
As an owner of a Vector Jump Starter, it is important to know how to charge and maintain the device. Vector offers a range of jump starters with varying peak amp ratings, including the 700 peak amp jump starter, 800 peak amp jump starter, and 1200 peak amp jump starter.
The J312V is a popular model that can jumpstart 4 & 6 cylinder vehicles. It also features a 12V DC outlet and a USB port for easy recharging.
Before using your Vector Jump Starter, it is important to fully charge the device. To charge the jump starter, use only the supplied charging adapters. Plug in the charging adapter at the jump starter first, then plug into the charging source. It is recommended to charge the unit with the supplied 120 volt AC charger for a full 24 hours before using it for the first time.
To maintain the jump starter’s battery life, it is important to recharge it after each use and to recharge it every 3 months if it has not been used. It is also important to never attempt to jump-start or charge a frozen battery and to not connect the product to a positive grounded vehicle.
In summary, understanding your Vector Jump Starter is crucial to ensure its longevity and effectiveness. By following the manufacturer’s instructions for charging and maintaining the device, you can be confident in its ability to jump-start your vehicle when needed.
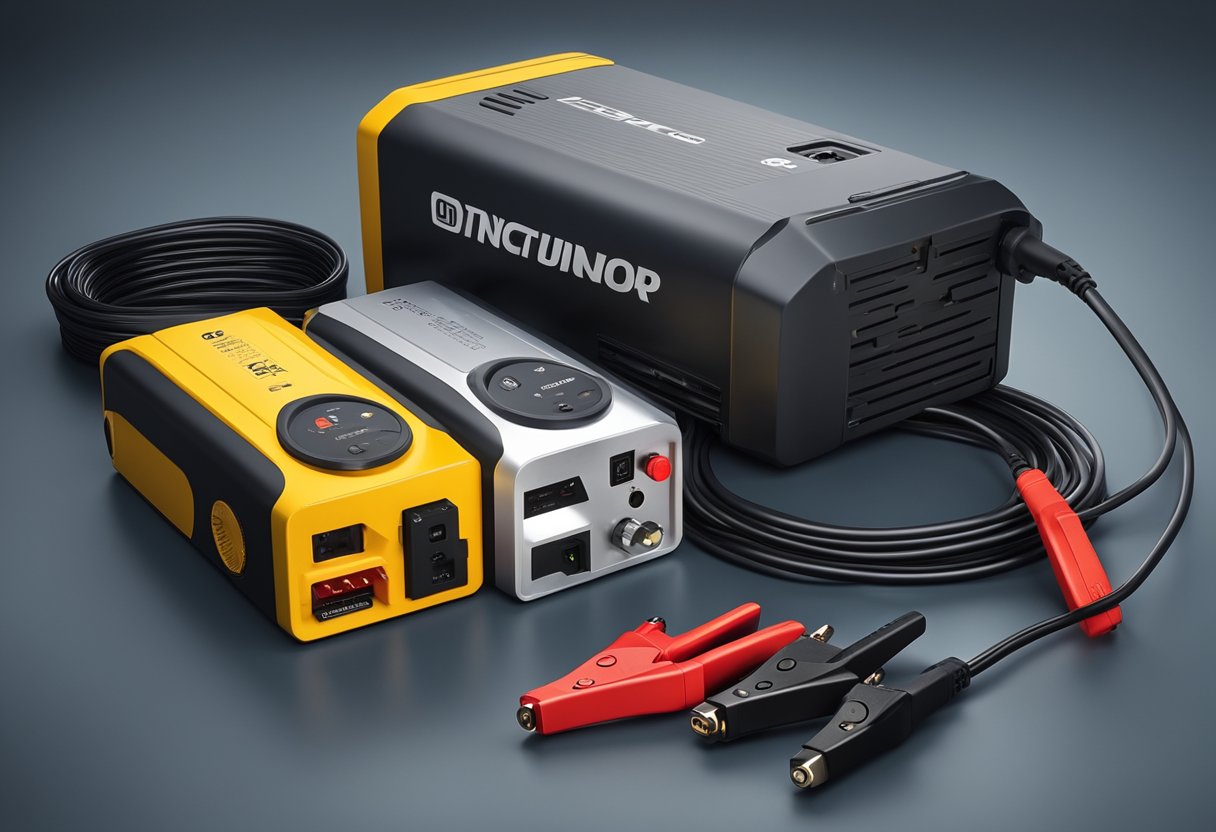
Types of Vector Jump Starters
As a proud owner of a Vector Jump Starter, I know that these devices are an essential tool to have in your car or truck. They can jump-start your vehicle when the battery is dead, charge your devices, and even power small appliances. In this section, I will go over the different types of Vector Jump Starters available, so you can choose the one that best suits your needs.
Lithium Jump Starters
Vector offers a range of Lithium Jump Starters that are lightweight and compact, making them easy to carry around. These devices are perfect for jump-starting V4 and V6 cars and trucks, as well as charging your devices. The Vector Lithium Jump Starters come with dual USB ports, so you can charge two devices at the same time.
Jump Starters with Air Compressors
If you’re looking for a Vector Jump Starter that can also inflate your tires, then the Jump Starters with Air Compressors are perfect for you. These devices come with a built-in air compressor that can inflate your tires up to 120 PSI. They also come with dual USB ports, so you can charge your devices on the go.
Heavy-Duty Jump Starters
For those of you who need a heavy-duty jump starter, Vector offers a range of Heavy-Duty Jump Starters that can jump-start diesel engines and power larger appliances. These devices come with dual USB ports and are perfect for those who need a reliable jump starter for their work trucks or other heavy-duty vehicles.
In conclusion, Vector Jump Starters come in various types, and each one has its unique features that cater to different needs. Whether you need a lightweight and compact jump starter or a heavy-duty one, Vector has got you covered.
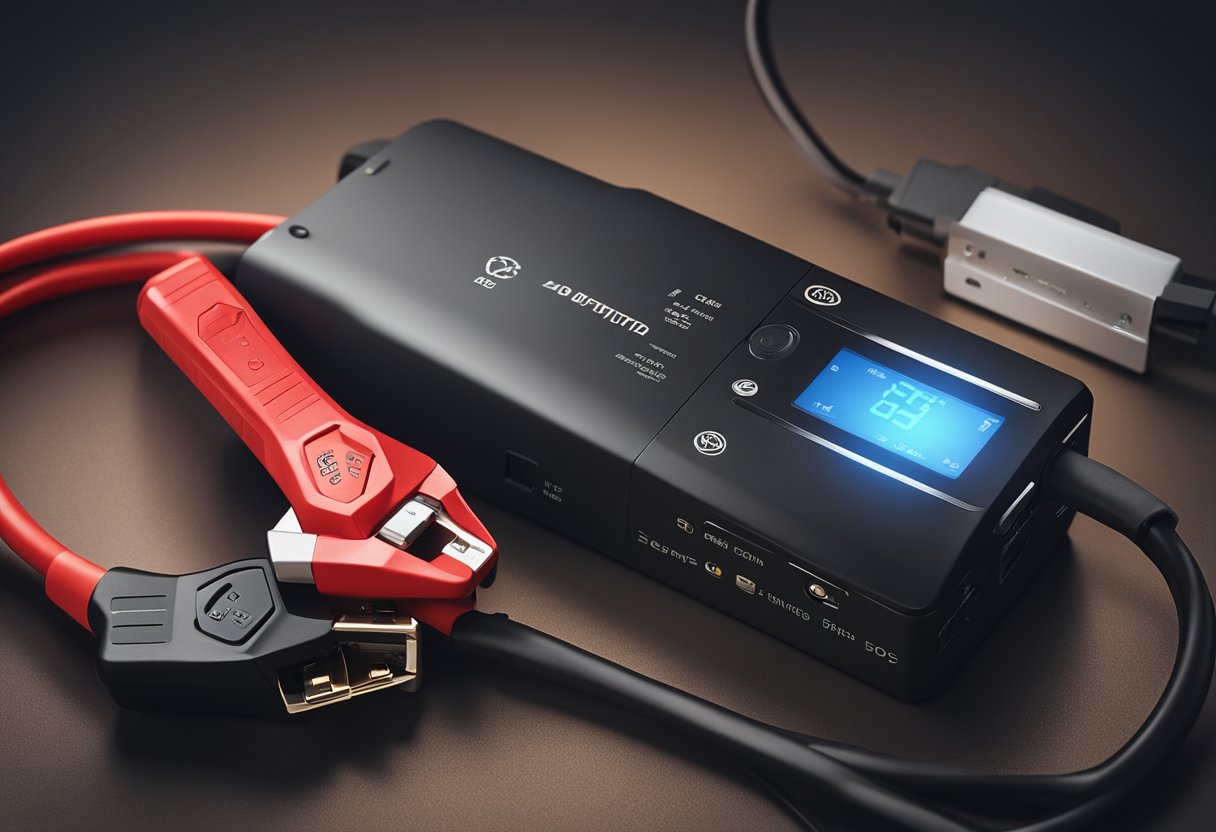
How to Charge Your Vector Jump Starter
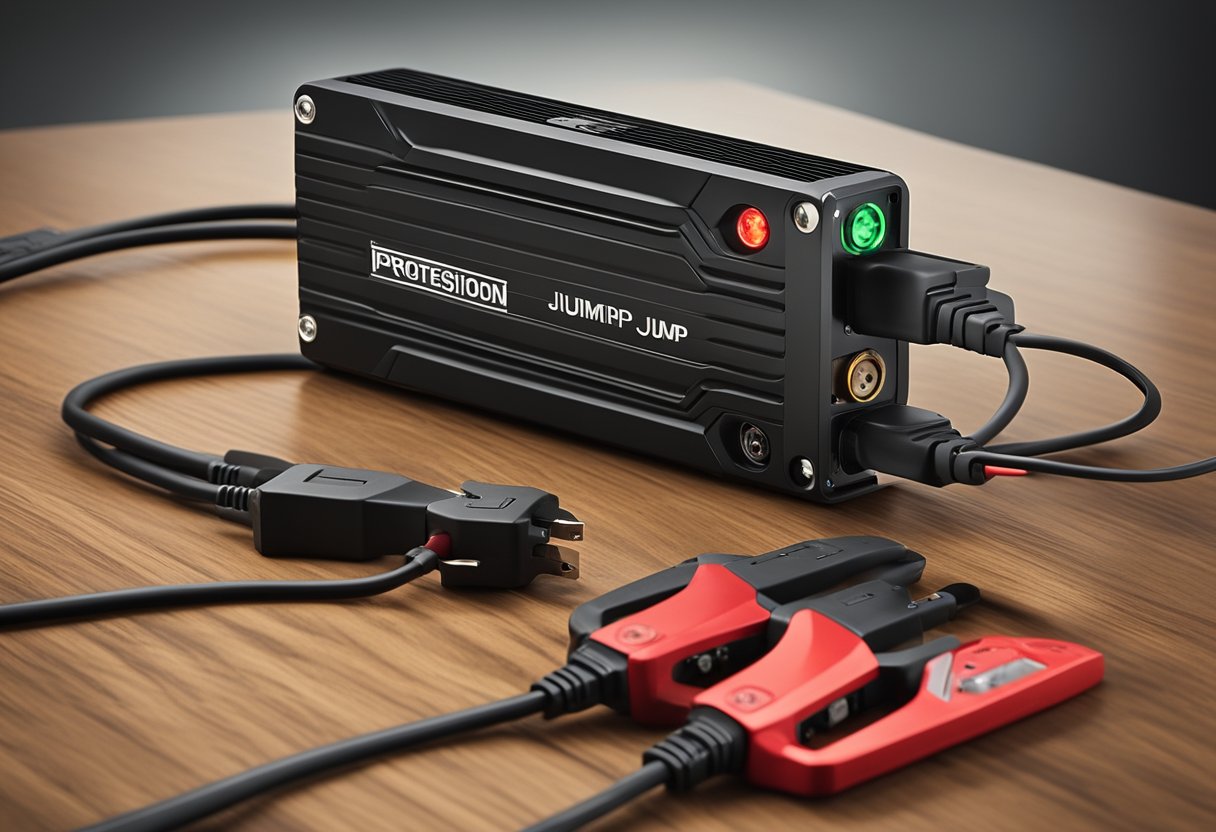
As a Vector Jump Starter owner, it is important to know how to charge it properly to ensure that it is always ready to use when needed. There are two ways to charge your Vector Jump Starter: using the AC adapter or the USB port.
Charging with AC Adapter
To charge your Vector Jump Starter using the AC adapter, follow these simple steps:
- Connect the AC adapter to the charging port located on the side of the jump starter.
- Plug the AC adapter into a standard electrical outlet.
- The LED light on the jump starter will illuminate to indicate that it is charging.
- Allow the jump starter to charge completely before disconnecting it from the AC adapter.
Charging with USB Port
You can also charge your Vector Jump Starter using the USB port. Here’s how:
- Connect the USB cable to the charging port located on the side of the jump starter.
- Plug the USB cable into a USB port on your computer or other USB charging device.
- The LED light on the jump starter will illuminate to indicate that it is charging.
- Allow the jump starter to charge completely before disconnecting it from the USB port.
It is important to note that charging times may vary depending on the charging method used. When using the AC adapter, it is recommended to charge the jump starter for a full 24 hours before using it for the first time. Additionally, it is important to charge the jump starter after each use and at least once every 3-6 months if not in frequent use to prevent overdischarge.
By following these simple steps, you can ensure that your Vector Jump Starter is always fully charged and ready to use when you need it.
Usage of Vector Jump Starters
https://www.youtube.com/watch?v=iDwH1ML6KSM&embed=true
As a portable power solution, Vector Jump Starters are designed to help you jump-start your vehicle in case of a dead battery. They are easy to use and come with step-by-step instructions that make the process hassle-free.
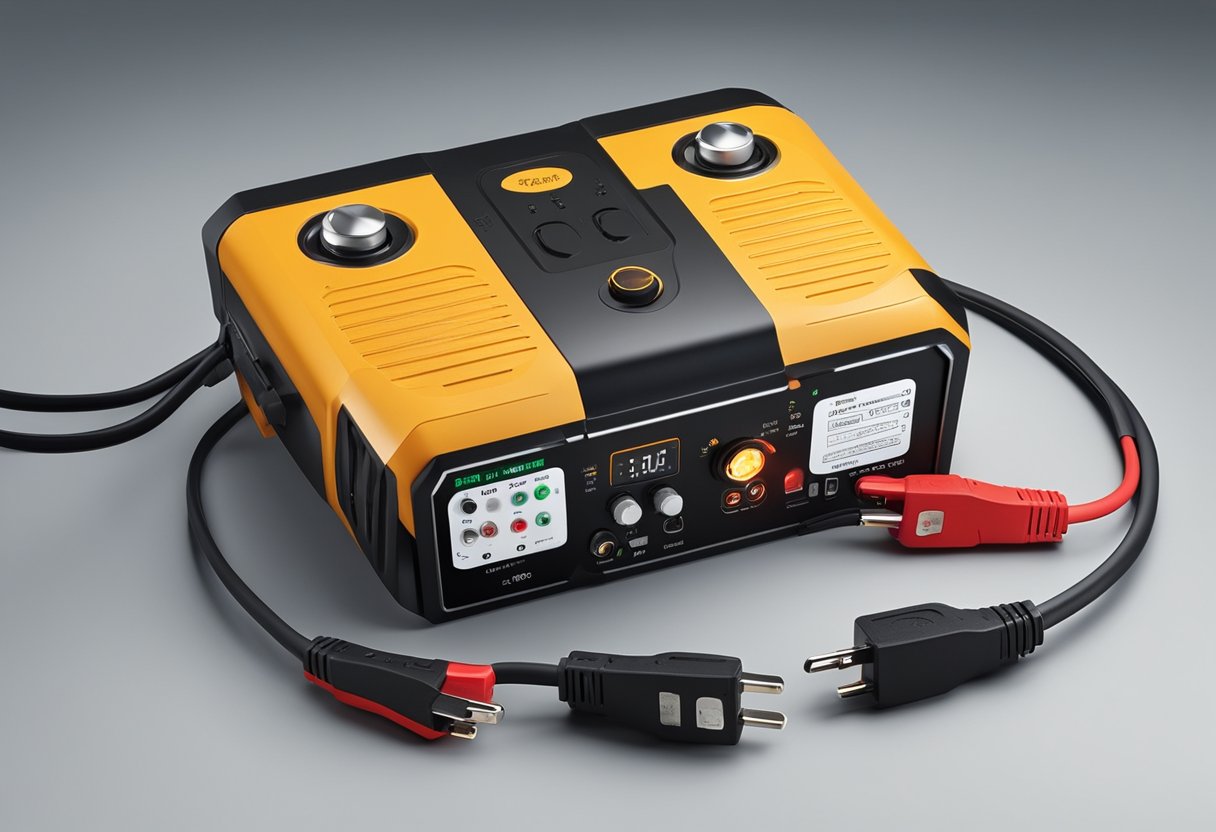
To use your Vector Jump Starter, you need to ensure that it is charged and ready to go. Depending on the model, you can use a 110/120 Volt AC charger or a DC charger to charge your jump starter. It is important to note that you should only use the supplied charging adapters to charge your unit.
Once your Vector Jump Starter is fully charged, you can use it to jump-start your vehicle. The jump-starting process is easy and can be done in a few simple steps. First, you need to connect the jump starter to your vehicle’s battery. Then, turn on the jump starter and wait for it to charge your battery. Once your battery is charged, you can start your vehicle and disconnect the jump starter.
In addition to jump-starting your vehicle, Vector Jump Starters can also be used as a portable power source. Some models come with USB ports and 12V DC outlets that allow you to charge your devices on-the-go. This makes Vector Jump Starters a versatile tool that can be used in a variety of situations.
Overall, Vector Jump Starters are a reliable and easy-to-use solution for jump-starting your vehicle and providing portable power. With their step-by-step instructions and versatile features, they are a must-have for any car owner.
Additional Features
Aside from jump-starting your vehicle, the Vector Jump Starter also comes with some additional features that make it a versatile tool to have in your car. In this section, I will cover the lighting and air compressor functions of the Vector Jump Starter.
Lighting Features
The Vector Jump Starter comes equipped with a built-in LED light that can be used as a flashlight or a warning light. The flashlight feature is handy for illuminating the engine bay or for finding your way around in the dark. The warning light feature can be used to signal other drivers in the event of an emergency. To activate the light, simply press the power button twice.
Air Compressor Function
The Vector Jump Starter also comes with an air compressor function that can be used to inflate tires, sports equipment, and other inflatables. The air compressor can deliver up to 120 PSI of air pressure and comes with an air hose and a variety of nozzles to fit different types of inflatables. To use the air compressor, simply attach the hose to the compressor outlet and the nozzle to the inflatable, set the desired pressure, and turn on the compressor.
Overall, the Vector Jump Starter is a reliable and versatile tool to have in your car. With its jump-starting capabilities, built-in flashlight and warning light, and air compressor function, it can help you out in a variety of situations.
Maintenance and Safety Precautions
As with any rechargeable device, it is important to properly maintain and use your Vector jump starter to ensure safe and efficient operation. Here are some important maintenance and safety precautions to keep in mind:
-
Before using your Vector jump starter, be sure to fully charge it using the supplied charging adapters. Plug in the charging adapter at the jump starter first, then plug into the charging source. It is recommended to charge the unit for a full 24 hours before using it for the first time.
-
Only use the supplied charging adapters to recharge your Vector jump starter. Using other charging adapters may damage the unit and void the warranty.
-
Do not attempt to jump-start a frozen battery, as this can cause damage to both the battery and the jump starter. Wait for the battery to thaw before attempting to jump-start it.
-
Never submerge your Vector jump starter in water or expose it to extreme heat or cold. This can damage the unit and make it unsafe to use.
-
Always follow basic safety precautions when using your Vector jump starter, such as wearing eye protection and keeping loose clothing and hair away from moving parts.
By following these simple maintenance and safety precautions, you can ensure that your Vector jump starter remains in good working condition and provides reliable performance when you need it most.
Choosing the Right Vector Jump Starter
As with any equipment, choosing the right Vector Jump Starter is crucial to ensure that you get the job done correctly and efficiently. Vector Jump Starters come in various models and specifications, so it is essential to know what your requirements are before making a purchase.
One of the first things to consider when choosing a Vector Jump Starter is its size. If you need a portable jump starter that you can take with you on the go, then a compact model might be the best option. Compact jump starters are lightweight, easy to carry around, and can fit in your car’s glove compartment.
Another essential factor to consider is the power output of the jump starter. Vector Jump Starters come in different power outputs, ranging from 450 amps to 1600 amps. If you have a larger vehicle, such as an SUV or a truck, then you might need a more powerful jump starter to get it going.
It is also important to check the jump starter’s 12V DC power outlet compatibility. Make sure that the jump starter you choose has a 12V DC outlet that is compatible with your device. This is especially important if you plan to use the jump starter to charge your mobile devices or other electronic equipment.
In addition to the 12V DC outlet, some Vector Jump Starters also come with a 12V DC power supply. This feature allows you to power other devices that require a 12V DC power source, such as air compressors or portable fridges.
In conclusion, choosing the right Vector Jump Starter is crucial to ensure that you get the job done correctly and efficiently. Consider the jump starter’s size, power output, and 12V DC outlet compatibility before making a purchase. By doing so, you can ensure that you have the right equipment for the task at hand.
Conclusion
In conclusion, charging your Vector Jump Starter is a simple process that can be done in a few easy steps. First, ensure that the jump starter is turned off and disconnected from any devices. Next, connect the charging adapter to the jump starter, and then plug it into a power source such as a wall outlet or a car charger.
It is important to note that the charging time for your Vector Jump Starter may vary depending on the model and the type of charger being used. For example, some models may take up to 24 hours to fully charge, while others may only take a few hours.
When it comes to charging your Vector Jump Starter, it is also important to use the correct charging adapter and to follow the manufacturer’s instructions carefully. Using the wrong charger or not following the instructions can damage the jump starter and reduce its lifespan.
If you are looking for a reliable battery charger, power inverter, or lithium power station to complement your Vector Jump Starter, there are many options available on the market. Some popular brands include NOCO, Schumacher, and Goal Zero.
Overall, charging your Vector Jump Starter is a simple process that can be done quickly and easily. By following the manufacturer’s instructions and using the correct charging adapter, you can ensure that your jump starter is always ready to go when you need it.
Frequently Asked Questions
How long does it take to charge a Vector 800A jump starter?
The charging time for a Vector 800A jump starter depends on the type of charger being used. If you are using a 120V AC charger, it may take up to 24 hours to fully charge the device. However, if you are using a 12V DC charger, the charging time may vary depending on the amperage of the charger.
What is the charging time for a Vector 1200 Amp jump starter?
The charging time for a Vector 1200 Amp jump starter is similar to that of the 800A model. If you are using a 120V AC charger, it may take up to 24 hours to fully charge the device. However, if you are using a 12V DC charger, the charging time may vary depending on the amperage of the charger.
How do I charge my portable jump starter?
To charge your portable jump starter, you will need to connect it to a power source using the supplied charging cable. Make sure to use only the charging cable that came with your device, as using other cables may damage your jump starter. Once connected, the charging process will begin automatically.
What is the charging process for the DEWALT jump starter?
The charging process for the DEWALT jump starter is similar to that of other jump starters. Simply connect the device to a power source using the supplied charging cable and wait for it to fully charge. The charging time may vary depending on the type of charger being used.
What is the recommended charging time for the Vector SS6LV?
The recommended charging time for the Vector SS6LV is approximately 5 hours. However, the actual charging time may vary depending on the type of charger being used and the current charge level of the device.
How can I tell if my Vector jump starter is charging?
Most Vector jump starters come equipped with an LED indicator light that will turn on when the device is charging. If the light is not turning on, check to make sure that the device is properly connected to the charging cable and that the power source is functioning properly. If you are still having issues, consult the user manual or contact customer support for assistance.

Hi, I’m Sal Muller of Tooltrip.com. My DIY experience led me to understand essential power tools for home projects. Tooltrip.com guides enthusiasts and professionals in choosing right tools for any job. I provide concise top tool reviews for easier, efficient DIY.
