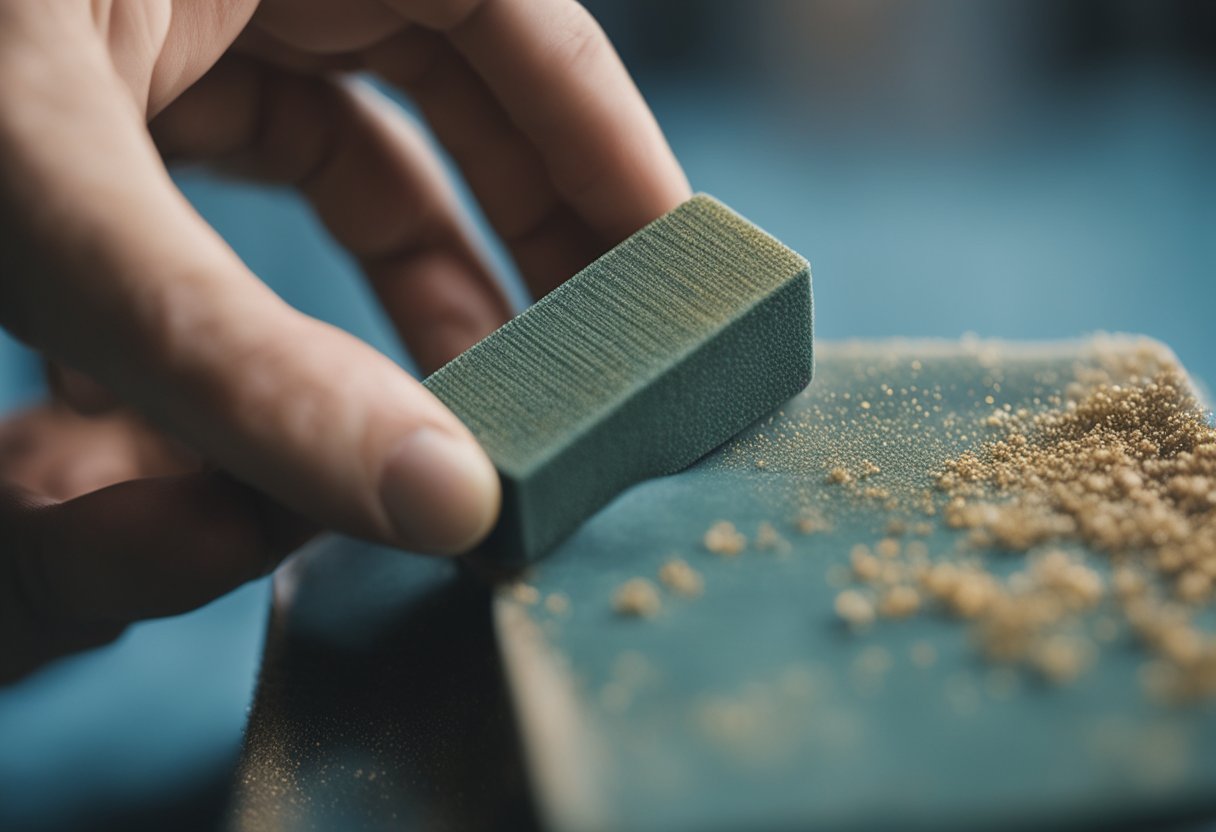
I have researched extensively on the topic of sanding acrylic paint, and I can confidently say that it is possible to sand acrylic paint. In fact, sanding acrylic paint can be a great way to achieve a smooth and professional-looking finish. However, it is important to use the right materials and techniques to avoid damaging the paint or the surface underneath.
Acrylic paint is a popular medium for both professional artists and hobbyists due to its versatility, durability, and vibrant colors. However, some artists may find that the texture of the paint is not to their liking, or they may want to create a smooth transition between colors. This is where sanding comes in. By using fine-grit sandpaper and the right technique, it is possible to reduce the texture of the paint and achieve a smoother surface.
Key Takeaways
- Sanding acrylic paint can help achieve a smooth and professional-looking finish.
- It is important to use the right materials and techniques to avoid damaging the paint or the surface underneath.
- Sanding can be useful for reducing the texture of the paint or creating a smooth transition between colors.
Understanding Acrylic Paint
https://www.youtube.com/watch?v=CFULyTf-RzM&embed=true
As a painter, I have worked with various types of paints, but acrylic paint is one of my favorites. Acrylic paint is a water-based paint that is made up of pigment suspended in an acrylic polymer emulsion. This type of paint dries quickly and forms a durable, flexible film.
One of the benefits of acrylic paint is that it can be used on a variety of surfaces, including canvas, wood, paper, and even fabric. Before starting a painting, I always make sure to prime the surface with acrylic gesso, which helps to create a smooth and even surface for the paint to adhere to.
Acrylic paint is also versatile in terms of textures and layers. I can create a range of textures by adding different mediums to the paint, such as sand, pumice, or glass beads. Additionally, I can create layers by allowing each layer of paint to dry before applying the next layer. This technique is called “layering,” and it allows me to create depth and dimension in my paintings.
When working with acrylic paint, it’s important to note that it can be thinned with water or medium, which allows for a range of effects. For example, I can create a watercolor effect by thinning the paint with water, or I can create a thick impasto effect by using a palette knife to apply the paint thickly to the canvas.
In conclusion, acrylic paint is a versatile and durable paint that can be used on a variety of surfaces. It allows for a range of textures and layers, and can be thinned or thickened to create different effects. By understanding the properties of acrylic paint, I can use it to create beautiful and unique paintings.
Why and When to Sand Acrylic Paint
As an artist, I often find myself wanting to achieve a smooth and flawless finish on my acrylic paintings. However, it’s not always easy to achieve this desired effect. That’s where sanding comes in. Sanding acrylic paint can help to remove imperfections, fix mistakes, and create a smoother surface.
One of the main reasons to sand acrylic paint is to remove streaks or brush marks that may have occurred during the painting process. By sanding the surface, you can create a smoother and more even finish. Additionally, if you need to repair a mistake or fix an imperfection, sanding can help to remove the unwanted area and create a fresh surface to work on.
Before sanding acrylic paint, it’s important to ensure that the paint is fully dry and cured. Pre-sanding can also be done to create a smoother surface to work on. When sanding acrylic paint, it’s best to use a fine-grit sandpaper in the 180-320 range. Be sure to use a light hand to avoid scraping the paint all the way off.
It’s safe to sand acrylic paint on wood, metal, and plexiglass surfaces, as well as acrylic gesso primers. However, it’s important to be cautious and use a fine-grit sandpaper to avoid damaging the surface. By following these tips, you can achieve a smooth and flawless finish on your acrylic paintings.
Materials and Tools Needed
When it comes to sanding acrylic paint, the right tools and materials are crucial to getting the best results. Here are the materials and tools that I recommend:
Sandpaper
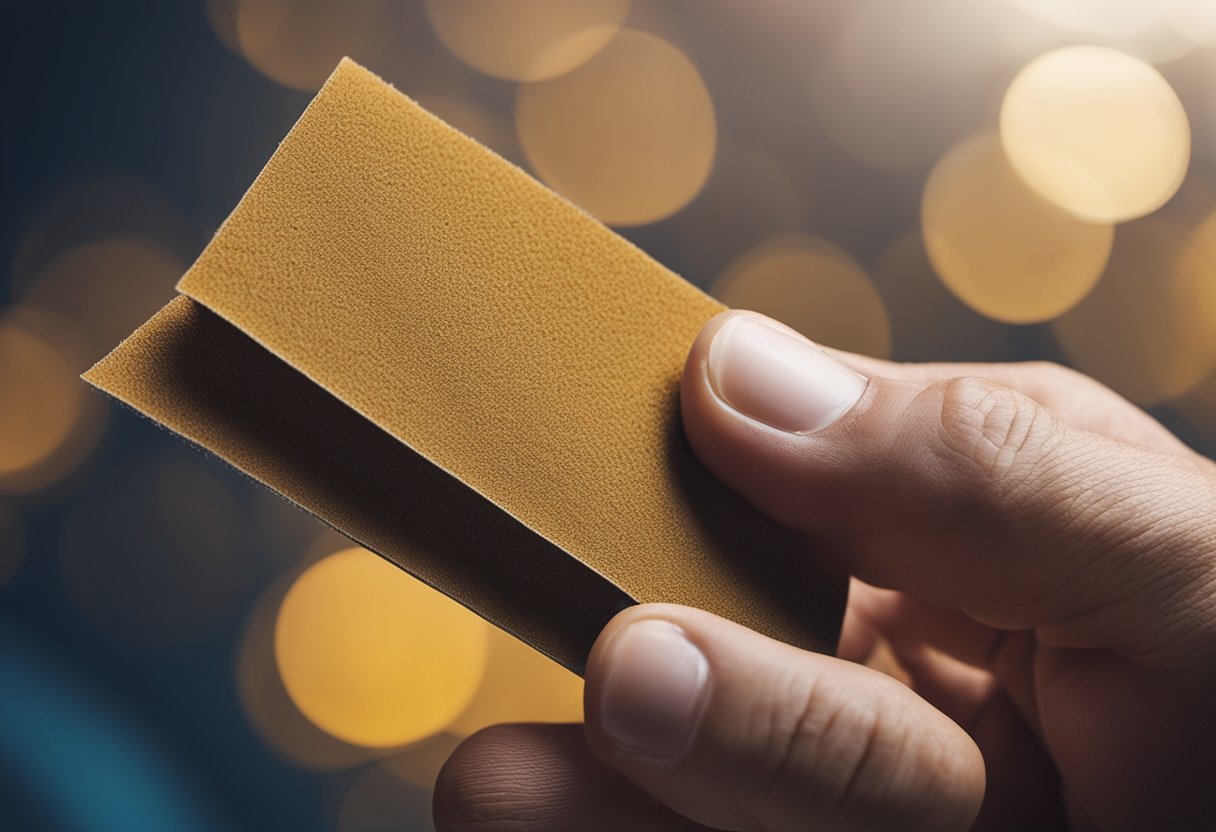
Sandpaper is the primary tool needed for sanding acrylic paint. It comes in different types and grits, and the right type and grit will depend on the job at hand. For sanding acrylic paint, I recommend using fine-grit sandpaper with a grit range between 180-320. This type of sandpaper will help you achieve a smooth surface without removing too much paint.
Sanding Block
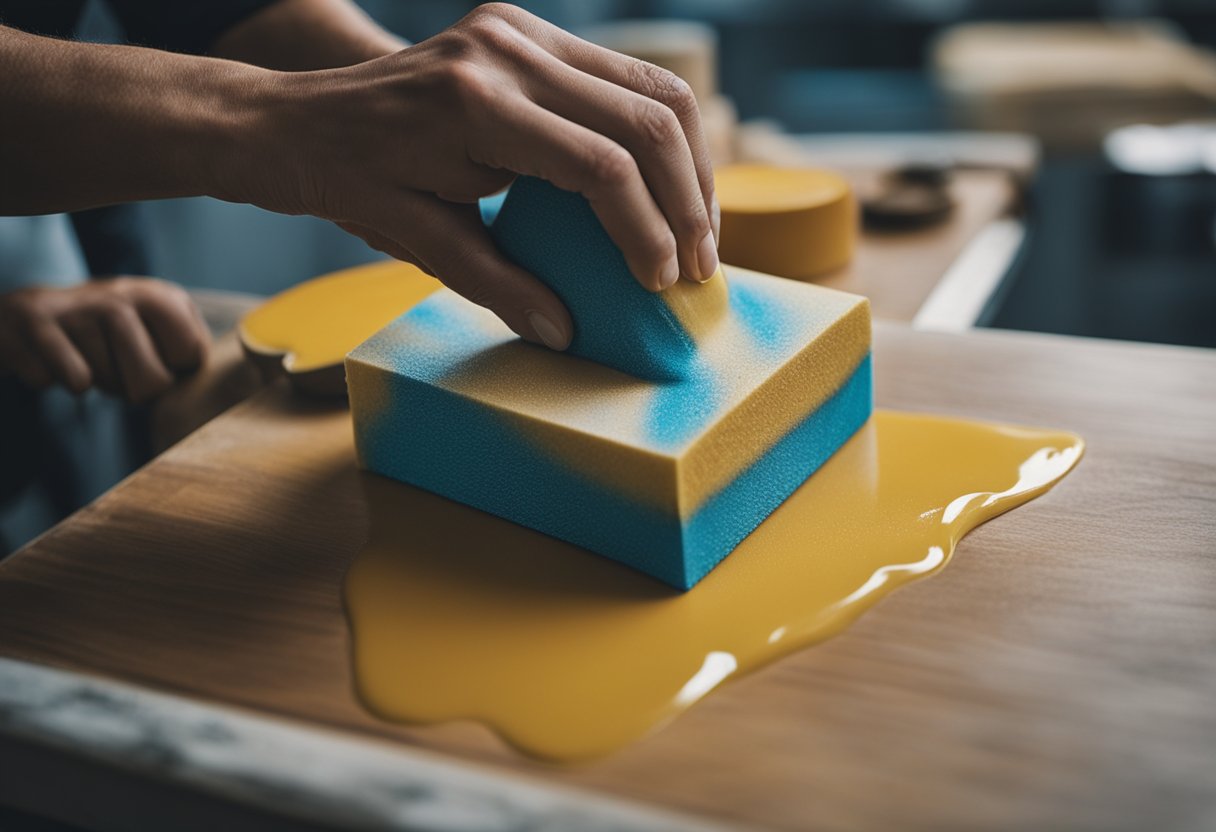
A sanding block is a tool that can help keep the sandpaper flat and prevent uneven pressure while sanding. It is especially useful when sanding larger surfaces. You can make your own sanding block by wrapping sandpaper around a block of wood or by purchasing a pre-made sanding block.
Soft Brush
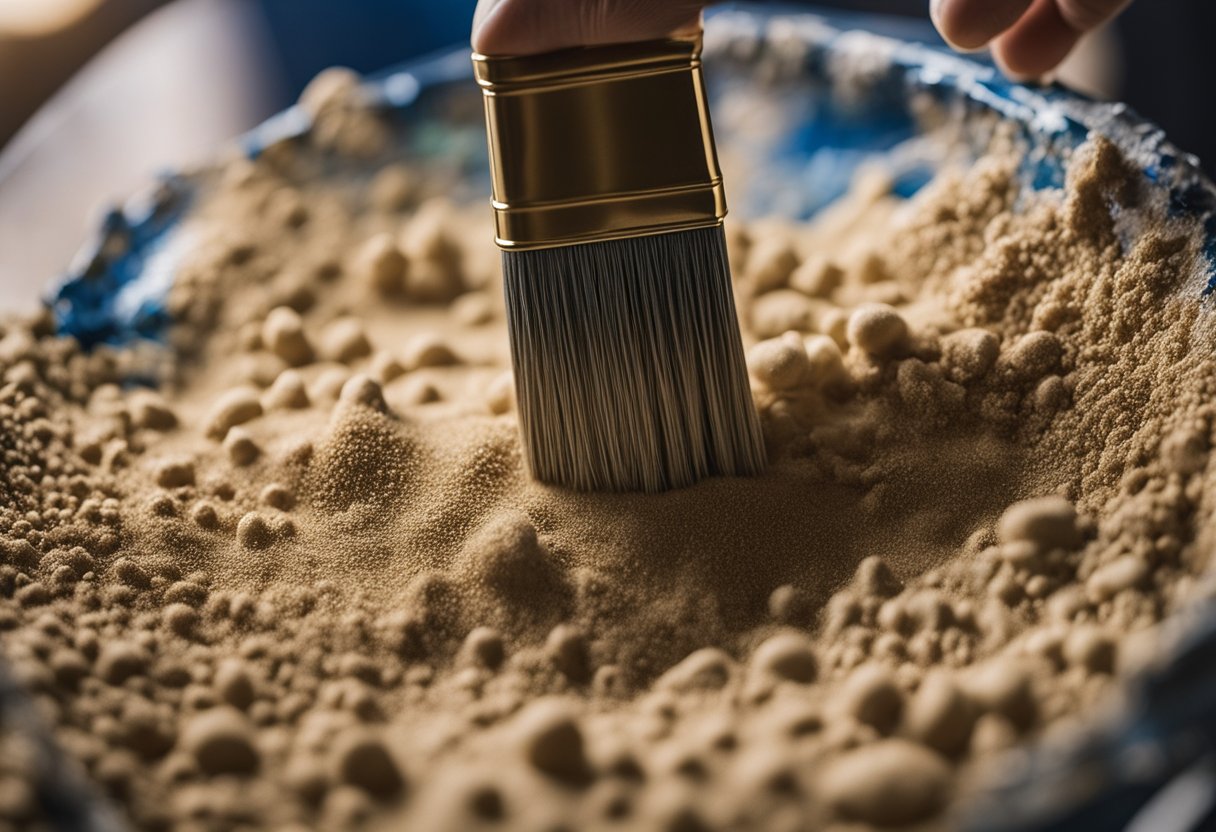
After sanding, it is important to remove any dust or debris from the surface. A soft brush can be used to gently brush away any particles without scratching the surface. A soft-bristled brush or a microfiber cloth can work well for this purpose.
In summary, the materials and tools needed for sanding acrylic paint include fine-grit sandpaper, a sanding block, and a soft brush. By using the right tools and materials, you can achieve a smooth and professional finish on your acrylic paint project.
Techniques for Sanding Acrylic Paint
https://www.youtube.com/watch?v=Ll1gPb28lDk&embed=true
When it comes to sanding acrylic paint, there are a few techniques you can use to achieve a smooth and even finish. In this section, I will go over some of the most common and effective techniques for sanding acrylic paint.
Sanding Between Coats
One technique that can be particularly useful when working with acrylic paint is sanding between coats. This involves applying a layer of paint, allowing it to dry, and then sanding it lightly with fine-grit sandpaper before applying the next coat. Sanding between coats can help to smooth out any imperfections in the paint and create a more even finish.
Circular Motions
When sanding acrylic paint, it is important to use circular motions rather than back-and-forth motions. Circular motions help to prevent the sandpaper from creating visible scratches or marks on the surface of the paint. By using circular motions, you can achieve a smoother and more even finish.
Impasto Technique
The impasto technique involves applying thick layers of paint to create texture and depth. When using this technique, it can be challenging to achieve a smooth finish without sanding. Sanding the surface of the paint can help to smooth out any bumps or ridges and create a more even surface.
Advanced Technique
For more advanced sanding techniques, you may want to consider using a sanding block or a power sander. These tools can help to speed up the sanding process and create a more consistent finish. However, it is important to use caution when using power tools, as they can easily damage the surface of the paint if not used properly.
In conclusion, sanding acrylic paint can be an effective way to achieve a smooth and even finish. By using the right techniques and tools, you can create a professional-looking result that will be sure to impress.
Sanding Acrylic Paint on Different Surfaces
https://www.youtube.com/watch?v=DQPt2byF3EY&embed=true
As an artist, I often find myself wondering if I can sand acrylic paint on different surfaces. The answer is yes, but it’s important to know which surfaces can be sanded and which cannot. In this section, I will discuss sanding acrylic paint on wood, metal, canvas, glass, and plexiglass surfaces.
Wood
When sanding acrylic paint on a wood surface, it’s important to use fine-grit sandpaper in the 180-320 range to avoid damaging the surface. Sanding can be useful for removing brush strokes or creating a smoother surface. However, it’s important to be gentle and not sand too aggressively.
Metal
Sanding acrylic paint on a metal surface can be a bit trickier than on wood. It’s important to use a fine-grit sandpaper to avoid scratching the surface. Additionally, it’s important to ensure that the metal surface is clean and free of any debris before sanding.
Canvas
Sanding acrylic paint on a canvas surface is not recommended. Canvas is a delicate material that can easily be damaged by sanding. If you need to create a smoother surface on a canvas painting, consider using a palette knife or sanding sponge instead.
Glass
Sanding acrylic paint on a glass surface is possible, but it’s important to use a very fine-grit sandpaper and to be very gentle. Glass is a delicate material that can easily be scratched or damaged. Additionally, it’s important to ensure that the glass surface is clean and free of any debris before sanding.
Plexiglass
Plexiglass is a popular surface for acrylic paintings, and it can be sanded if needed. However, it’s important to use a fine-grit sandpaper and to be very gentle. Additionally, it’s important to ensure that the plexiglass surface is clean and free of any debris before sanding.
In conclusion, sanding acrylic paint can be a useful technique for creating a smoother surface or removing brush strokes. However, it’s important to use the right type of sandpaper for the surface you are working on and to be gentle to avoid damaging the surface.
Post-Sanding Procedures
https://www.youtube.com/watch?v=H92NSXIdVz0&embed=true
Once you have sanded your acrylic paint, you may need to follow some post-sanding procedures to ensure that you get the best possible finish. Here are some steps you can take to ensure your acrylic paint looks its best after sanding:
-
Clean the Surface: After sanding, it is important to clean the surface of any dust or debris that may have accumulated. Use a clean, damp cloth to wipe down the surface, and let it dry completely before moving on to the next step.
-
Cure the Paint: If you have sanded through the paint layer, you may need to let the paint cure again before applying any additional layers. Check the manufacturer’s instructions for the recommended curing time, and follow them carefully.
-
Apply a Primer: If you are planning to apply a new coat of paint, it is always a good idea to apply a primer first. This will help the new coat of paint adhere to the surface more effectively, and ensure a smooth finish.
-
Apply a Varnish or Gloss Medium: To achieve a glossy finish, you can apply a high-gloss varnish or gloss medium to the surface. This will help to seal the paint and give it a shiny, polished look.
-
Smooth Out Acrylic Paint: If you find that your acrylic paint is not as smooth as you would like it to be, you can use a gloss medium to smooth it out. Apply a thin layer of the gloss medium over the surface of the paint, and let it dry completely.
By following these post-sanding procedures, you can ensure that your acrylic paint looks its best and achieves the desired finish. Remember to always read the manufacturer’s instructions carefully, and take your time to achieve the best possible results.
Precautions and Troubleshooting
https://www.youtube.com/watch?v=KDIqGzCCY08&embed=true
When sanding acrylic paint, there are some precautions that you should take to ensure your safety. First and foremost, always wear a mask and work in a well-ventilated area to avoid inhaling acrylic dust. This dust can be harmful to your respiratory system, so it’s important to take the necessary precautions to protect yourself.
Another thing to keep in mind is that you should never over-sand the surface. Over-sanding can cause the layers of paint to become too thin, which can lead to cracking and distress in the paint. To avoid this, be patient and take your time when sanding. It’s better to sand too little than too much.
If you do notice any scratches or marks on the surface after sanding, don’t worry. You can easily clean the surface with a damp cloth to remove any dust or debris. If the scratches are deep, you may need to touch up the paint with a brush.
It’s also important to make sure that the paint is fully cured before sanding. If the paint is not fully cured, it can easily scratch or peel off. Typically, acrylic paint takes about 24 hours to fully cure, but it’s always a good idea to check the manufacturer’s instructions for specific drying times.
When sanding, it’s important to use proper techniques to avoid over-sanding or damaging the surface. Use a fine-grit sandpaper and be gentle with your movements. It’s better to make several light passes than to try to sand the surface in one go.
By following these precautions and troubleshooting tips, you can safely and effectively sand acrylic paint to achieve the desired finish.
Additional Techniques and Effects
In addition to sanding, there are several other techniques and effects that you can use to enhance your acrylic painting. These techniques can be used to create unique textures, effects, and finishes. Here are some additional techniques and effects that you can try:
Acrylic Gesso Prime
Using acrylic gesso to prime your canvas or surface before painting can help to create a smooth and even surface. Gesso is a white paint-like substance that is used to prime surfaces before painting. It can be applied with a brush, roller, or spray gun. Once the gesso has dried, you can sand it lightly with fine-grit sandpaper to create an even smoother surface.
Texturize
You can use a variety of materials to create texture in your acrylic paintings. Some common materials include sand, salt, and modeling paste. Simply mix the material into your paint and apply it to the surface. You can then use a palette knife or other tool to create texture in the paint.
Special Effects
Acrylic paint can be used to create a variety of special effects such as glazing, scumbling, and dry brushing. Glazing involves layering thin, transparent layers of paint to create a luminous effect. Scumbling involves applying a thin layer of paint over a dry layer to create a soft, blurry effect. Dry brushing involves using a dry brush to apply a small amount of paint to create a textured effect.
Add Effects
You can also add effects to your acrylic paintings using various materials. For example, you can use rubbing alcohol to create a marbled effect by dripping it onto wet paint. You can also use flow improver to create a smoother, more fluid paint application. A hairdryer can be used to create interesting patterns and textures by blowing the wet paint around on the surface.
Overall, there are many techniques and effects that you can use to enhance your acrylic paintings. By experimenting with different materials and techniques, you can create unique and interesting works of art.
Frequently Asked Questions
Can acrylic paint be sanded for a smoother finish?
Yes, acrylic paint can be sanded for a smoother finish. Sanding is an effective way to achieve a desired result or effect without having to start over. However, it is important to note that sanding should be done with caution to avoid damaging the surface.
What is the best grit sandpaper to use on acrylic paint?
The best grit sandpaper to use on acrylic paint is a fine grit sandpaper, such as 220 grit. This will help to smooth out the surface without causing damage.
Is it safe to sand acrylic paint without a mask?
No, it is not safe to sand acrylic paint without a mask. Sanding acrylic paint can create fine dust particles that can be harmful if inhaled. It is recommended to wear a mask or respirator to protect your lungs.
How do you remove scratches from sanded acrylic paint?
To remove scratches from sanded acrylic paint, you can use a polishing compound or rubbing compound. Apply a small amount of the compound to a soft cloth and gently rub it into the scratched area. This should help to remove the scratches and restore the surface to its original smoothness.
Can you sand acrylic paint on wood surfaces?
Yes, you can sand acrylic paint on wood surfaces. However, it is important to use a fine grit sandpaper and be less aggressive with the sanding to avoid damaging the wood.
What are some tips for sanding acrylic paint without damaging the surface?
Some tips for sanding acrylic paint without damaging the surface include using a fine grit sandpaper, sanding in a circular motion, and being gentle with the sanding. It is also important to avoid sanding in one spot for too long and to keep the surface wet while sanding to prevent the buildup of dust.

Hi, I’m Sal Muller of Tooltrip.com. My DIY experience led me to understand essential power tools for home projects. Tooltrip.com guides enthusiasts and professionals in choosing right tools for any job. I provide concise top tool reviews for easier, efficient DIY.

